Creating personalized gifts and custom mugs just got easier with the latest product from Cricut. Learn everything you need to know about how to use the Cricut Mug Press.
Mornings always start better when you are sipping coffee from your favorite mug. There is simply no denying it, that jolt of caffeine always tastes better when it’s in a fun mug. Well, now you can create your own personalized mugs with the new Cricut Mug Press.
Whether you just purchased one and are looking for help on how to use it. Or you are just curious about the newest product from Cricut, I’m here to help you learn how to use the Cricut Mug Press and make your own custom mugs.
What is the Cricut Mug Press?
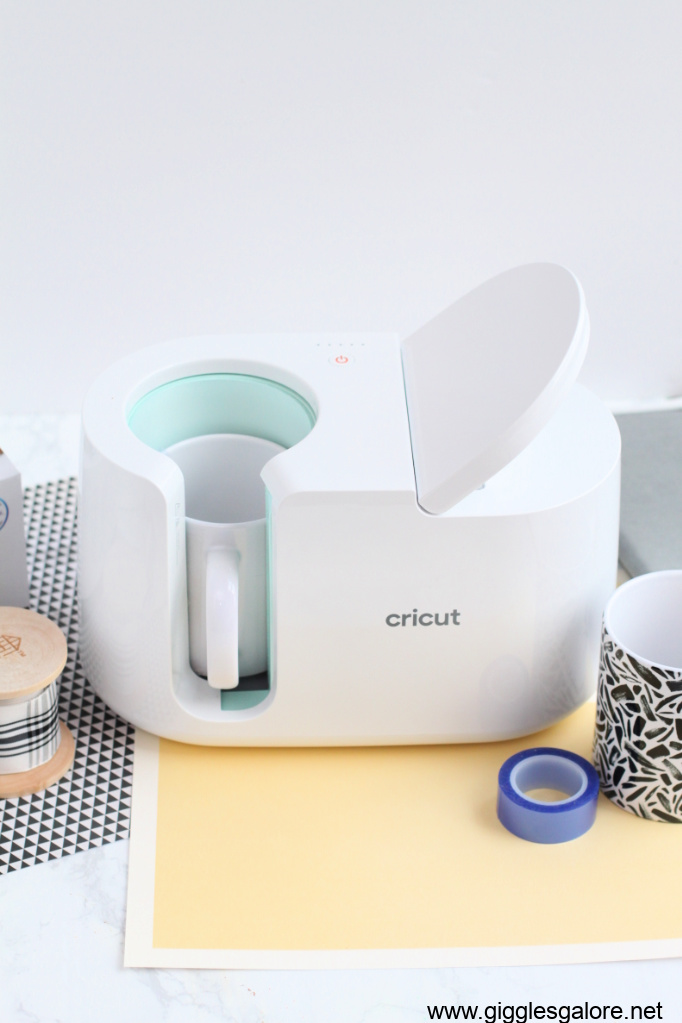
You already know how much I love my Cricut Maker and EasyPress 2. And it’s safe to say I am completely smitten with the latest addition to the Cricut family, the Cricut Mug Press. A heat press for mugs, the Cricut Mug Press is a new way to create DIY and personalized mugs that will last a lifetime. You can create and customize, quality mugs in minutes.
It is equipped with one-touch settings, just-right temperate control, and an auto-off feature for peace of mind.
How Does the Cricut Mug Press Work?
To use the Cricut Mug Press you will need a Cricut Mug Blank, Infusible Ink Transfer Sheets or Pens, and Heat Resistant Tape. You can find these supplies at shop.cricut.com or at your local Michael’s and Hobby Lobby.
Cricut has taken all the guesswork out of creating personalized mugs. With its easy, one-touch setting one button starts the transfer, LEDs track progress, and a beep lets you know when it’s done.
The ingenious design applies the right amount of heat and pressure every time for flawless results. The patent-pending heat plate creates excellent, consistent results using Infusible Ink materials that are dishwasher and microwave safe.
How to Create Custom Mugs with the Cricut Mug Press
Press the power button to turn on the machine and heat it up.
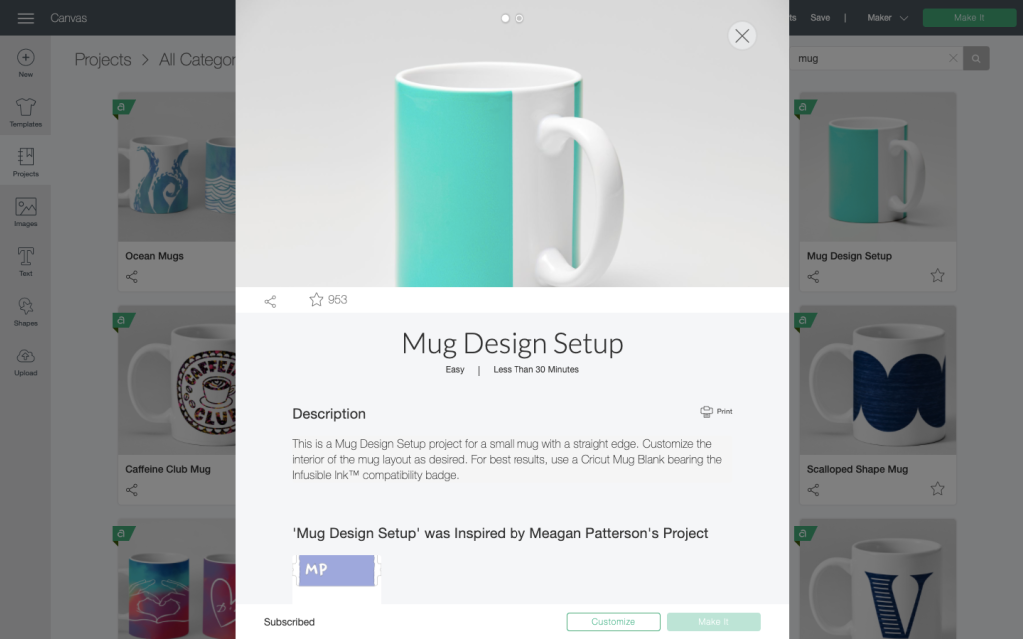
Create your custom design in Cricut Design Space using the Mug Design Setup.
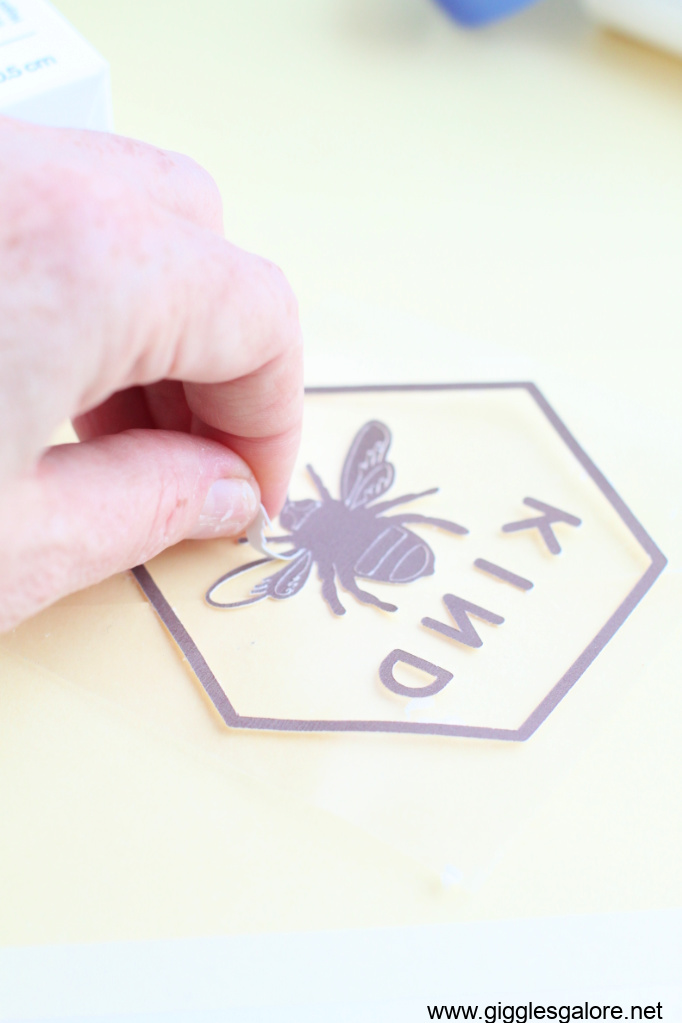
Place the Infusible Ink transfer sheet on the Standard Grip Mat and cut out your design.
Use a lint roller to make sure your mug is clean and free of any small fibers.
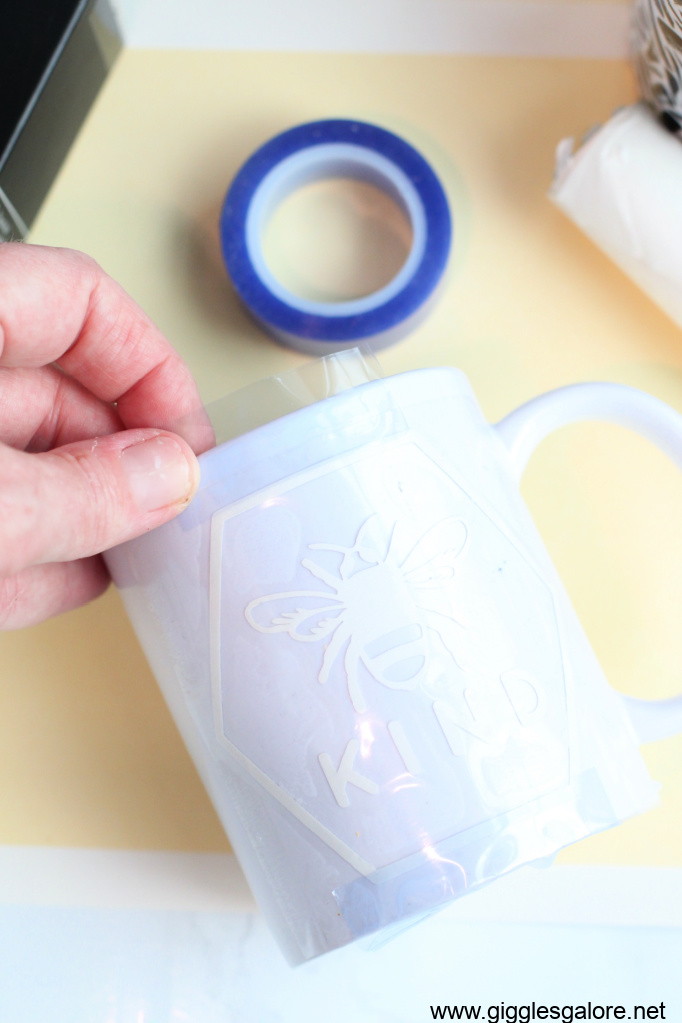
Place the heat-resistant tape on the design to attach it to the mug.
Set your mug in the press and firmly press down on the lever to secure the mug in place.
Once the transfer has finished all 5 LED lights will light up and the machine will beep. Using the handle carefully remove the mug and place it on an EasyPress mat. Let it cool completely.
Once the mug has cooled completely remove the transfer sheet. Now you have an adorable custom mug that’s 100% permanent and will last wash after wash.
DIY Bee Kind Mug
What better way to wake up and start your day than with a simple reminder and a cute custom mug. I love how easy it was to create this Bee Kind mug design with the Cricut Mug Press.
Now that you have some pretty new mugs set the kettle to boil and invite your friends over for afternoon tea! Make some DIY Hexagon Bee Coasters with your Cricut for the perfect addition to go with your DIY Bee Kind mug.
How to Use the Cricut Mug Press

Creating personalized gifts and custom mugs just got easier with the latest product from Cricut. Learn everything you need to know about how to use the Cricut Mug Press.
Materials
- Cricut Maker
- Cricut Mug Press
- Cricut Mug Blank
- Infusible Ink Transfer Sheets or Pens
- Heat Resistant Tape
Instructions
Step 1: Press the power button to turn on the Mug Press machine and heat it up.
Step 2: Create your custom BEE KIND SVG design in Cricut Design Space using the Mug Design Setup.
Step 3: Place the Infusible Ink transfer sheet on the Standard Grip Mat and cut out your design.
Step 4: Use a lint roller to make sure your mug is clean and free of any small fibers.
Step 5: Use heat-resistant tape to attach the design to your mug.
Step 6: Set your mug in the press and firmly press down on the lever to secure the mug in place.
Step 7: Once the transfer has finished all 5 LED lights will light up and the machine will beep. Using the handle carefully remove the mug and place it on an EasyPress mat. Let it cool completely.
Step 8: Once the mug has cooled completely remove the transfer sheet. Now you have an adorable custom mug that's 100% permanent and will last wash after wash.
This is a sponsored conversation written by me on behalf of Cricut. The opinions and text are all mine.
















Leave a Reply