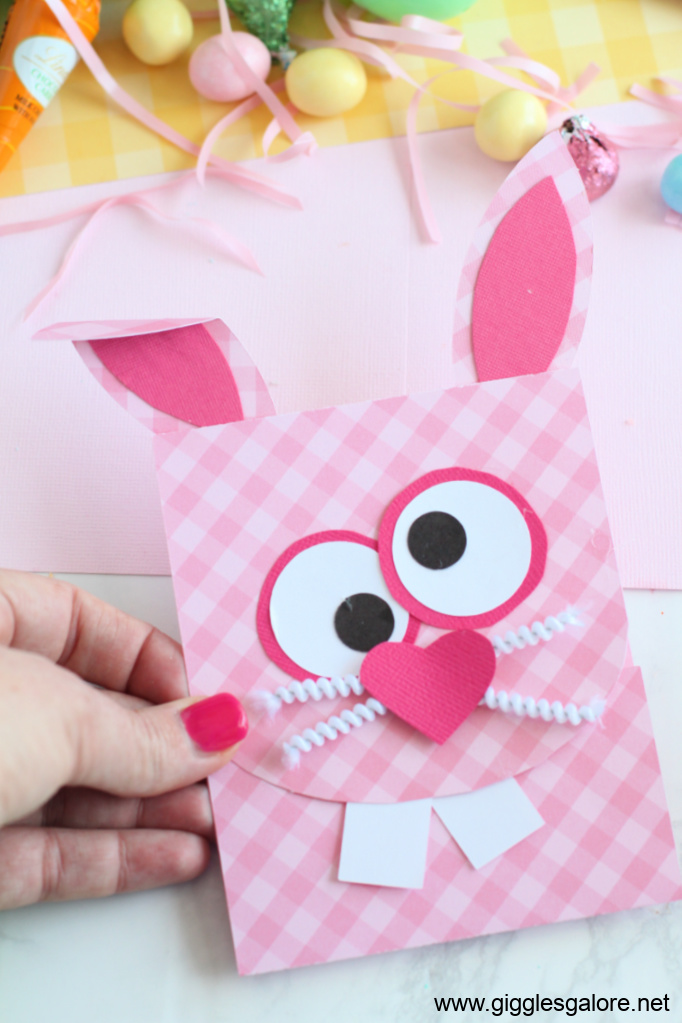
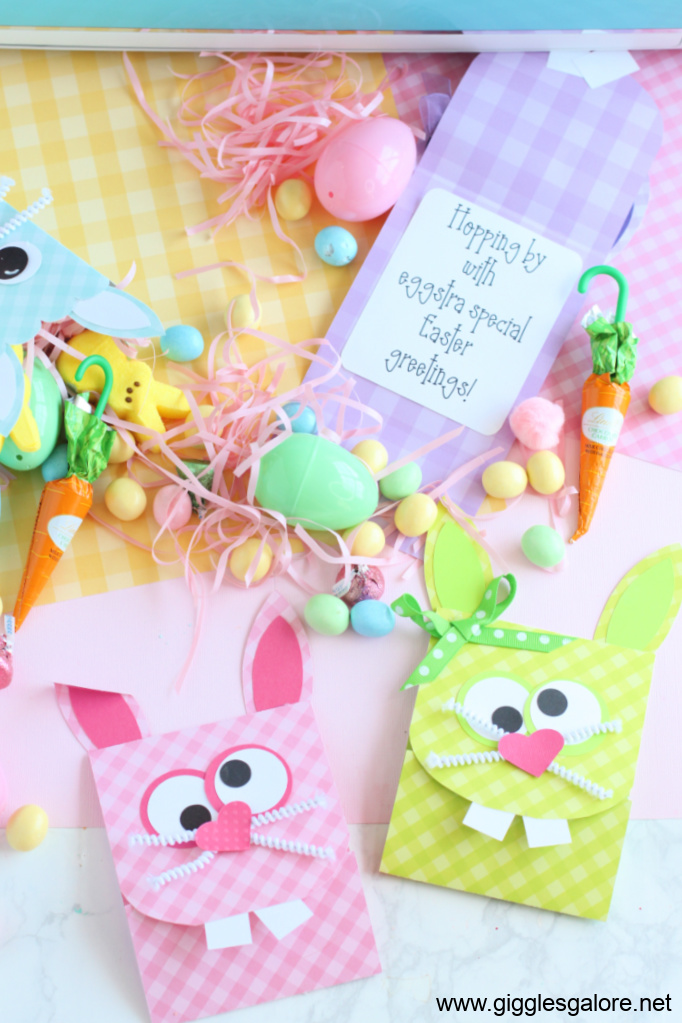
Today I’m hopping by with these adorable handmade Easter Bunny cards will make your loved ones feel “eggstra” special.
A new take on a popular idea
Since the Halloween and Valentines Monster cards have been so popular, I thought it might be fun to try an Easter version and boy did they turn out cute. I love that each one has its own funny little personality and just check out that little bunny tail on the backs! I originally made these festive bunnies by just measuring and folding. However, I figured I could make them even easier if I created a Cricut pattern. I’ve included instructions for making them both ways.
Scrap Bunnies
The best thing about these fun bunny cards is that they use lots of paper scraps. I’m always trying to figure out ways to get rid of all those small pieces of paper in my stash, and this project fits the bill perfectly.
Bunny Card Project Materials
Just like the Easter Bunny Gift Card Holders project, I choose to use two-sided Echo Park Gingham Cardstock. (Okay, I’m a little addicted this year.) But I also made a few out of regular paper and they are fine. You’ll also need glue, a 0.4 Cricut pen, hot glue, and some white pipe cleaners. I found these clever spiral pipe cleaners (Chenille Stems) at Hobby Lobby, but you can opt for regular if these aren’t available in your area.
Quick as a Bunny Nose Wiggle
Because of the dimensions, you can make two handmade Easter Bunny cards out of one letter-size piece of cardstock. If you use the Circut pattern all your pieces will be cut in minutes. But even cutting things out by hand or using punches is very simple and quick.
Play around with the eyes, ears, and nose placement to get different personalities and make them unique. These cards are so much fun to make that I’m pretty sure you’re going to catch the bug and pretty soon your card creations will be multiplying like…well, rabbits!
Easter Bunny Cards

Directions for using your Cricut to make your own adorable and easy Easter Bunny Cards with lots of personality.
Materials
- 1 sheet pastel colored cardstock (can be either 8.5 by 11 or 12 by 12)
- Scrap of dark pink or gray card stock
- Scrap of black card stock
- 1 sheet white card stock
- 1 white pipe cleaner (chenille stem)
- Adhesive or glue stick
- Hot glue
- Ribbon (optional)
Tools
- Hot glue gun
- Scissors
- Circut cutting machine (optional, but preferred)
Instructions
Cricut Directions
Open the Bunny Card SVG file in Cricut Design Space. You can either click to "Make It" or "Customize and follow the basic tutorial below.
Create the following shapes on your Cricut Canvas (sizes are approximations):
Basic card: 4” wide by 11” long. Add score lines at 3.75” from the top, and 2.25” from the bottom
Ears: Petal image #M3A4C3, two 1.25” by 3.3” and two 1” by 2.3”
Eyes: Two circles 1.5”; two circles; 1.3”, two pupil circles
Tail: Scalloped circle 2” by 2”
Teeth: Two rectangles 1.1” long by 0.75” wide
Nose: Heart shape 1.2” by 1”
Inner Message Card: Round cornered rectangle 3.5” wide. Add
saying using DTC Harvest Moon font
Assemble the card by folding along the score lines and rounding the front flap corners if desired.
I wanted the bunny faces to have rounded corners, so I created a template using the U-shaped tag found in “Shapes” to draw a 4” wide by 3.75” long image that I used to manually cut off the corners of the front flap. However, the bunnies look perfectly adorable without this step.

To create the face glue the three eyepieces one on top of the other. Cut two 3.5” pipe cleaners for the whiskers, blend slightly, and hot glue in place. Hot glue the heart nose on top of the pipe cleaners.


Glue the rectangle teeth to the inside top flap of the card.

Glue the inner ears to the outer ears. Attach the ears to the back of the card.


Glue the bunny tail to the back of the card.

Attach the message card to the inside of the bunny.


These cards are adorable!