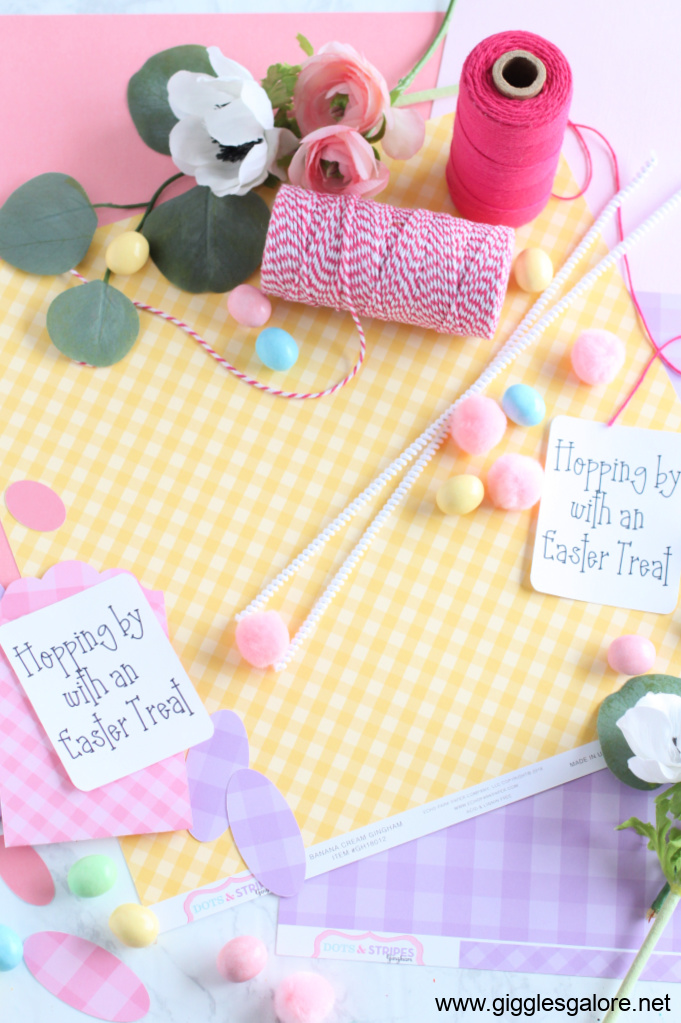
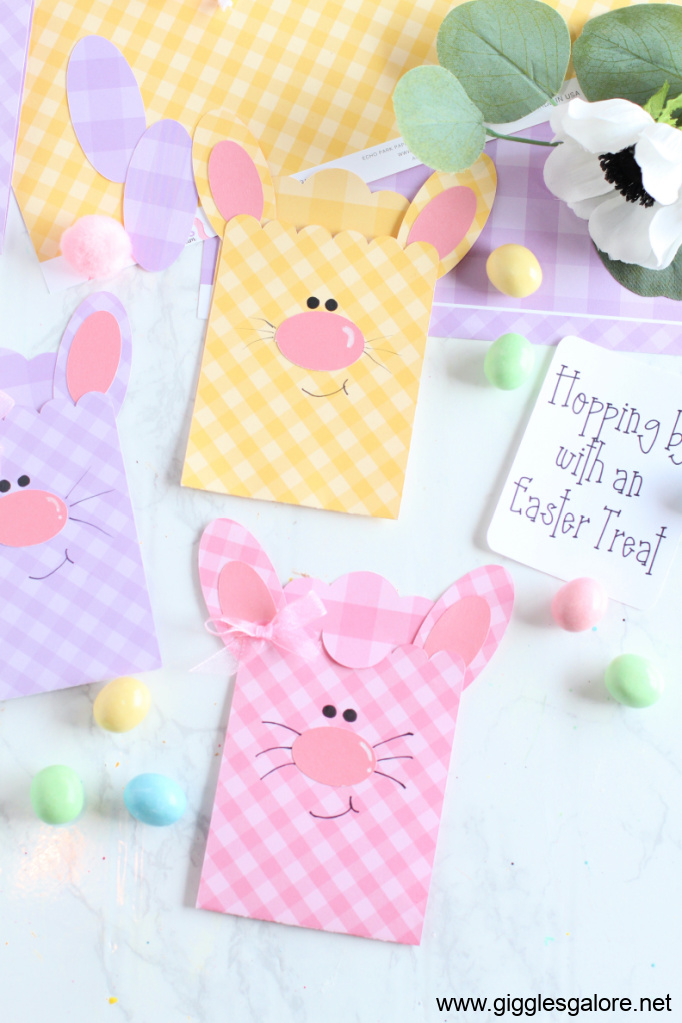
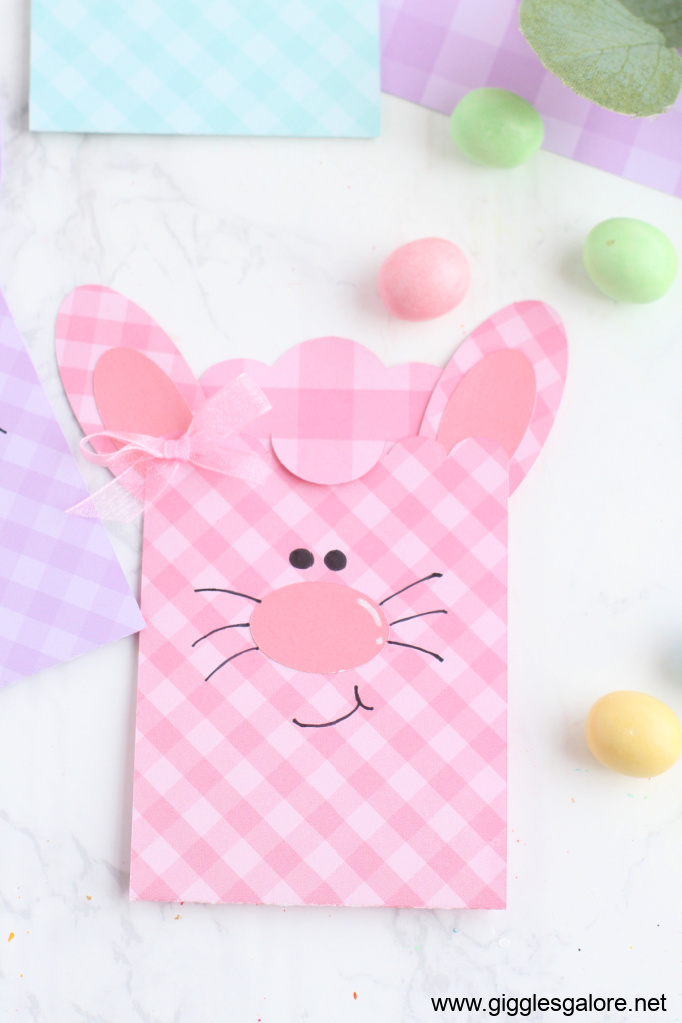
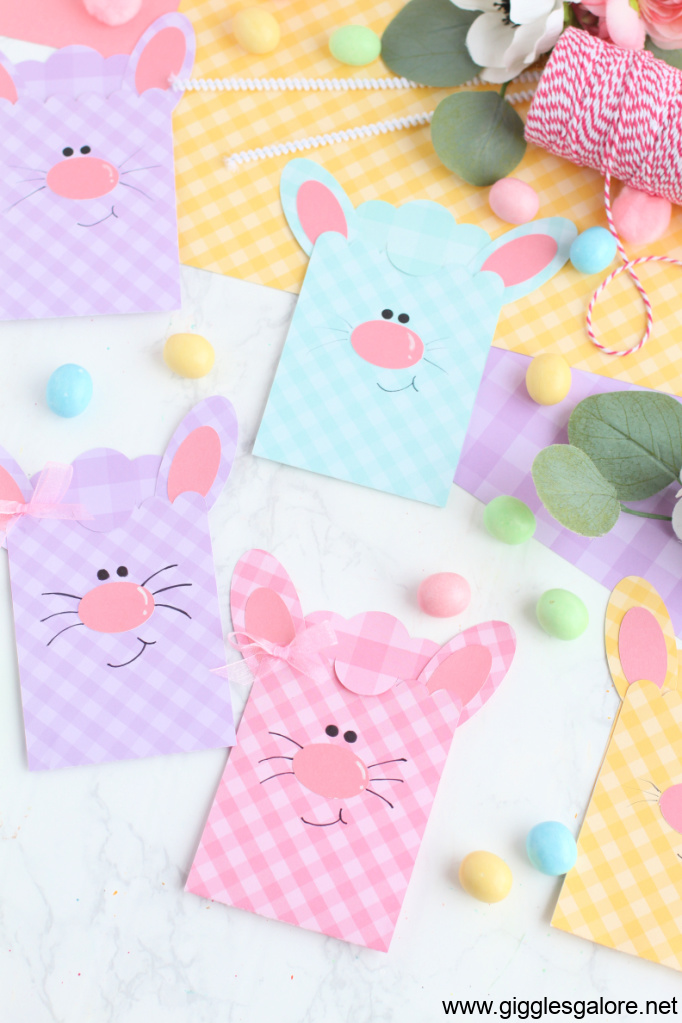
For adorable Easter giving hop to it and make these charming Bunny Gift Card holders. All you need is your Cricut, a letter-size piece of cute paper, a scrap of pink paper, and about 10 minutes.
Gift Cards are the Perfect Gift
Unfortunately, my teenagers have outgrown the traditional Easter basket filled with stuffed animals and candy. All they care about is new kicks and hanging with their friends at fast food joints. So gift cards are the perfect solution. I get to give a cute Easter gift, and they get to enjoy the joys of being a teen. Plus, I have several hardworking teachers and friends who could use a boost right now. I’m sure they’ll appreciate a cute smiling bunny that hides a little morale booster.
Materials Needed
- Echo Park Dots and Stripes Gingham collection double-sided card stock.
- Cricut Maker
- Fine point felt tip
- Glue
- Hot glue gun w/glue
- Black acrylic paint and artist’s paintbrush with a narrow end (optional)
- Ribbon to match/complement your paper choice
Gift Card Project Instructions
Open the Cricut Design Space file to create your own Easter Bunny Gift Card Holders. The sizes listed below are just estimates, they don’t have to be exact. You can use the instructions below to customize your gift cardholders.
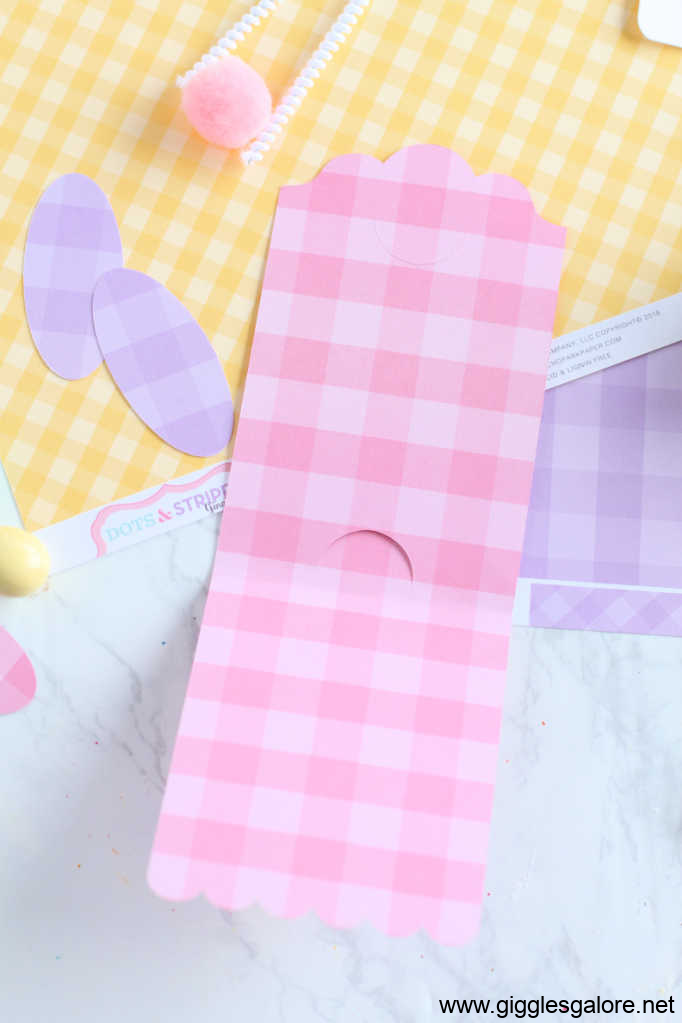
- Find Cricut file #M3BFA5 (the gift card holder) and size to about 9” by 3”. You can actually get 3 gift card holders out of a sheet of 12×12 or 2 out of a regular 8.5×11.
2. Next use the shapes feature to create two 2.3” by 1.1” ovals for the outer ears. Color these the same as the gift card holder so they are cut from the same paper.
3. Again use the shape tool to create two 1.5” by 0.75” ovals for the inner ears. You can cut these from either white or pink paper.
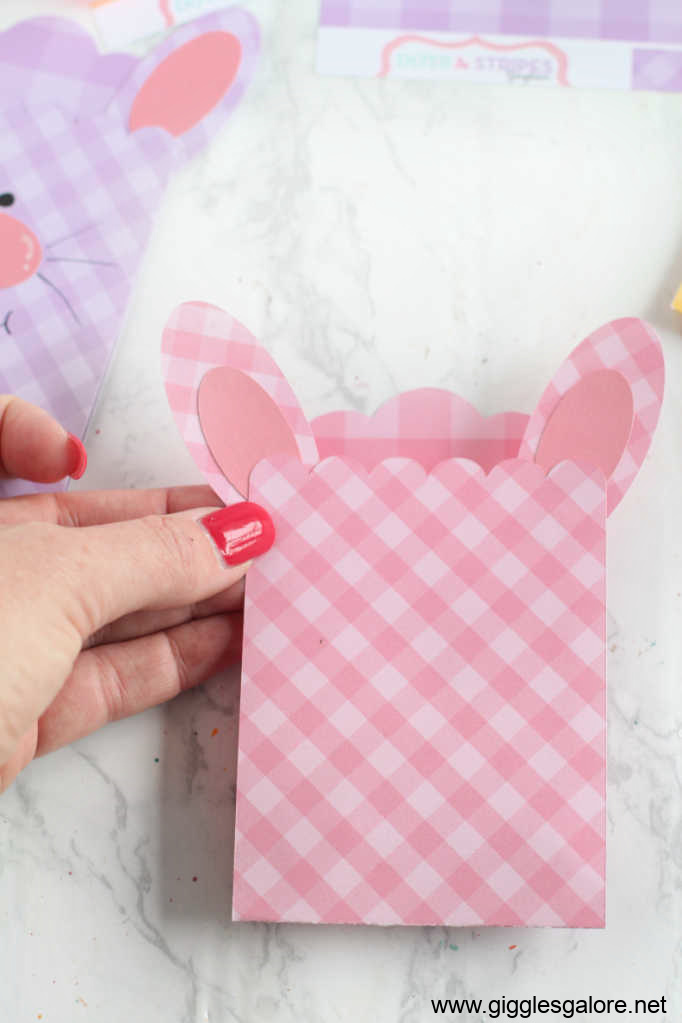
4. After cutting your paper shapes, assemble the bunny ears and glue them to the back of the top flap.
5. Form the nose by making a 1.25” by 0.75” oval which will be cut out of pink. Add the nose to the front. Use a fine-tip felt tip pen to add the smile and whiskers. I used the end of a paintbrush dipped in black acrylic paint to make the eyes, but you can also draw them on with the felt tip marker. Add a ribbon bow if desired.
6. Glue an Easter Greeting to the inside of the gift cardholder. I used the Cricut pen to create mine.
7. Finally, add a gift card to the inside tabs for a special Easter treat and surprise.
Bunny Smiles
Because this project is so quick and easy, you’ll want to make several. And then all that’s left is to find the perfect gift cards. This charming Easter bunny gift card holder is sure to bring smiles of delight to its recipients.
Bunny Gift Card Holders

Easy-to-make bunny gift card holders will make Easter giving a pure delight. Spring smiles will blossom with this fun Cricut project.
Materials
- Echo Park Dots and Stripes Gingham collection double-sided card stock.
- Cricut Maker
- Fine point felt tip
- Glue
- Hot glue gun w/glue
- Black acrylic paint and artist’s paintbrush with a narrow end (optional)
- Ribbon to match/complement your paper choice
Instructions
- Find Cricut file #M3BFA5 (the gift card holder) and size to about 9” by 3”. You can actually get 3 gift card holders out of a sheet of 12x12 or 2 out of a regular 8.5x11.
- Next use the shapes feature to create two 2.3” by 1.1” ovals for the outer ears. Color these the same as the gift card holder so they are cut from the same paper.
- Again use the shape tool to create two 1.5” by 0.75” ovals for the inner ears. You can cut these from either white or pink paper.
- Form the nose by making a 1.25” by 0.75” oval which will be cut out of pink.
- After cutting your paper shapes, assemble the bunny ears and glue them to the back of the top flap. Add the nose. Use a fine-tip felt tip pen to add the smile and whiskers. I used the end of a paintbrush dipped in black acrylic paint to make the eyes, but you can also draw them on with the felt tip.
- Finally, add a ribbon bow if desired.









Oh my gosh…..these are ADORABLE!
Such a cute project! I am pretty new to using the Cricut and can’t seem to find the gift card template in my Templates folder (no gift card templates at all – Explore Air 2). Is there a place I can find the template and download? Thank you!
Hello, you should be able to open the project file, https://design.cricut.com/landing/project-detail/61f41663ed338d7c70803d4c in Cricut Design Space. From there you can either choose to “Make It’ or “Customize” the project. If you select “Make It” it will use the dimensions we shared in the blog post, which will fit standard gift cards. Please feel free to email us if you have any other questions or problems with the link.