Cricut recently announced three new products to the Cricut family, including the Cricut EasyPress 3, the Cricut AutoPress, and the Cricut Hat Press. In this post, I’m going to teach you everything you need to know and how to use Cricut Hat Press.
What is the Cricut Hat Press?
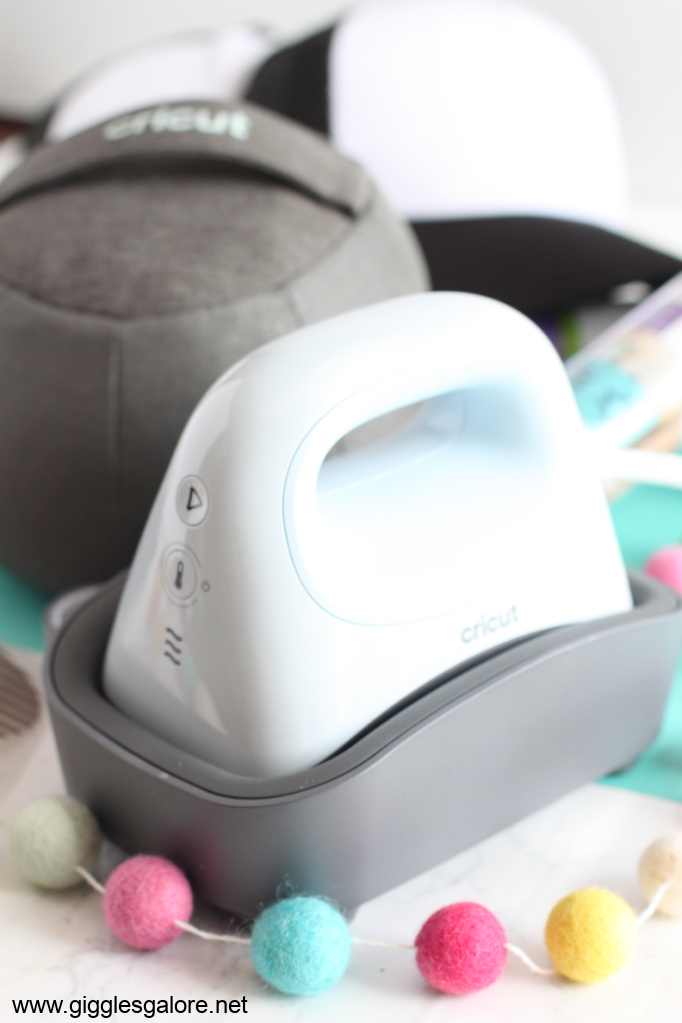
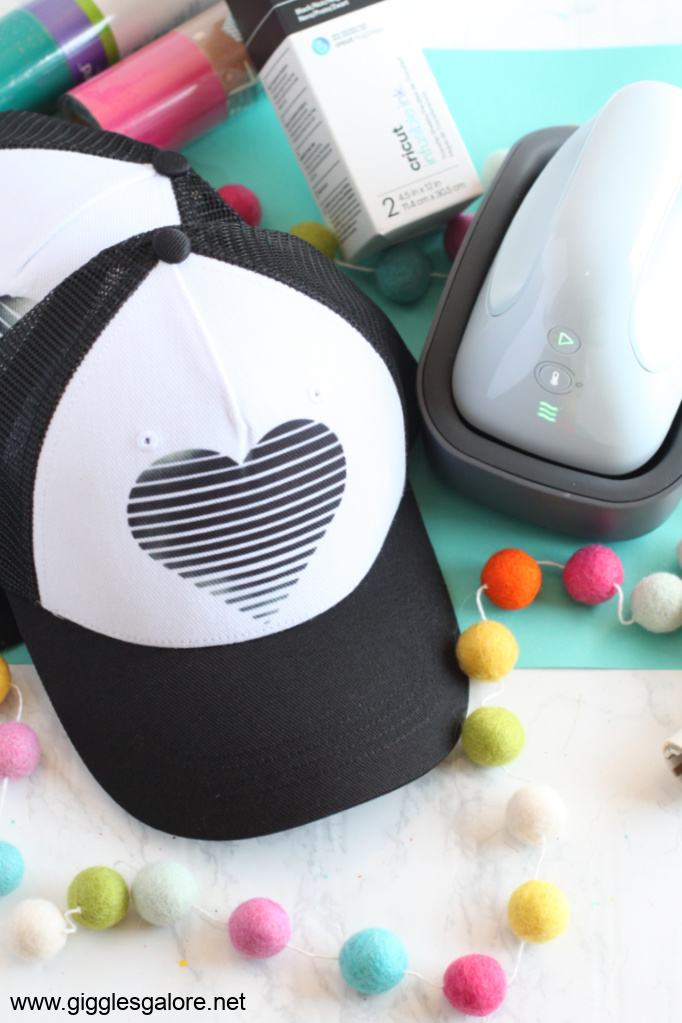
The Cricut Hat Press is an innovative new press that allows you to make a variety of professional quality hats from the comfort of your home. It is designed with a curved heat plate and comes with a hat pressing form to get the perfect curved surface press. The heat plate has a coating of protection that allows it to easily glide along the surface of the material which is important because unlike many of the other heat press methods the Cricut Hat Press requires a steady back and forth movement throughout the pressing process.
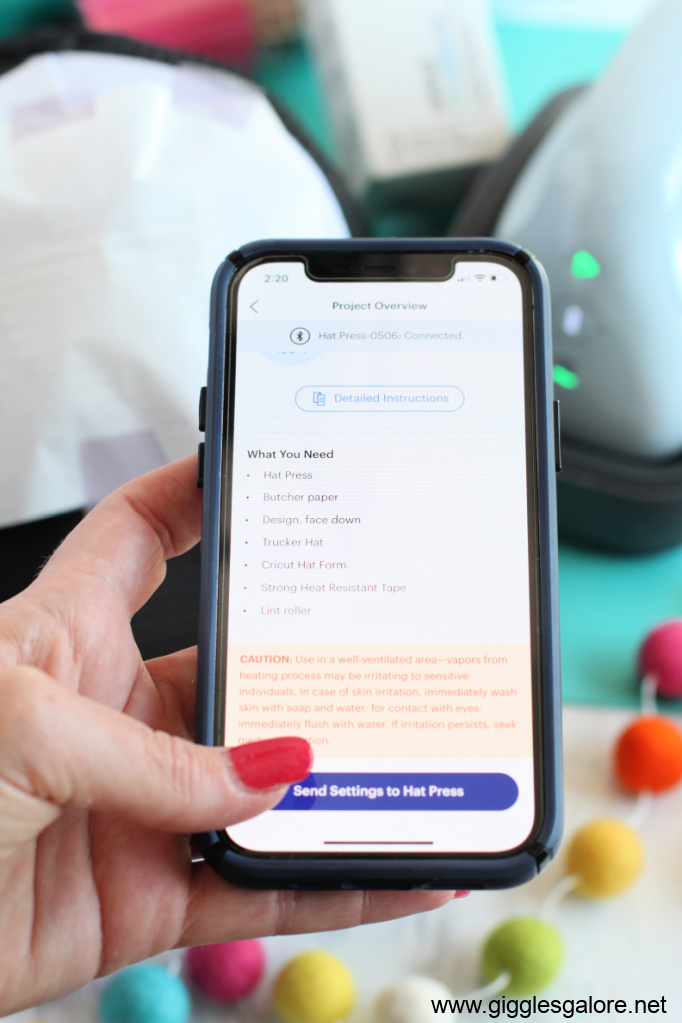
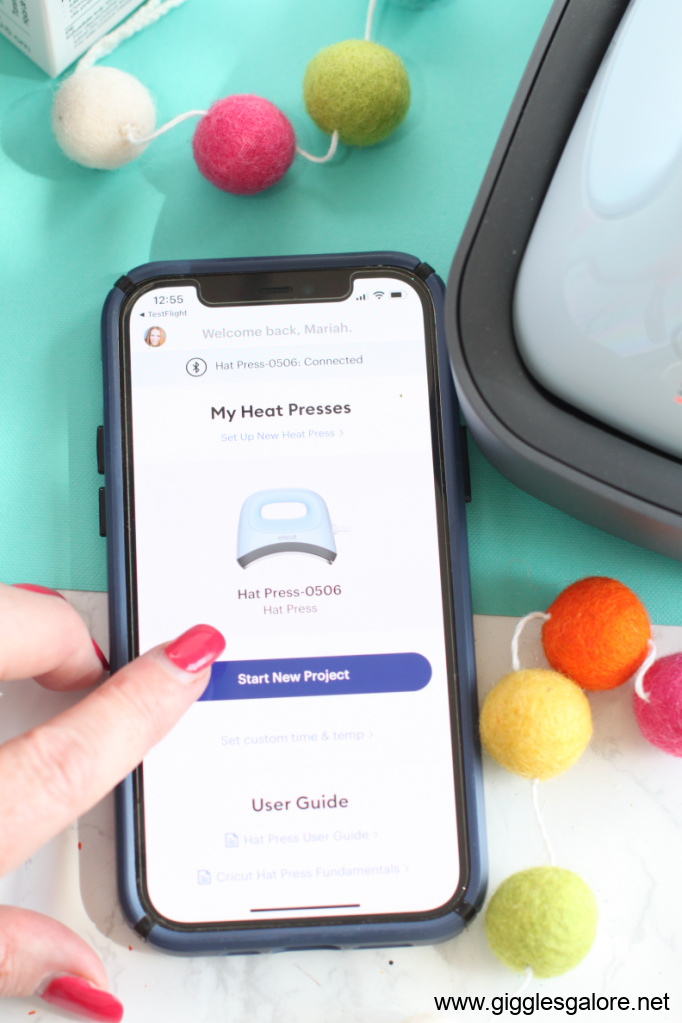
The Cricut Hat Press also features Bluetooth connectivity via the Cricut Heat App which takes the guesswork out of heating times. Simply select your base material and transfer material, then tap to send settings to Cricut Hat Press.
What Is Included with the Cricut Hat Press?
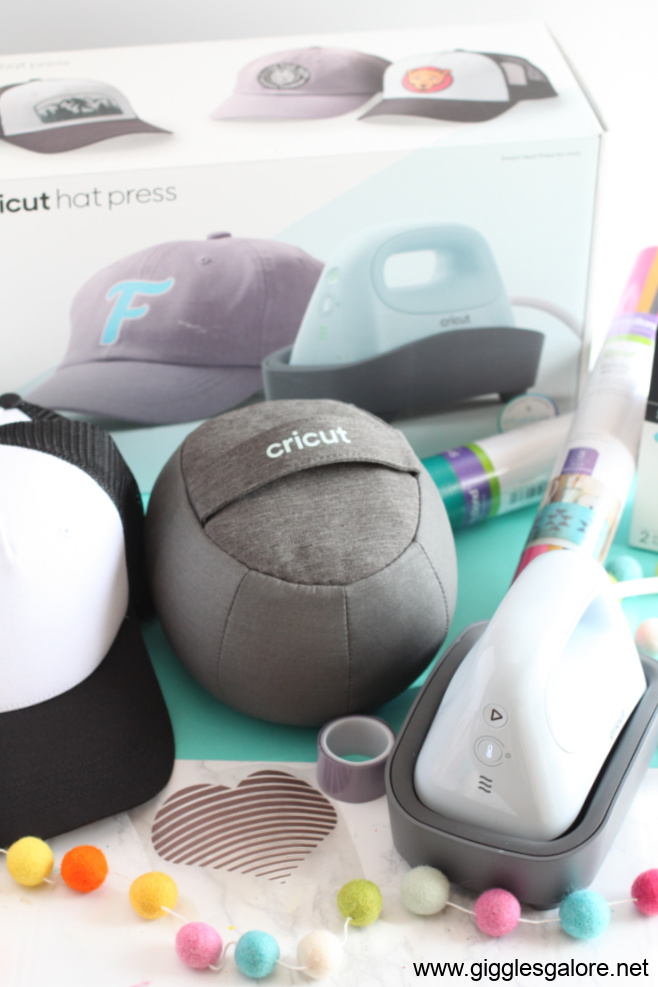
When you open the box to the Cricut Hat Press you will find the following items:
- Cricut Hat Press
- Safety Base
- Cricut Hat Pressing Form
- Practice Iron-On Design
- Strong Heat Resistant Tape
- Quick Start Guide
- User Guide
The Cricut Hat Press will be available for purchase online on March 13th for $149.99.
Click here to purchase the Cricut Hat Press.
What You Need to Know About the Cricut Heat App
One of the great new features of the latest Cricut Heat Press products is the Cricut Heat App. The Cricut Heat App is designed to be your heat-press companion and helps you get an exact time and temperature to successfully complete your project.
First, you will need to activate the Hat Press. Open the app, which is available for free on both iOS and Android, and plug the Hat Press in. You will need to log in with your Cricut account. Click setup in the app to begin and turn on the press so that your app can find the device.
Once the app is activated you’ll be guided through the heat transfer process from the moment you preheat your base to the moment you peel away your backing to reveal your customized project.
The Cricut Heat app takes the guesswork out of creating projects with Iron-On and Infusible Ink. The app will guide you through the entire process step-by-step, which means no more guessing if you need to use butcher paper, trying to guess if you should apply tape, or how long you have to press your project.
Because you’ll use light pressure and constant motion with this heat-press, the heat plate includes an extra coating of protection that allows it to glide easily over your material’s surface. This allows each of the 3 heat settings to accommodate multiple heat-transfer ranges. The Cricut Hat Press features three different temperature settings to help you achieve flawless transfers with a variety of materials and bases.
LOW: 255°F – 295°F
This setting is meant to be used with base materials that are more sensitive to heat and should be used with a 60-second timer.
MEDIUM: 300°F – 355°F
This is the primary setting that’s used with most heat transfer materials like Iron-On and should be used with a 60-second timer.
HIGH: 360°F – 400°F
Infusible Ink and heavy-duty base materials should be used with the highest temperature with a timer of 90 seconds.
What Products are Compatible with the Cricut Hat Press?
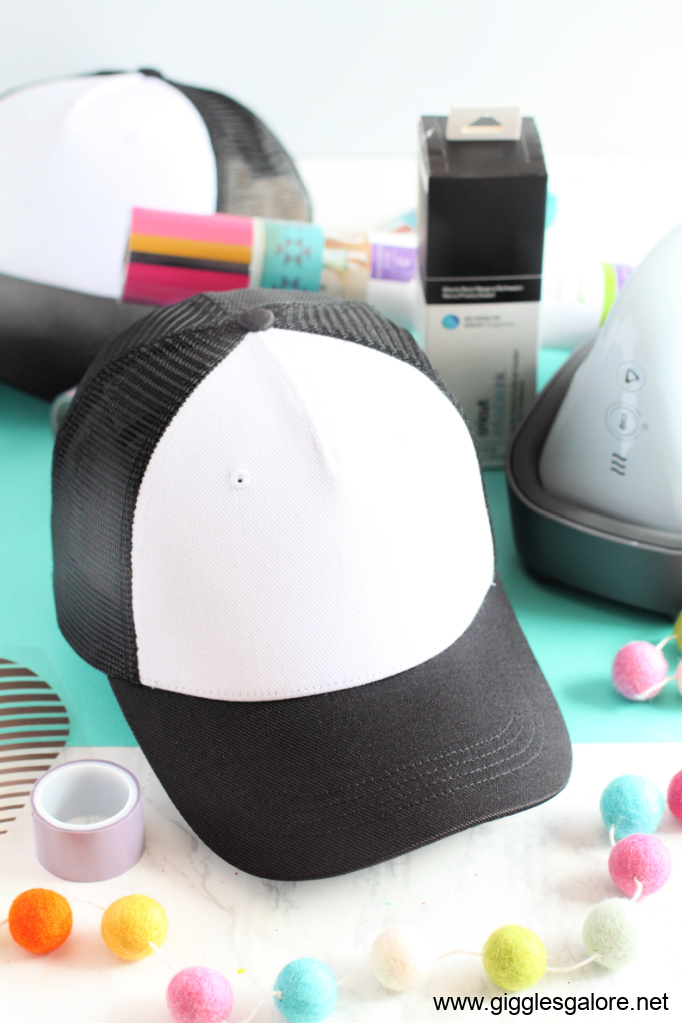
Cricut launched two different hat blanks that are compatible with the Cricut Hat Press. Currently, you can choose from the Gray Baseball Cap or the Black and White Trucker Hat. The Cricut hat blanks will retail for $9.99 each, or you can buy a 3-pack for $19.99 or a 12-pack for $69.99.
Both of these caps have gone through rigorous testing and they are designed to be compatible with both Iron-On and Infusible Ink. This means they can withstand heat of up to 400 degrees Fahrenheit without melting.
While the main part of the hat can withstand 400 degrees of heat, the bill of the cap is not rated for this and you’ll want to avoid applying Infusible Ink to the bill because it can melt or become damaged.
You can also use generic hat blanks with the Cricut Hat Press, however, it may require a little bit of testing on your end. I will be sharing projects and tips for designs I made with hats from Amazon soon so stay tuned for more details.
How to Use the Cricut Hat Press Form
The other part that makes this new product so special is the Cricut Hat Press Form. This form holds your hat while you press and gives you a firm pressing surface. To get the best results when working with a curved surface, you need a pressing form that has a firm rounded shape to it to protect the integrity of the hat as heat is applied.
It is important to note that part of what makes this hat form so unique and special is the fact that it is made with crushed walnut shells. Walnut shells are an all-natural, biodegradable material that is extremely durable. They also offer water absorption while having great microbial resistance. Which will help ensure the longevity and integrity of the form.
There is an allergy warning on both the box and the actual hat press form, but if you are allergic to walnuts or nuts you may want to consider this before purchasing the Cricut Hat Press.
To use the Cricut Hat Press Form place the hat form on a firm surface, handle side down. Remove any cardboard or packaging material from your hat. Then flip out any sweatband that is on the hat.
Work your hat onto the form, you want the hat to be a good and tight fit. You will need to make sure it fits snuggly across the front where you will be adding your design.
Design Size Recommendations for Hat Press Projects
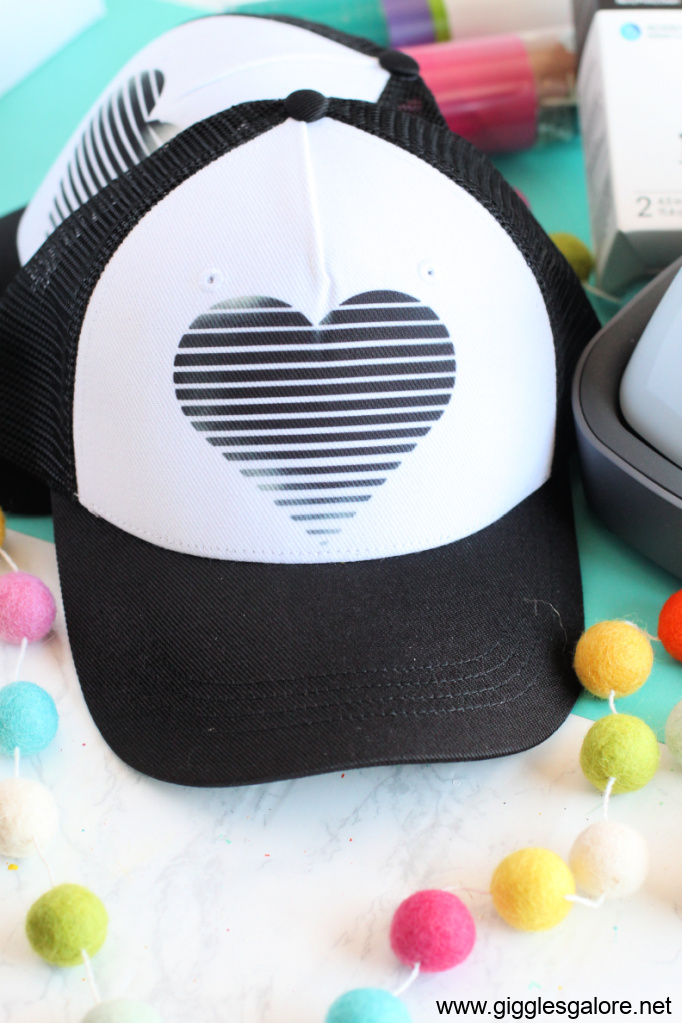
The maximum design that Cricut recommends is 2.25 inches high by 4.25 inches wide. This is the ideal size to ensure your design gets the right amount of heat ensuring a smooth transfer. You will have to move the press back and forth when pressing so you should also keep your design half an inch from the bill of the hat.
Once you have created the ultimate design you will use the Strong Grip Tape to attach it to your hat. The Hat Press comes with one roll of tape, but you can also purchase the Strong Grip Tape online or at your local craft store.
Tape the design down really well with the strong grip heat tape. This will prevent the design from moving during the pressing process. Remember that you will be moving the hat press back and forth during the pressing time. You can add heat tape over your design as it will not hurt anything, or leave any marks or residue.
Additional FAQ
Hopefully, you have learned how to use the Cricut Hat Press with this post. But, I’m going to share some of the most common questions about this new product below. If you have any other specific questions or want to know more about creating your own custom hats with the Cricut Hat Press please leave a comment.
How much pressure do I apply while pressing the image onto my hat blank?
The heat plate must maintain constant contact with your design as you move the press back and forth during transfer. Use enough pressure to maintain this contact without deforming the hat.
Can I use Cricut Hat Press on another curved surface, like a shoe?
While the size and curvature of the Cricut Hat Press heat plate is ideal for pressing on hats, we recommend Cricut EasyPress MiniTM for precision pressing on smaller areas like shoes. The smaller Cricut EasyPress Mini heat plate and precision tip make it easier to avoid contacting the rubber sole and other areas that may melt on contact.
Do I have to use the hat pressing form?
We highly recommend it! Successful heat transfers require a firm pressing surface, and Cricut Hat Pressing Form is specially designed to provide the moldable, yet firm pressing surface necessary for your heat transfer projects.
Does Cricut Hat Press have an auto-off feature?
Yes, Cricut Hat Press shuts off automatically after 13 minutes of inactivity. A warning beep sounds 30 seconds prior to shutoff.









Leave a Reply