It’s official I’m obsessed with all things Santa this holiday season! It all started with my Letters to Santa themed Christmas tree, then it was a cute DIY “Santa Stop Here” sign on my Whimsical North Pole Christmas Mantle. Then we started baking cookies with our DIY Mrs. Claus Baking Kits and you can’t forget about writing letters to Santa and putting them in our special DIY Letter to Santa Envelopes. I thought we had this year’s theme well covered, until I started thinking about Santa himself. That guy has a tough job and all he wants is a plate a fresh baked cookies and milk…so naturally I decided to set a special place for him this year with a cute DIY Santa’s Cookies and Milk Placemat.
This year after we’ve put on our Christmas jammies we will set a special place for Santa’s treats. The kids and I are so excited about this cute new placemat and the best part is how quick and easy it was to make with my Cricut Maker and EasyPress.
What You Will Need:
- Cricut Maker
- Cricut EasyPress
- Red Felt
- White Glitter Iron-on Vinyl
I decided to use felt for this project because I didn’t want to actually sew anything. My sewing machine is put up and quite frankly I was just too darn lazy to get it out. Since this special placemat isn’t something that is going to see a ton of use, or spills, felt was a great no-sew option.
Step 1:
First, you will need to open up Cricut Design Space and open up my “Santa’s Placemats” project file. You will want to select the option “customize” so that you can edit the project.
Step 2:
Select the pieces for the Santa’s Cookies & Milk Placemat and . You will also see a project for “Santa’s Belly” placemats, don’t worry the tutorial and table setting for those are coming soon!
Step 3:
Cut out the felt place mat and white iron-on vinyl pieces.
Step 4:
Use the EasyPress to adhere the vinyl to the place mat. Tip: We use a special plate for our cookies for Santa, I placed that on the placemat to make sure I had the spacing correct for all of the labels and circle pieces. If you use a special plate you may want to lay it out before you iron on the vinyl.
Step 5:
Set out your treats for Santa and wait with excitement and anticipation for the big guy to arrive.
I love that this cute placemat ties in well with the rest of our North Pole and Santa inspired decorations. And, I especially love that now we have a special way to set the table and leave treats for a very special guest on a very special night!
Do you have a special tradition or way of leaving Santa his treats? Or maybe you leave him a special kind of cookie year after year, I’d love to hear how you celebrate this time honored tradition of leaving cookies and milk for Santa.
Make sure you check back for the second Santa themed placemat and table setting, here’s a sneak peek.
Also, make sure you check some of these popular holiday themed DIY projects and crafts you can make with your Cricut and a special giveaway too!
DIY Letter to Santa Felt Envelope
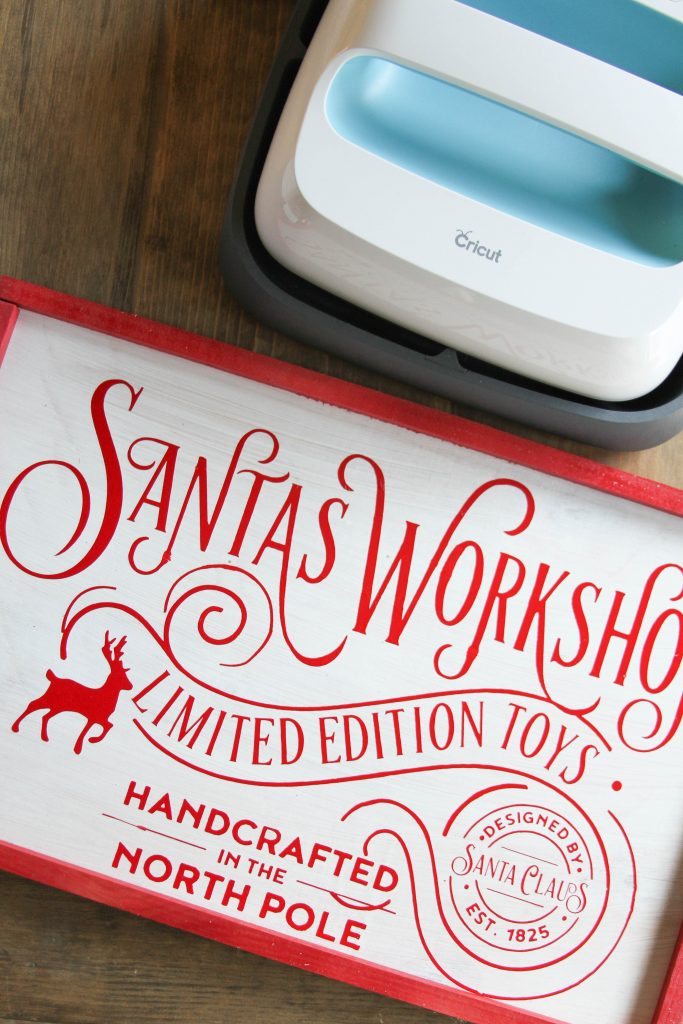
DIY Santa’s Workshop Wood Sign
DIY Wine Bottle Christmas Gift Tags
This is a sponsored conversation written by me on behalf of Cricut. The opinions and text are all mine.


Leave a Reply