This post is being sponsored by Thermoweb. All thoughts and opinions are my own.
I’m hosting our monthly supper club next week and decided on a festive Margaritas and Mistletoe themed celebration. I’ve been busy planning and creating decorations, but realized one important thing was missing…mistletoe. It turns out you can’t actually buy real mistletoe in my area because it is a parasitic plant that can be harmful to trees. So, I did what any creative hostess would do in a pinch, and made my own Mistletoe Embroidery Hoop Art to add to our holiday decor and mistletoe themed party.
Mistletoe has been livening up otherwise-lame holiday parties for forever and I personally think this colorful Mistletoe Embroidery Hoop Art is a lot more fun than the real stuff anyway. The tradition of stealing a kiss while standing under the mistletoe dates back to the ancient Druids and has been commonly used a Christmas decorations since.
I’ve partnered with ThermoWeb to show you how to make this quick, cute and easy craft, and the best part about this DIY craft is you can keep your mistletoe year after year to make sure you get don’t miss out on getting those special Christmas kisses.
What You Will Need:
- 8″ Embroidery Hoop
- Dark Green Felt
- Light Green Felt
- Heat and Bond Ultra Hold
- Deco Foil Transfer Sheets – Red
- Deco Foil Hot Melt
- Black and White Polkadot Fabric
- Black and White Gingham Ribbon
- Cricut Maker
- Cricut EasyPress or Iron
Step 1:
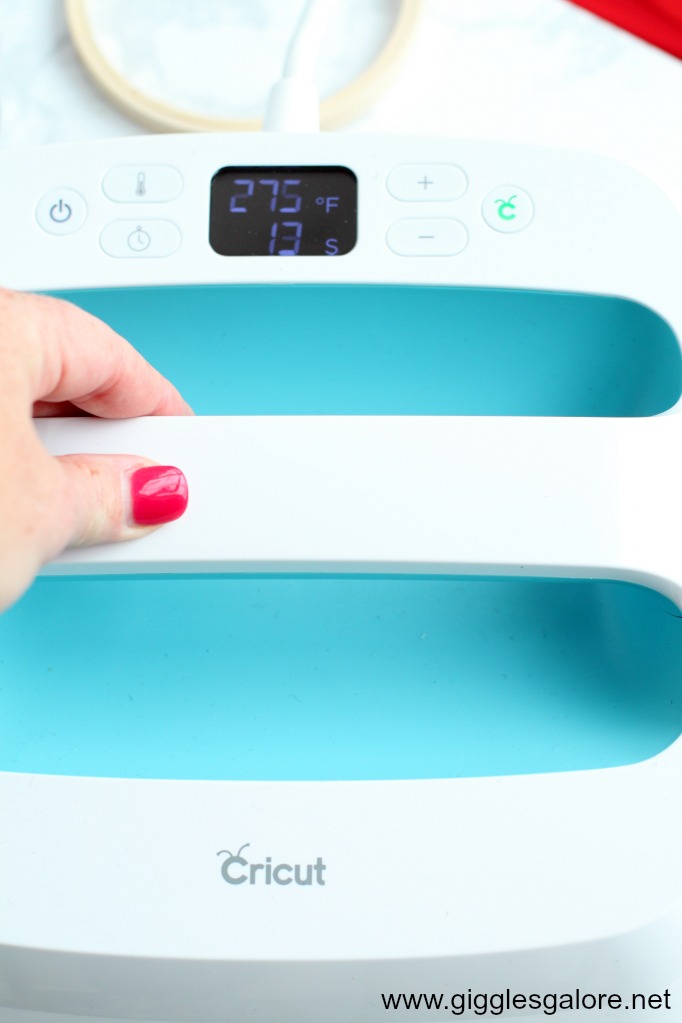
Use the Cricut EasyPress to adhere the heat and bond adhesive to the back of the felt pieces.
Step 2:
Open up Cricut Design Space and find an image of mistletoe. Cut out the main image of the mistletoe leaves in both colors of the felt.
Step 3:
Remove the paper backing from the felt leaves. Center the mistletoe leaves on the black and white polkadot fabric and use the EasyPress to adhere the leaves to the fabric.
Step 4:
Use the Cricut machine to cut out the berries on the Deco Foil Hot Melt. Carefully remove the berries from the mat and place them on your felt mistletoe leaves. Next, cut a small piece of Deco Foil and put on top of each of the berries. Cover the foil with the parchment paper and use the EasyPress to secure the foil to the adhesive.
Step 5:
Gently peel back the foil to revel your shiny berries. If you missed a few spots, that’s ok. Just add a little bit more foil and repeat the previous step.
Step 6:
Tie a bow with the black and white gingham ribbon and add it to the top of the mistletoe stems. Use the small Zots adhesive dot to attach it to the stem. Place your fabric design in the embroidery hoop and trim the fabric around the inside edge.
Step 7:
Use the black and white gingham ribbon to hang your mistletoe. I added mine to chalkboard with a fun little “Christmas Wishes and Mistletoe Kisses” saying.
I’m all set and ready for those holiday kisses with this fun Mistletoe Embroidery Hoop Art!
This project was so fun to make and thanks to all the ThermoWeb products is was super easy too! I want to give one lucky reader the chance to win a $30 ThermoWeb gift card so you can make your own extraordinary holiday themed cards, decor and more!
<a Rafflecopter giveaway


Very pretty! Fun party theme. Visiting from Best of the Weekend party.
Very cute… 🙂 Liz
That’s so sweet, and really simple too. Pinning.