After Halloween is over don’t box up your pumpkins, use them to make a custom pumpkin topiary as part of your outdoor Thanksgiving decor. Yesterday I shared some simple and practical tips for getting your porch pretty and making outdoor Thanksgiving decor that will greet your guest with a pop of color and style. Today I’m going to show you how to make a simple, easy and customized pumpkin topiary for your front porch.
Here are the supplies you will need:
1. Decorative urn or container
2. Two (2) medium size faux pumpkins
3. One (1) small size faux pumpkin
4. Decorative moss
5. Vinyl letters or stickers
6. Glue gun and drill or knife
Start by finding a decorative urn or creative container for the base of your topiary. Next, using a glue gun add decorative moss to the rim of the urn.
Place one of the medium size pumpkins stem side down in the urn.
Add hot glue to the bottom side of the pumpkin that is now stem side down in the urn. Place the second medium size pumpkin (bottom side down) on top of the other pumpkin. Hold in place until the glue dries.
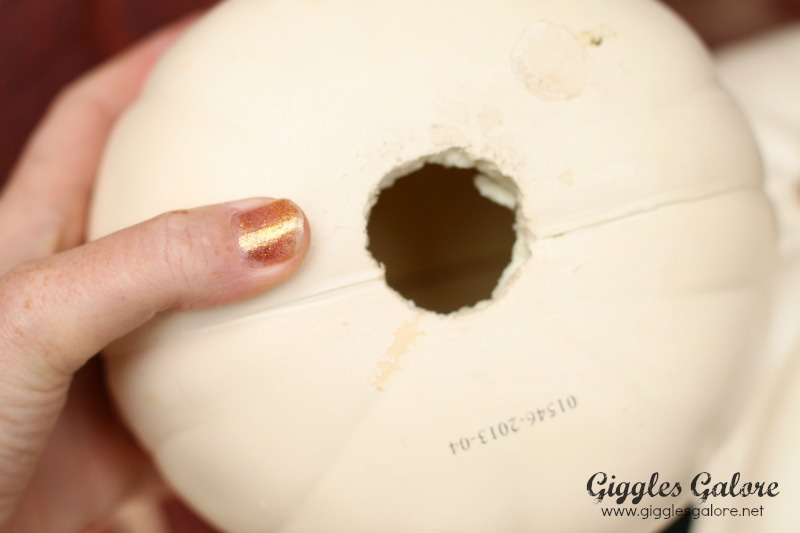
Next, drill or cut a small hole in the small size pumpkin. It needs to be big enough for the stem of the medium pumpkin to fit in. Add a small dab of hot glue around the edge of the hole, insert the stem of the pumpkin and hold in place until it is dry.
Finally, use vinyl letters or stickers to add your house number for a custom pumpkin topiary perfect for fall.
Now your porch is completely ready and all your crazy relatives can find your house just in time for Thanksgiving! Don’t forget to check out our tutorial for the easiest 5 minute wreath or ideas for creating a nature inspired table setting.


Love this tutorial for pumkin topiaries, but I have 1 question. Where did you buy your pumpkins
Thanks Teresa, I bought those pumpkins at Michael’s last year. Keep your eyes out, I was just there the other day and they are already getting ready to put out the Fall/Halloween decor. 🙂