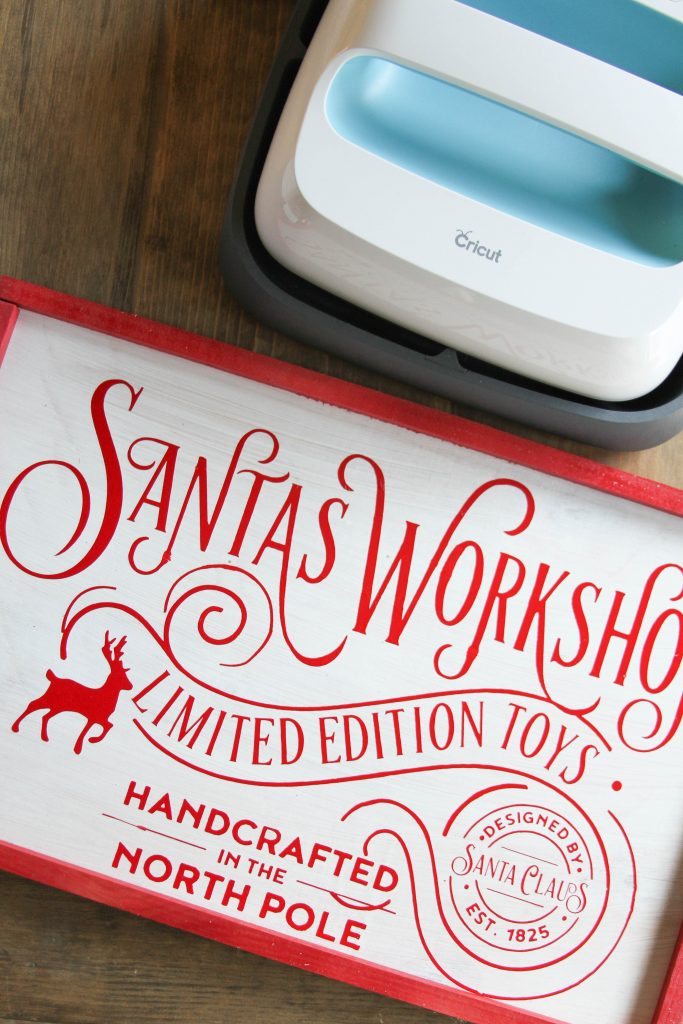
I love love love the holiday season! I want to decorate all the things, bake all the cookies, and buy all the gifts for people I love. But, I would be lying if I said the holidays didn’t stress me out a little bit. When I am stressed, I like to be creative and build things…sometimes I make things for friends, other times I make things for myself, like this DIY Santa’s Workshop Wood Sign. 
I was feeling the stress of the season and life recently, and I just felt like I *needed* to make something special. I am totally in love with wooden signs, but I cannot get my stencils right and I freehand paint like a toddler. But, on a whim I decided to try Cricut Iron On Vinyl on wood with my EasyPress, and it.is.a.total.game.changer! No more sloppy paint for me! This DIY sign even inspired a party, check it out here.
I was able to make this adorable sign in just a few minutes, and I could not be more happy with it!
Supplies: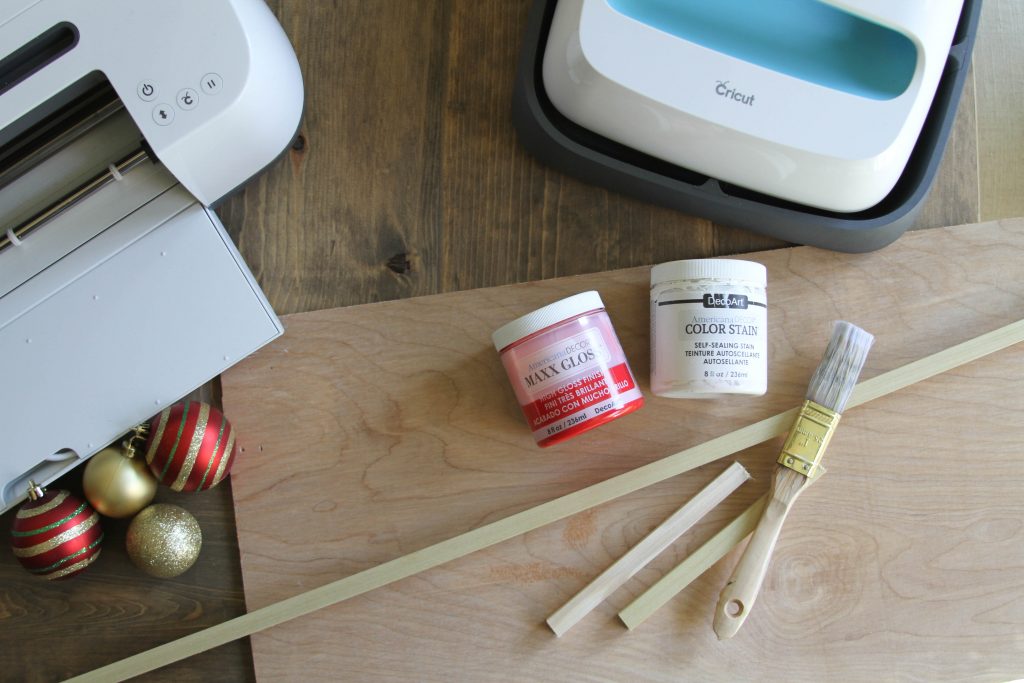
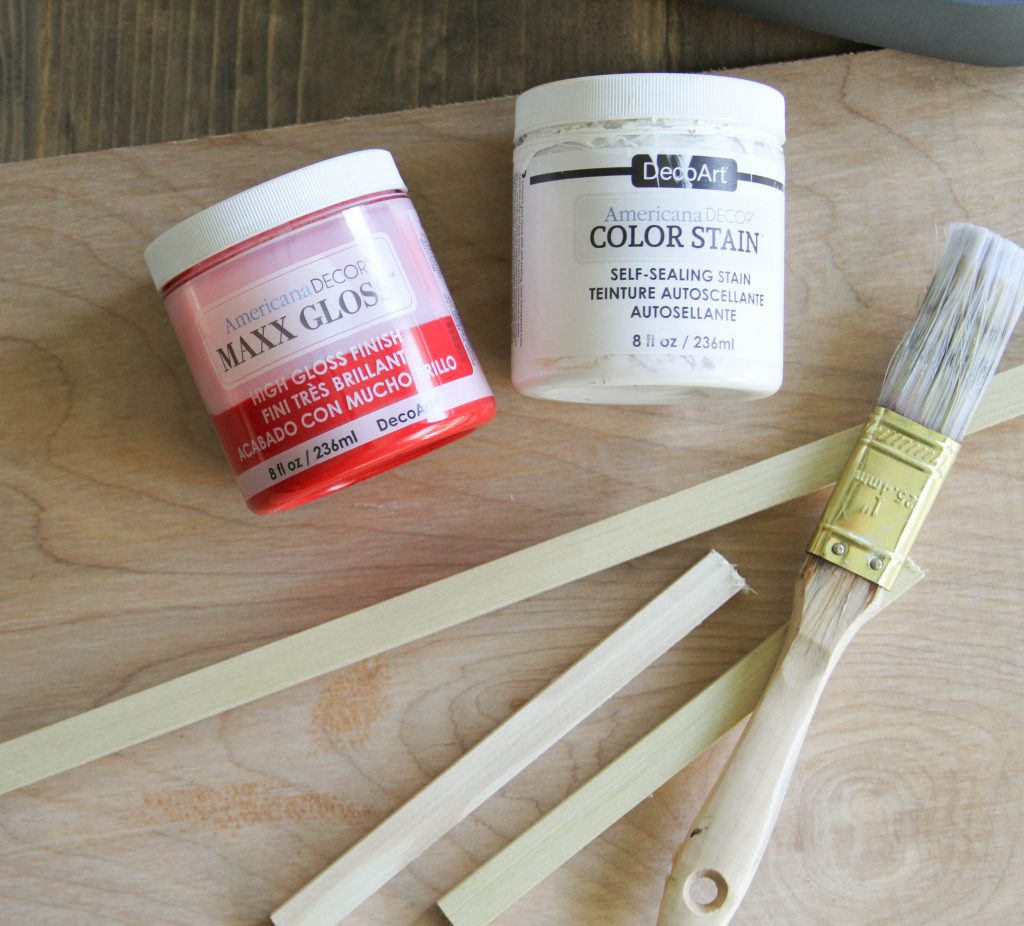
1/4” Sande Plywood – I used scraps
DecoArt Maxx Gloss Paint to match
Paint Brush
 Begin by cutting the Sande Plywood to size. For this project, I cut it to 18.5” wide and 12” tall. Clean the board to remove dust, and paint with DecoArt ColorWash stain.
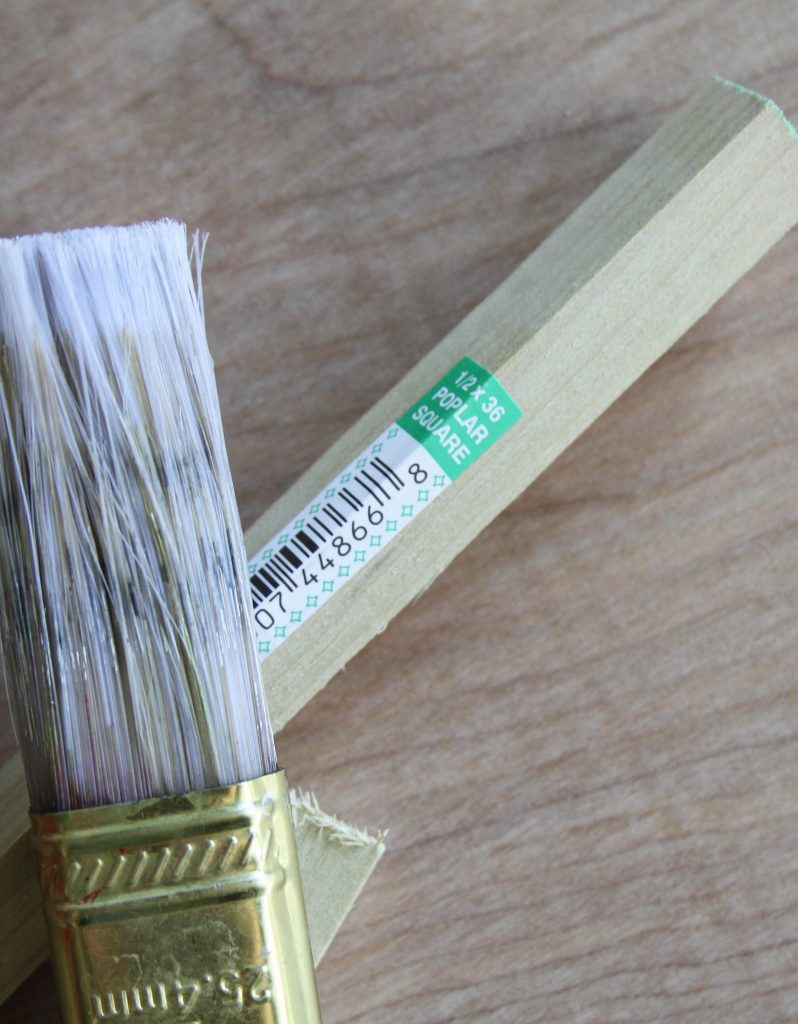
Cut 1/2” Square Dowel Rods to trim out the board. You can mitre cut them, or straight cut them for a more primitive look. I cut two at 18.5” and two at 11”. Paint the trim with DecoArt High Gloss paint.
While the wood dries, open up Cricut Design Space and create a file you love. You can buy an SVG from Etsy (this one is from Fynes Designs), use a pre-made one from Design Space, or even create and upload your own! Size the cut file to fit your board, and send it to cut. Remember to mirror the cut for Iron On Vinyl.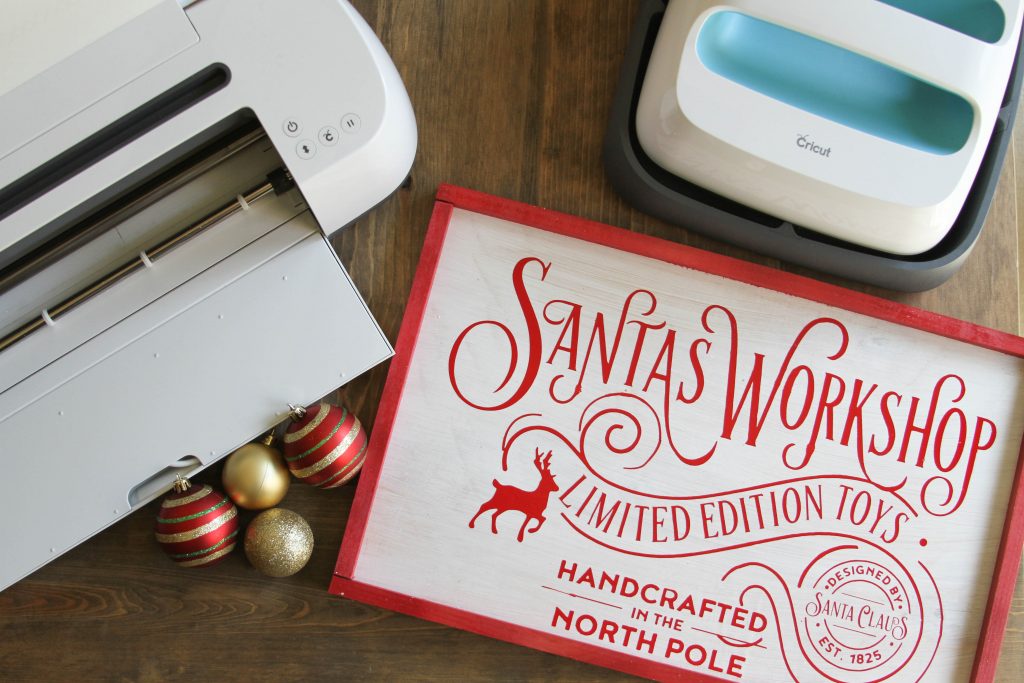
Weed the vinyl, and warm up the EasyPress. Apply the weeded vinyl to the painted Sande Plywood, and EasyPress it at 360* for 30 seconds. Once the vinyl is applied, carefully remove the transfer paper, and check to make sure all the vinyl is stuck to the board. You may need to repeat this step.
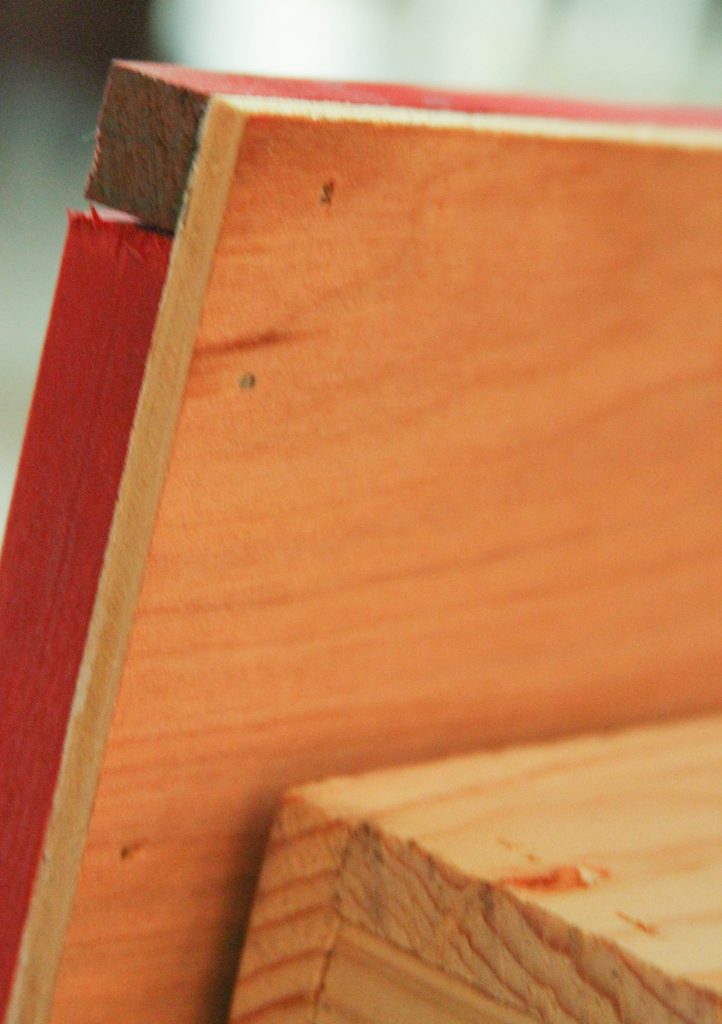
Add the trim using a nail gun or heavy duty glue. I nailed the trim from the backside of the sign. 
 Voila! Now you have an adorable new sign!




Oh I love it, how creative.
Thanks Mary, it is such a fun sign and so easy to make.
The Cricut press is possibly on my list, but it’s pricey. Besides signs, have you used it on anything that’s been a game changer?
Hi Trish, yes I have! I’ve used it on felt, fabric, canvas and leather and it has produced much better results than my iron! I know that it is a little pricey, but it has definitely taken the guess work out of my iron-on projects and I’ve found that my projects that I’ve ironed it on to fabric have lasted better wash after wash when I used the EasyPress.
I love the work thanks for sharing it, the cricut has so many things that it can do
come seee us at http://shopannies.blogpsot.com
I have not heard of an easy press before, but need to as your project is wonderful.
Hey, Mariah! Just wanted to let you know that we loved your DIY Santa’s Workshop Wood Sign so much when you shared it at the #HomeMattersParty last week, we’ve FEATURED it THIS WEEK! Hope you can check it out when you get a sec. Happy Friday!!!
https://lifewithlorelai.com/2017/12/14/home-matters-linky-party-165/
~Lorelai
Life With Lorelai / Home Matters Linky Party