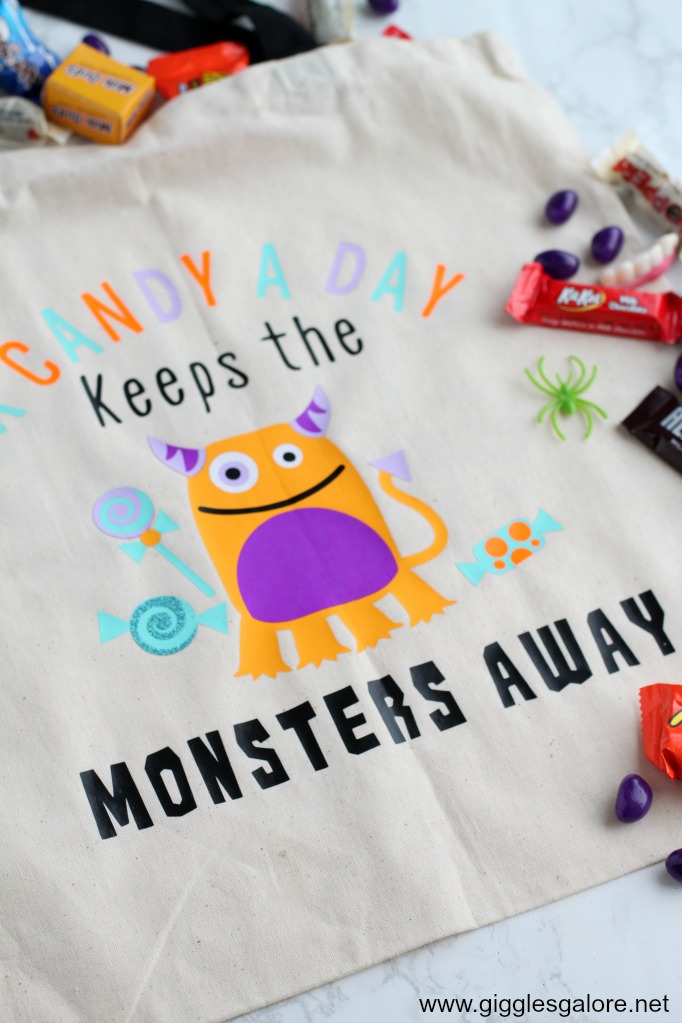
Let’s make a Halloween Monster Tote Bag for trick-or-treating with the Cricut EasyPress and iron-on vinyl.
I’m sharing this easy Halloween monster tote bag as part of a Halloween Blog Hop with some amazing crafters. So for those of you joining me from Toni at Design Dazzle, welcome! And make sure that when you reach the end of my post you hop over to see what Tauni from Tauni Everett created! I’m never disappointed with the amazing ideas they come up with!
This monster tote bag is super easy to whip up, and your kids will love that it gives them an excuse to eat all the candy!
Supplies for DIY Halloween Monster Tote Bag
- Cricut Maker
- Cricut EasyPress
- Cricut EasyPress Mat
- Cricut Iron On
- Black
- Purple
- Lavender
- Aqua
- Yellow
- White
- Cricut weeding tool
- Canvas Tote Bag
- Halloween Monster Tote Bag Design File
Start by opening up Cricut Design Space and the Halloween Monster Tote Bag Design File.
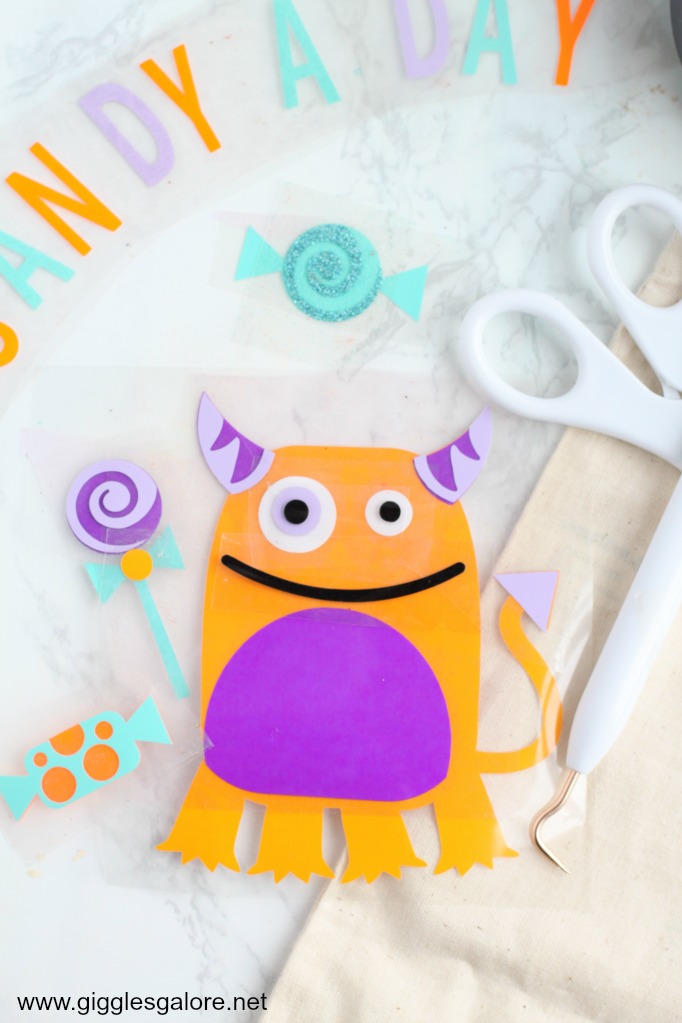
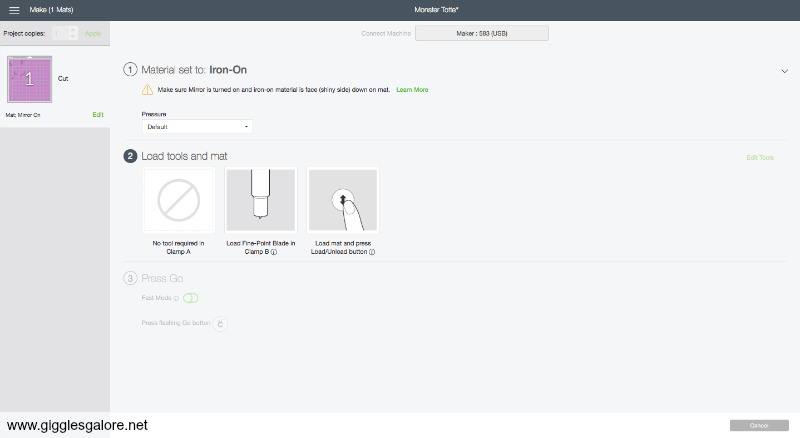
Once you have the file open hide all but one color. For example, you can see that I only have the light colored purple pieces showing. Select all and weld the images so that when you go to cut it keeps everything in the right spot.
Don’t forget to mirror your image before cutting!
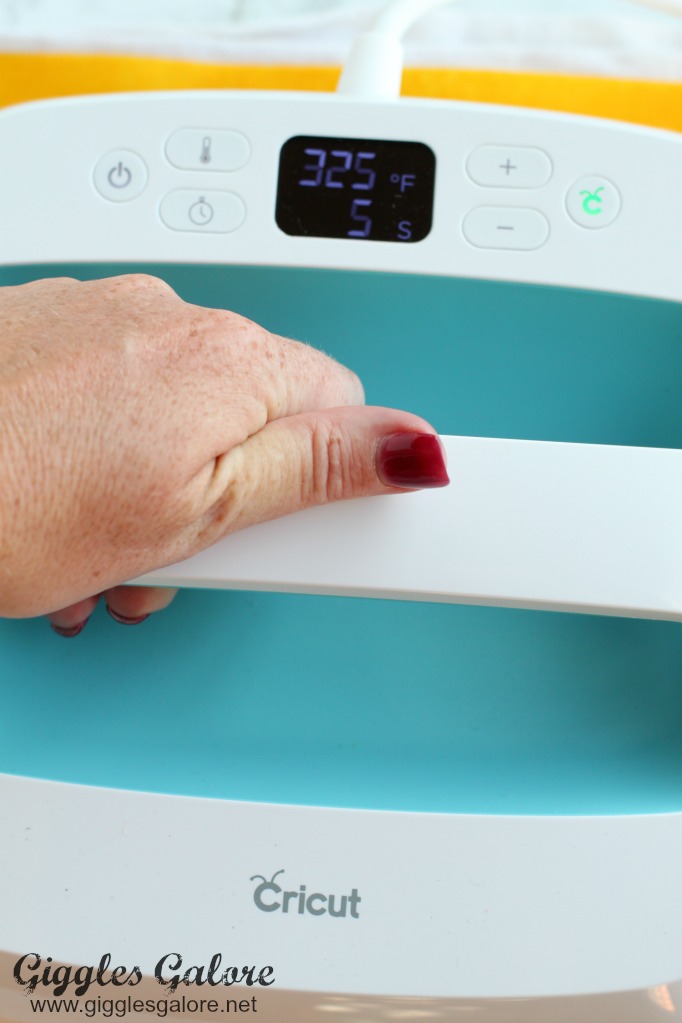
Once you have all the pieces cut out, place them together to make sure everything lines up correctly. Measure your tote bag and find the center point, place the design on the tote and use the EasyPress. If you have an EasyPress, follow the guide to make sure you have the correct temperature for your fabric.
It’s that easy. Now you are all set for trick-or-treating and collecting lots of candy!
Don’t miss any of the great DIY ideas on this fun Halloween hop from yesterday and today. Here’s a complete line-up of all the fun projects you’ll find…
Wednesday, October 17th

Pink Peppermint Design | The Celebration Shoppe | Sugar Bee Crafts | Dukes and Duchesses | Bird’s Party
Thursday, October 18th
Michelle’s Party Plan-it | Design Dazzle | Giggles Galore | Tauni Everett | Love the Day









Leave a Reply