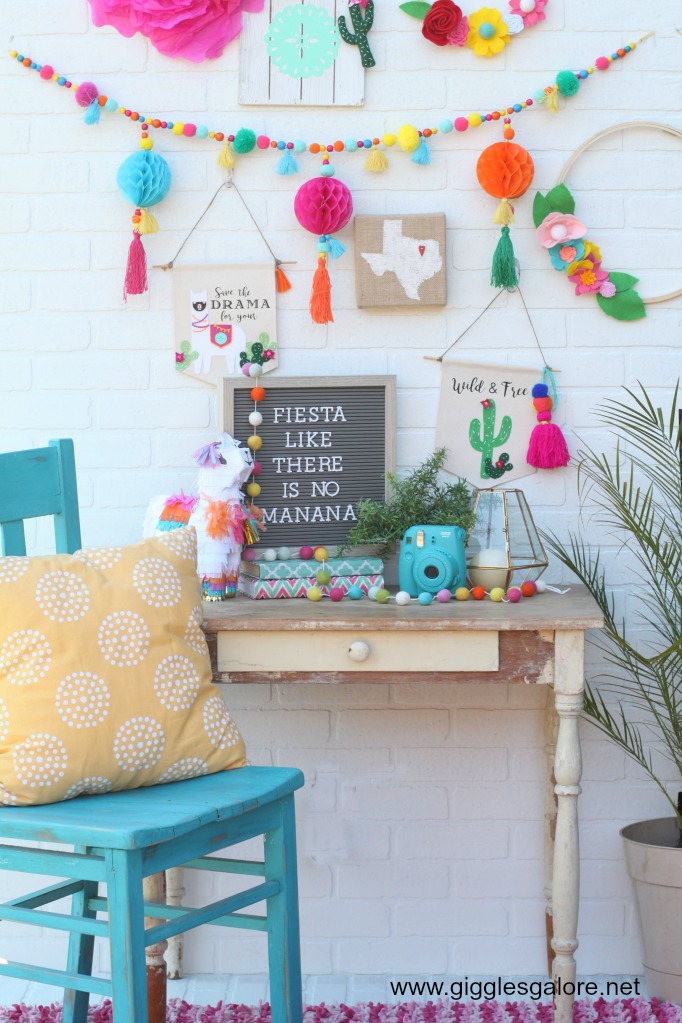
Just few days ago I shared my girl’s night Boho Chicks and Churros Fiesta party and told you about my obsession with fiesta themed parties and decor. Growing up in South Texas I was surrounded by colorful Mexican Papel Picado Banners, piñatas, cascarones and cacti. I just love the bright colors, which is why I will gladly find a way to incorporate fiesta themed celebrations or decor into my everyday. These colorful fiesta llama and cactus banners made with Cricut Maker are a fun way to add a pop of color to your Cinco de Mayo celebration or your everyday decor!
Last week you may have seen the DIY Teacher Appreciation Pennant Banner that I made. I love how it turned out, and decided I needed to whip up my own cute banner. With Cinco de Mayo just around the corner I figured a few fiesta themed banners were just what I needed.
Ok, it’s confession time are you sick of the llama and cactus trend yet?!? Personally I’m still loving these two icons, and after making these colorful fiesta banners I think I may be even more in love!
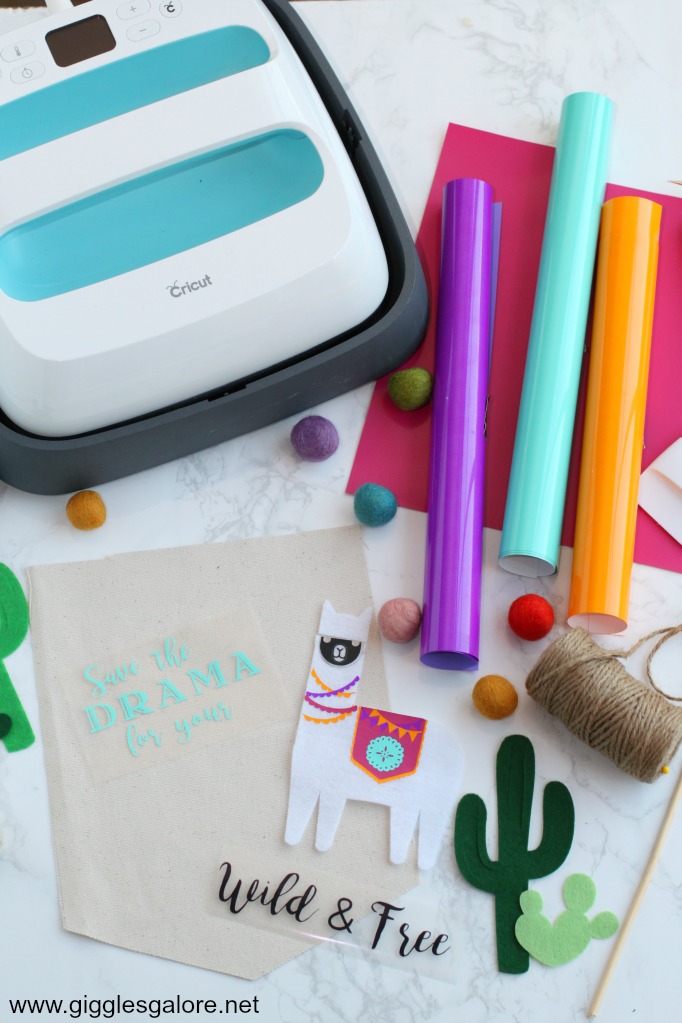
I recently ordered a bunch of colorful heat transfer vinyl from HTVWorld and knew that these fun colors would be perfect for this project. I know sometimes it can be hard to find the colors you want in craft stores, but HTVWorld has a huge selection of vinyl at a great, affordable price. And the have super fast shipping too, so you can get busy making all of the fun projects you have in mind.
I used my Cricut Maker to make these banners from start to finish. It took me a little bit longer than I expected to make them, but you should be able to make both of these in under an hour, don’t let the long list of supplies intimidate you.
Project Supplies:
- Cricut Maker
- 1/3 yard canvas fabric (will be able to make 3-4 banners)
- White Felt
- Green Felt
- Pink Felt
- Black Iron-on Vinyl
- Pink Iron-on Vinyl
- Yellow Iron-on
- Purple Iron-on
- Aqua Iron-on
- Cricut EasyPress
- Sewing Machine (optional)
- Heat and Bond Ultrahold Iron-on
- Dowel Rod
- Twine
- White Embroidery Thread
- Needle
- Colorful Llama and Cactus Hanging Banner Design File
- Tassel or Felt Ball Garland
Step 1:
First you will need to open the colorful llama and cactus hanging banner design file I created for you to use in Cricut Design Space.
Step 2:
Once you have the project open you can click on “customize” to make any changes like resizing the project, changing colors, ect. Or you can click “make it” and all of the materials will be sorted for you according to color.
Step 3:
Before I cut out the images on the felt I added heat and bond ultrahold iron-on to the back of the material according to the directions on the package. Place the felt on the mat and cut your llama and cacti. Note, when I originally designed the project I only had the llama on the banner. Once it was complete I decided it needed something else so I added a few more cacti. If you want yours to look like my finished product just cut out a few extra cacti in the green felt.
Step 4:
Now that you have your banners cut out it’s time to finish off the edges. I used my sewing machine to stitch around the sides of the banner. I folded the sides and bottom of the banner over 1/2″ and ran a quick straight stitch along the edge. I folded the top of the banner down about 1 1/2″ and sewed a pocket for my dowel rod.
Step 5:
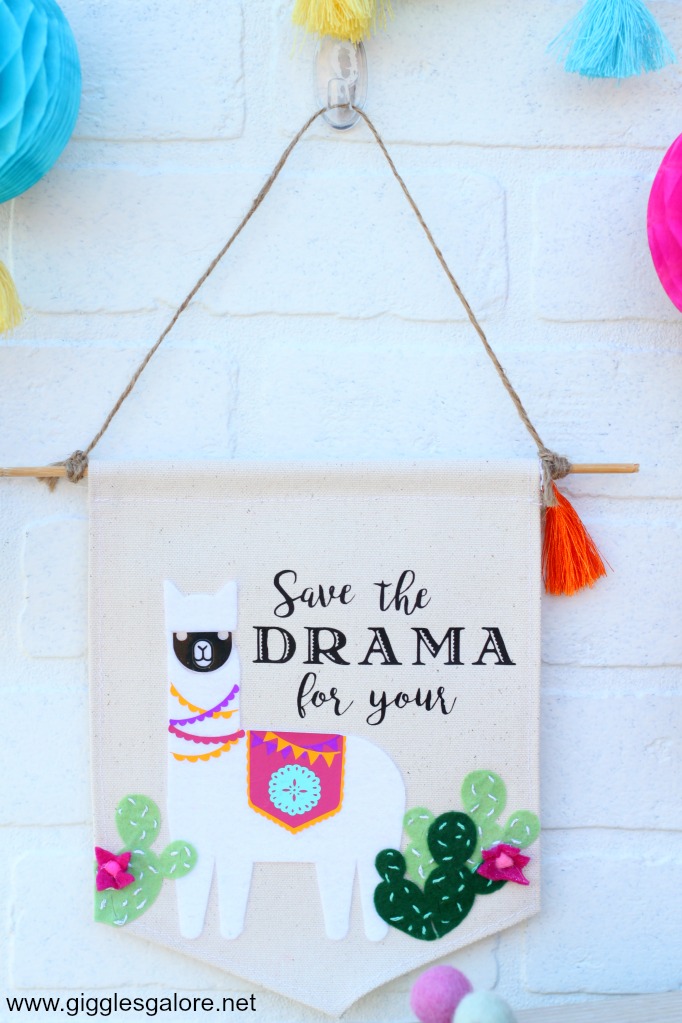
Now that all the pieces are cut out it’s time to start putting it all together. Set your EasyPress to 280ºF. Pre-heat the felt llama for 5 seconds (make sure the paper liner from the heat and bond is still on the back), then firmly press the EasyPress over the iron-on vinyl for 30 seconds. I started by adding the large yellow banner to the llama’s back, then layered that with the pink banner, aqua design element and the pennant banners. I trimmed the face of the black iron-on llama and added that part to the white felt llama.
Step 6:
Peel back the heat and bond paper liner on the white felt llama and use the EasyPress to iron it onto your canvas banner.
Step 7:
Pre-heat the EasyPress to 340º. Place the vinyl saying on the banner and firmly press the EasyPress for 30 seconds to bond the design to the canvas banner. Peel back the protective while the fabric is still warm to the touch.
Step 8:
To finish your llama banner add your dowel rod to the top pocket, attach twine to each end to hang it and complete the look with a colorful felt ball garland.
Step 9:
To make the cactus banner you will simply add the heat and bond ultra hold iron-on to the back of the green felt. Before you iron it on to the banner you can add a little bit of dimension to the cactus by running a few simple white stitches to each of them.
Step 10:
Repeat steps 6, 7 & 8 to complete your cactus banner.
I love how these colorful banners turned out and while they are perfect for Cinco de Mayo, I think they will add a touch of whimsy to my colorful office decor all year long!
I have been having lots of fun making these hanging pennant banners and think they are fun way to create custom decor for any holiday or celebration!









Where did you get those felt balls for the garland? I love those colors!
Hi Anna, I picked them up at a friend’s boutique in Arizona but I think you can find them on Amazon or Etsy as well.
Great stuff! That embroidery thread adds a special touch.
Hi love the theme. Where did you get the tassel and paper Pom Pom garland ?
Hi, thanks for the sweet comment! The pom pom garland is from Oriental Trading, it is part of their BoHo Fiesta line.
Loving the theme! My daughter has asked for the same for her eleventh birthday in May. May I ask you where you got the board from that you show in one of the pictures (the one that says ‘fiesta like there’s no manana’)?
That letterboard is from Oriental Trading, however, you can probably find similar ones at your local craft store.
I love everything. Beautiful set up. Where did you get that white Piñata?
Thanks Suzanne! The cute little llama Pinata is from Oriental Trading, they also have a few other really cute ones right now too!