I am having so much fun creating projects with the new Cricut Infusible Ink and today I’m back with another stylish project I know you will love. Today I’m showing you how to create a Wild at Heart Tote Bag with Cricut Infusible Ink.
By now you’ve heard me rave about this new product quite a bit. Earlier I showed you how to make this Just Chillin’ Summer T-Shirt and Summer Coasters with the Infusible Ink transfer sheets. I have been so impressed with the quality of this product I couldn’t wait to make more things and decided it was time to try it out on a tote bag.
I spotted a roll of the animal print transfer sheets at Michaels and instantly knew it would make the perfect tote bag. My family has always referred to me as the “wild child” so it’s only fitting that I have a tote bag that embraces my wild side. I opened up Cricut Design Space and created a Wild at Heart SVG.
Now that I have the perfect design it’s time to get busy crafting. One of the things I love about this new product is how easy it is to create peel-proof, flake-proof, and wash-proof projects that will stand the test of time. I was able to make this tote in less than 30 minutes from start to finish, and the results are incredible.
SUPPLIES:
- Cricut Maker or Cricut Explore cutting machine
- Standard Grip Machine Mat
- Cricut EasyPress 2 or Cricut EasyPress
- Cricut EasyPress Mat
- Cricut apparel blank (Compatible with Infusible Ink)
- Infusible Ink Transfer Sheet
- Butcher paper (2)
- Cardstock (80 lb.), White (colored cardstock not recommended)
- Lint roller
- Scissors
- Tweezers
- Design Space software on mobile device or computer
- Free Wild at Heart SVG
Wild at Heart Tote Project Steps:
Step 1: Place Infusible Ink Transfer Sheet onto the Standard Grip mat, liner side down. I used patterned animal transfer sheets for my tote bag design.
Step 2: In Design Space, open the Wild at Heart SVG and size to fit on your apparel blank. Cricut® blanks are specially engineered and tested to give you great results with Infusible Ink™ product and materials. Whether you’re making a T-shirt, baby bodysuit, tote or coaster, these plain materials are ready for you to infuse with vibrant designs made using Infusible Ink™Transfer Sheets, Pens and Markers.
Step 3: Select browse all materials, then Infusible Ink Transfer Sheet. If you are using a Cricut Explore machine, turn the Smart Set Dial to Custom first. Don’t forget to mirror your image!
Step 4: Load the mat into the machine, then press the flashing Go button.
Step 5: Once the image is finished cutting unload the transfer sheet and weed your design. Start by removing it from the mat and trimming away any unused areas of the sheet. Gently roll the cut design so the lines separate and are more visible. Make sure your fingers are dry if weeding with fingers. You may want to reach for your weeding tool, but “cracking” the cut this way will make it easier to remove excess paper from in and around your design. Trim the clear liner so it does not extend beyond the Cricut EasyPress heat plate.
Now that you have cut out your design on the Infusible Ink transfer sheets it is time to apply it to your Cricut Infusible Ink compatible blank. It is important to follow the proper care and steps for your selected material to ensure optimum performance.
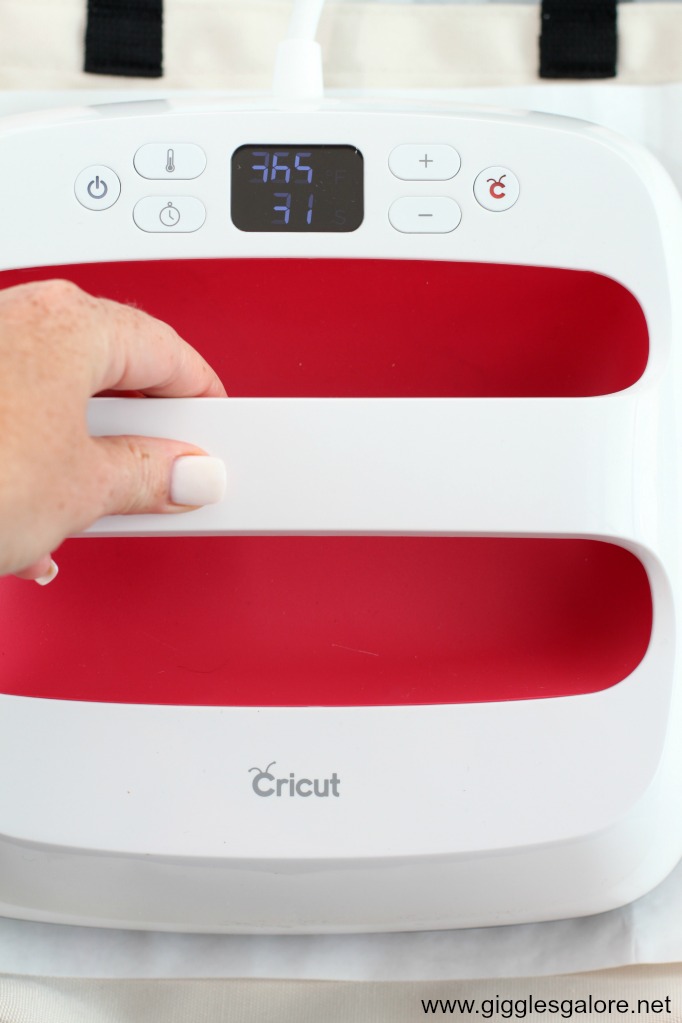
Step 6: Preheat the Cricut EasyPress 2 to 385° F. Preheat the application area to remove moisture and any wrinkles. Do not skip this step it can result in unwanted effects if the material is not properly prepped.
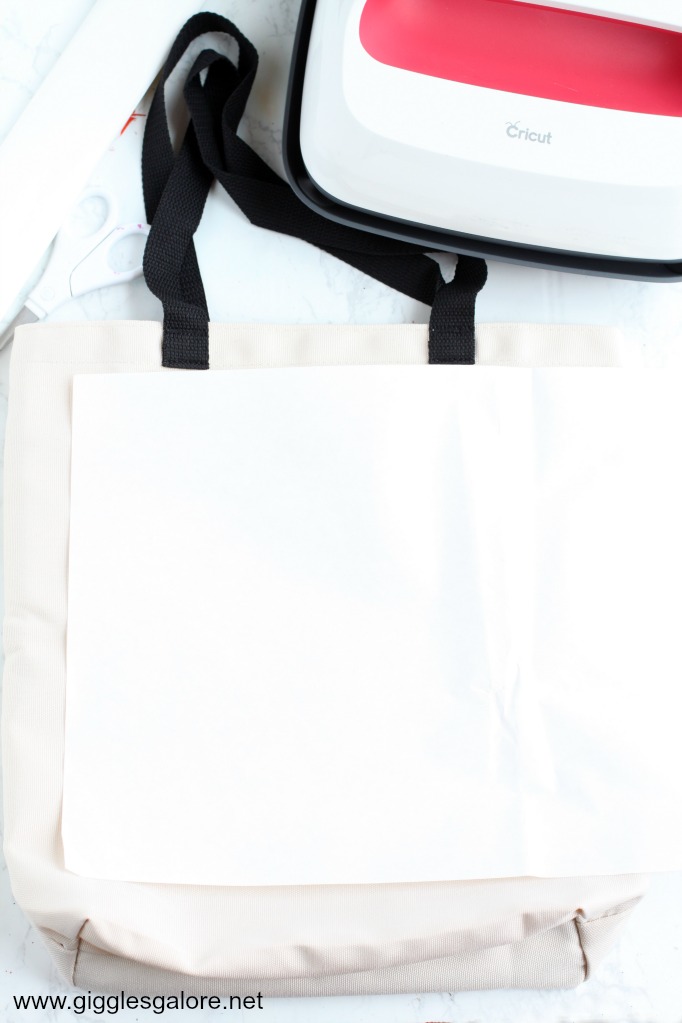
Step 7: Place a piece of white cardstock on top of the Cricut EasyPress Mat, then position both inside the tote. The cardstock will protect your mat and project.
Step 8: Use a fresh adhesive lint roller to lint roller the entire surface of the tote bag. DO NOT SKIP THIS STEP. Even tiny little fibers can create imperfection in the transfer.
Step 9: Place your design face down on the tote. The clear liner should be on top and the printed side of the Infusible Transfer Sheet should be against the tote.
Step 11: Carefully place the Cricut EasyPress on top of the design and hold in place for 40 seconds. Do not slide or move your hands, you want to keep the stack still while pressing.
Step 12: When the time is up, slowly lift the press. Let the project cool completely and slowly remove the transfer sheet to reveal your design.


Leave a Reply