This is a sponsored post written by me on behalf of Cricut. All opinions are 100% mine.
Create a BoHo Leather and Foil Sign with the new Cricut Foil Transfer System.
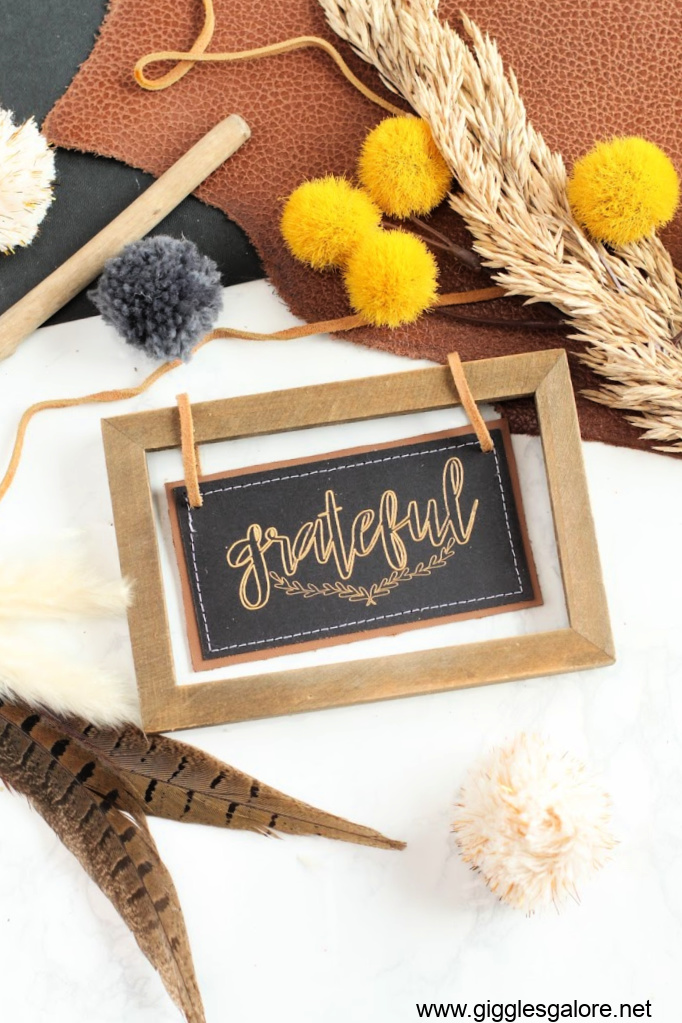
Bring the cozy comfort of fall to your home with a Bohemian-inspired faux leather sign that shines.
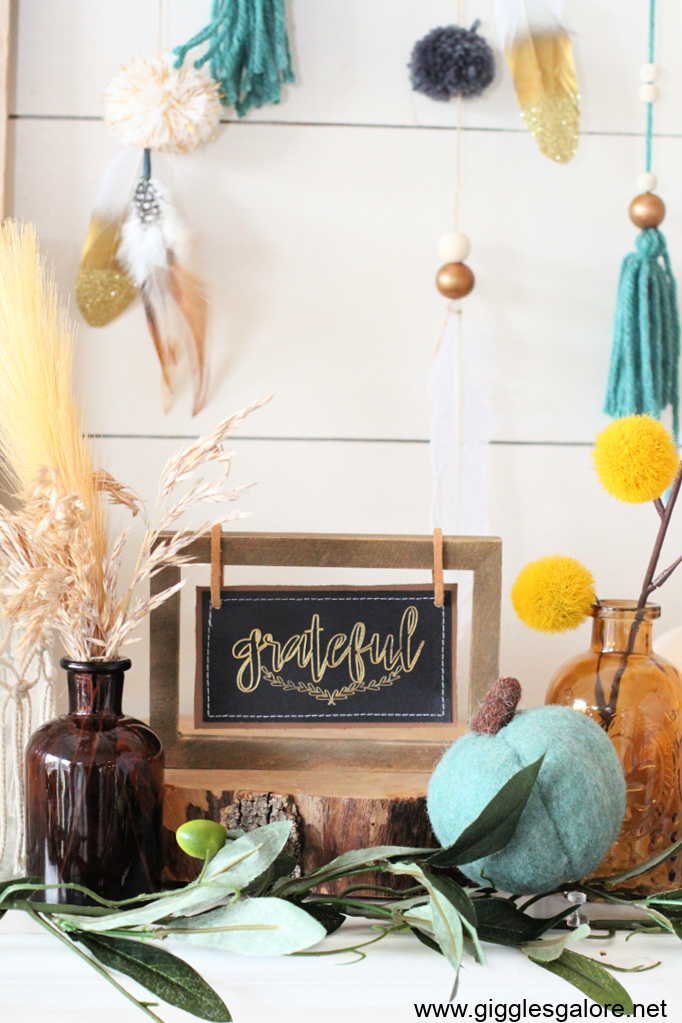
I wanted my fall mantel to be simple with a mix of neutrals, different textures, and pops of color. I set out to create a BoHo fall look and added a custom sign using the new Cricut Foil Transfer System.
Cricut recently launched a brand new tool that will turn your crafting and DIY projects into something extraordinary! I couldn’t wait to try it out and absolutely love the results.
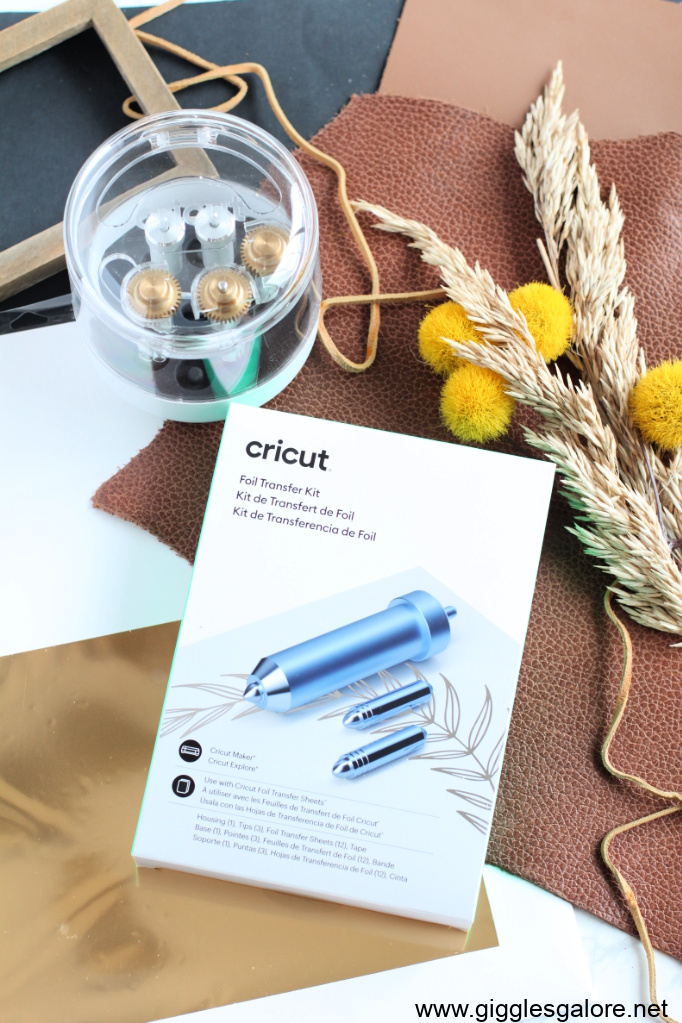
What is the Cricut Transfer System
The Cricut Foil System is a new tool that is pressure activated, eliminating the need for heat and cords.
With the new pressure-activated tool and Cricut Foil Transfer Sheets you can create stunning foil effects and embellish with ease.
You can use the Cricut Foil tool with any machine in the Explore and Maker lines and it seamlessly integrates into Cricut Design Space making it simple to apply foil in conjunction with any other action like cutting or debossing. Click here to learn more about How to Use Cricut Foil Transfer System.
How to Make Leather and Foil Sign
Create your own shiny leather and foil sign in under 30 minutes with this step-by-step tutorial.
Supplies:
- Cricut Maker or Cricut Explore cutting machine
- Standard Grip Machine Mat
- 3 in 1 Cricut Foil Transfer Tool
- Cricut Foil Transfer Sheet
- Masking Tape
- Black Kraft Board
- Cricut Genuine Leather – Caramel
- Leather Cording
- Sewing Machine
- Wood Frame
- Design Space software on mobile device or computer
- Grateful SVG
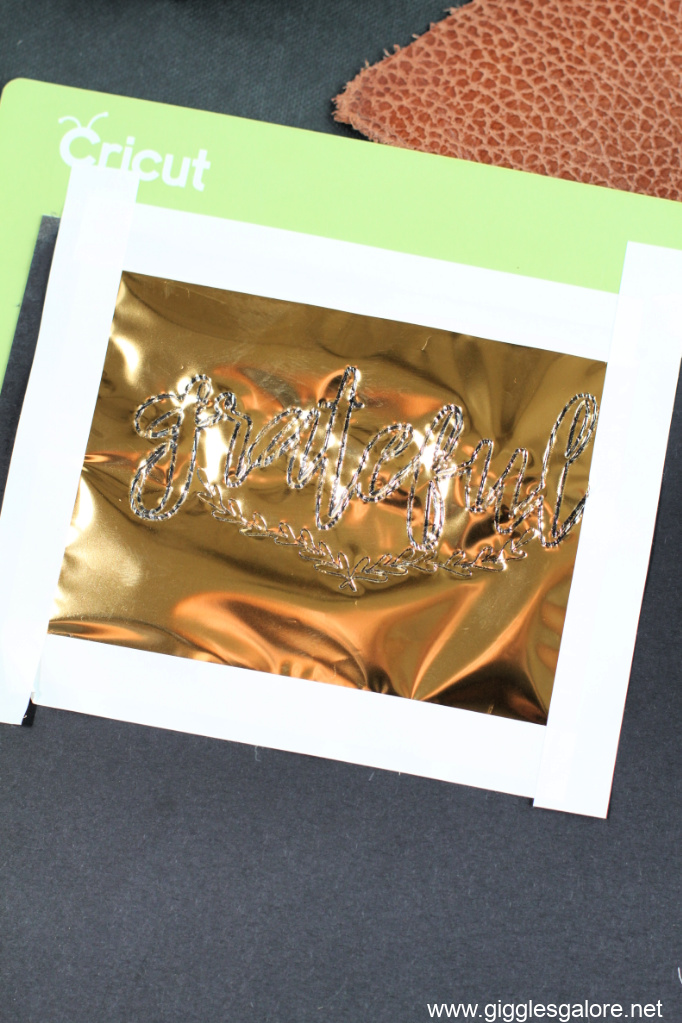
Start by placing your base project on the Cricut mat. Depending on the thickness of your base material you will want to use masking tape and top, bottom, and sides of the material to the mat.
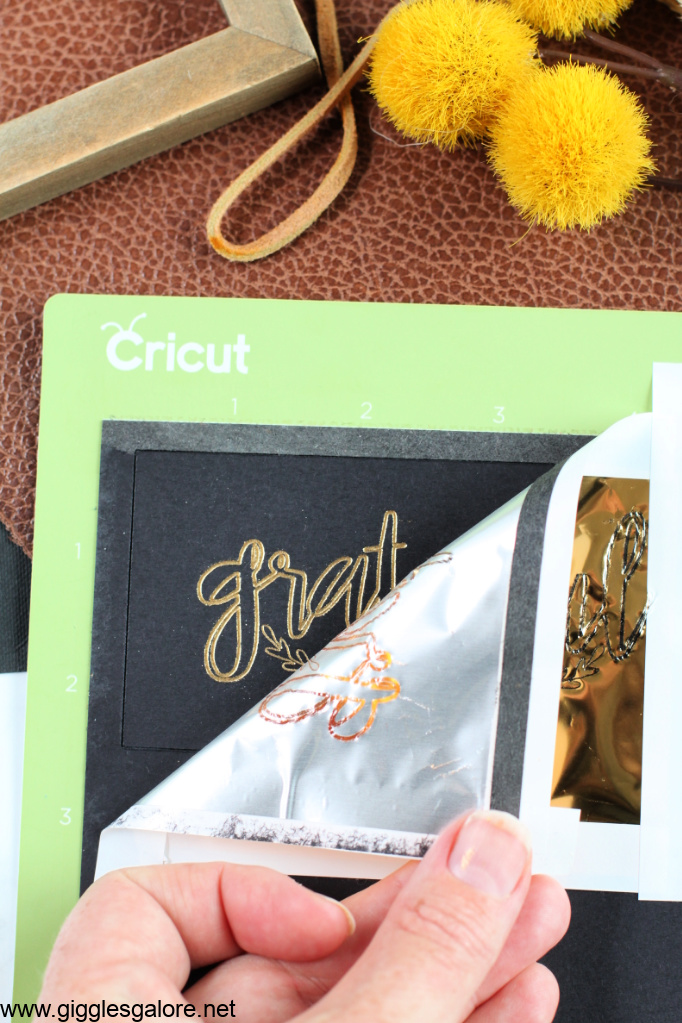
Next, place the foil transfer sheet, shiny side up on top of the base material. Carefully, use the tape to secure the foil sheet to the material. Note, you want to make sure the foil is pulled taunt so that there are no bubbles or wrinkles. Also, the tap is very sticky and once place on the foil sheet it can not be removed, otherwise it will ruin your foil sheet. Be very careful with this step and take your time getting the material set in place.
Follow the Design Space promts to complete your project. Once the foil has been cut, peel back the foil sheet to reveal the glimmer and gleam.
Place the black Kraft Board onto he slightly bigger piece of genuine leather. Use a sewing machine and white thread to stitch around the entire sign. This little detail gives the project that extra special touch, but if you don’t have a sewing machine you can skip this step.
Next, use a leather tool punch to create two small holes in the top of each corner.
Tie a piece of leather cording through each hole and secure it to a wooden frame.
I absolutely love how my little sign turned out. The foil gives it a bit of shine creating a stunning effect that will last season after season.
BoHo Fall Mantel Inspiration
I paired my leather and foil print sign with natural elements to create a BoHo inspired fall mantel.
Mini amber bud vases filled with faux grass and wheat pair perfectly with my new sign. The new Cricut Foil Transfer System makes it easy to add visual interest to any project for a long-lasting effect that is striking.
I really wanted to focus on texture and color this fall, and I think that this BoHo Fall Mantel has it all. And I absolutely love my cute little reminder to focus on all the things we have to be grateful for this fall!









Leave a Reply