Deck the Halls and trim your tree with these beautiful DIY painted copper leaf ornaments. These easy DIY ornaments can be completely customizable with plastic ornaments, paint, and copper or gold leaf sheets.
Transforming my home for the holidays is one of my favorite things, and a close second is making fun crafts. This project is a home run for both. While there are tons of beautiful options for ornaments that you can buy in stores, I love the idea of creating my own handmade ornaments that I can add to my Christmas decor.
Not only does adding DIY ornaments add a personal touch, it can also be a cost-effective way to get a glam look for less.
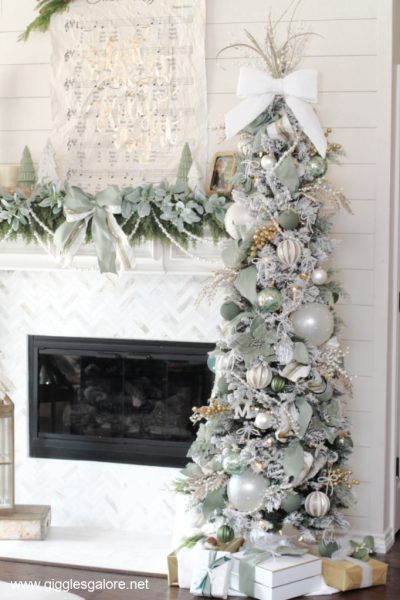
I remember visiting my great-grandma’s house during the holidays and being in awe of her gorgeous holiday decorations. She always had the most elegant themed trees and rarely kept the same theme from year to year. It’s funny how those little details and memories become such a big part of who you are. Now that I have my own home to decorate I find myself embracing my great-grandmother’s style and attention span for decorating. Every year I look forward to transforming our home with a new theme, and this year I decided to go with the popular metallic trend and work it into our modern farmhouse decor to create a Glam Metallic Farmhouse Christmas Tree.
While I wanted to keep everything fairly neutral with the winter white and shimmery metallic colors, I also knew that it just wouldn’t be me without a pop of my signature aqua color. So, I decided to make a few of my own handmade copper leaf ornaments for the tree and to create a beautiful mantle display.
How to Make DIY Copper Leaf Christmas Ornaments
Making your own DIY ornaments is easy, all you need are a few supplies. Here are the things you will need to make your own Christmas tree ornaments.
Supplies:
- Plastic Ornaments
- DecoArt Americana Paint
- Copper Leaf Sheets
- Gold Leaf Adhesive
- Paint Brush
- Plastic Cups
- Ribbon
- Picture Frame
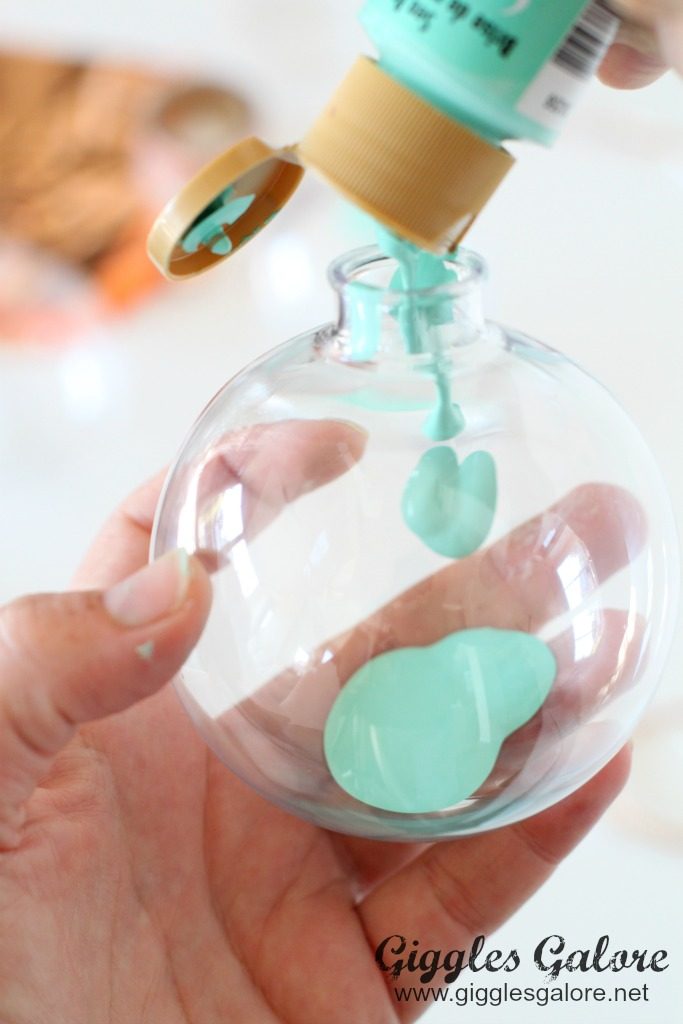
Step 1: Remove the top of the plastic ornament and set it aside (I spray-painted mine copper to match). Squeeze a small amount of the pain into the plastic ornament.
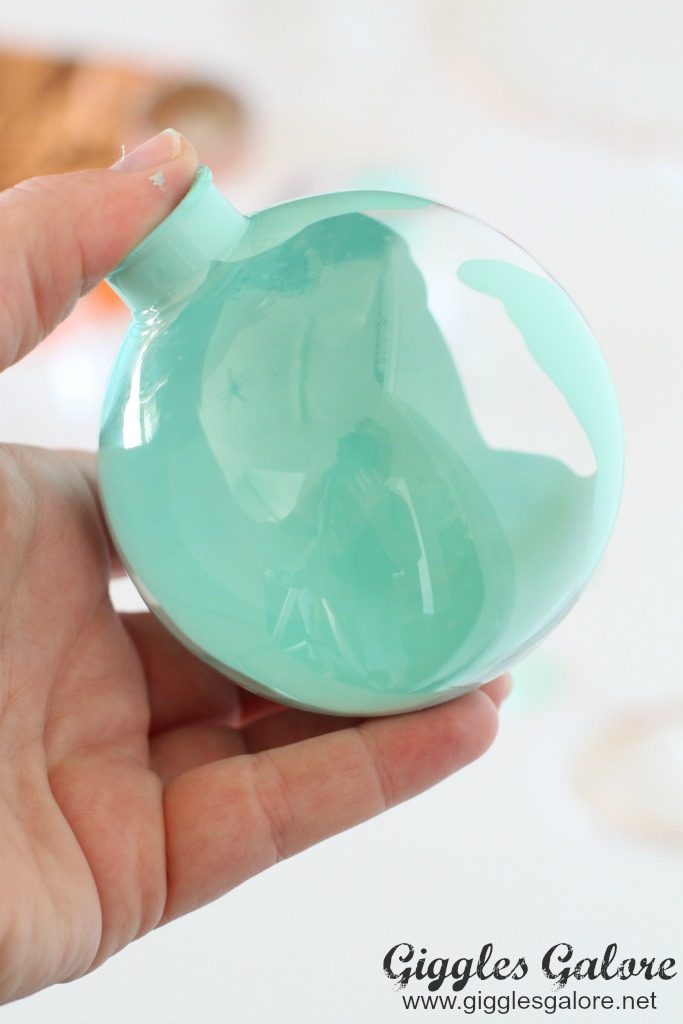
Step 2: Swirl the ornament around until the entire inside of the entire ornament is covered.
Step 3: Turn the ornament upside down and place on a plastic cup for a minimum of 15 minutes. This will allow any excess paint to drip out. Let the ornaments dry, upside down, for at least 24 hours.
Step 4: Use a paintbrush to paint a thin layer of gilding leaf adhesive on the bottom half of the ornament. Once the adhesive has tried to a tacky touch gently lay the copper leaf on the ornament. Use a dry paintbrush to smooth out any wrinkles and excess copper leafing.
Step 6: Tie ribbon to the ornament hooks and attach to an empty picture frame for a beautiful DIY holiday decoration.
I love how these ornaments are simultaneously simple and gorgeous. I think they coordinate perfectly with my Glam Metallic Farmhouse Christmas Tree. This year’s holiday decor may be my favorite, it incorporates everything I love right now from shimmery metallics to farmhouse trends, and my favorite color, aqua!
Make sure you check out these other DIY Christmas projects for even more creative holiday inspiration.







I love the gold and blue♥
Very very pretty! Aqua is my color too and with the copper, these ornaments are stunning! Thanks for sharing the DIY!
Thank you Ann Marie, I am loving all the aqua in my Christmas decor this year. 🙂
I simply love those colors! So beautiful.
I can not believe that these are plastic ornaments. These are so gorgeous! I had to stop by and see how you made these, and pinned! maybe next year…
Thank you Deb, they are so easy to make and such a great statement piece!
These gold leaf ornaments are so sophisticated. They’d make wonderful gifts. Congrats, you’re featured this week at the #ThisIsHowWeRoll Link Party.
Oh I love these! I just bought some of those ornaments and had not decided what to do with them! I may have to try this!
Love these! So easy and unique for the holidays! Thanks for sharing!
This might be my favorite project right now! Love the colors and idea. I can’t wait to make some. Thanks for the tutorial. If you have time share this at this week’s Inspiration Spotlight party. Happy holidays & making!
Oooh, these are gorgeous! Thanks for sharing!
Hi, with the gold leaf on the outside, do they need to be sealed? Thank you so much
Hi Carmen, no there is no need to seal the gold leaf on the outside. It will adhere to the adhesive and stay intact. I’ve had mine for many years and store them in my attic and haven’t had any problems with the gold leaf coming off. However, if you want to seal it to protect it I suggest using ModgePodge, but you will need to apply it in very thin layers and carefully so you don’t brush off the gold leaf or leave streaks.