We are in the process of redoing my oldest daughter’s bedroom in our new house. When we asked her what she wanted in her new room she asked for a desk. She wants a place to draw and write stories, one of her favorite things. With the start of school just around the corner I thought having a dedicated space for her to work on homework was a great idea too. I’m excited to share her Chalky Finish Paint Desk Makeover with you. I originally shared this post on the DecoArt blog, but it was such a labor of love I didn’t want you to miss out on it too.
With a new project on my ever growing “to-do” list I set out to find the perfect desk that was inexpensive and in great shape for a DIY makeover to match my daughter’s new big girl room. After several weeks of looking at local thrift stores, scouring the internet and hitting up garage sales I finally found a great little desk with solid bones for a makeover, but it definitely needed a face lift!
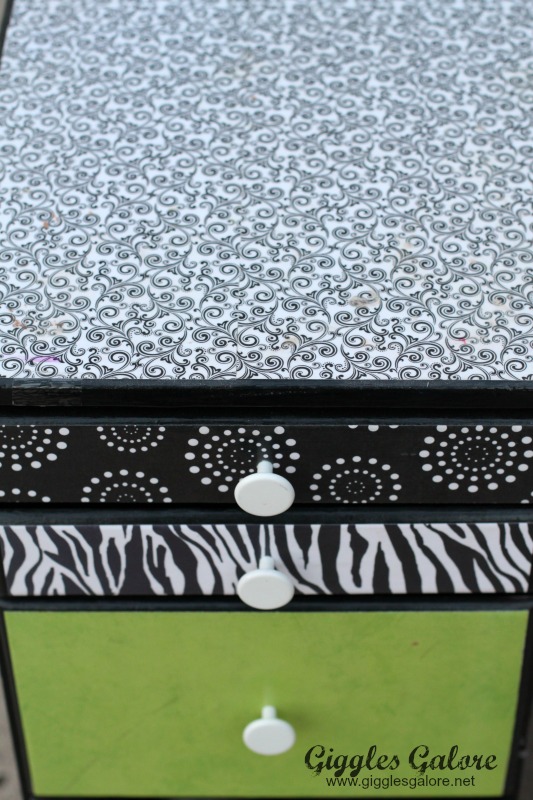
I picked up this desk for $20 at a garage sale and knew it would be perfect for my daughter’s room, what I didn’t know is what a challenge this project would be! When I bought the desk I knew that if I could look past the crazy scrapbook paper that had been Modge Podged onto the top and drawers that it would be a beautiful piece of furniture for my daughter’s new room.
I figured with a little paint stripper and elbow grease I could easily transform it into a sophisticated and pretty piece of furniture. I was wrong. So very wrong! This desk was a nightmare. In additional to the Modge Podge layer of scrapbook paper there were eight layers of paint. Yes, 8 layers! Eight stubborn layers of paint that had to be removed before I could transform this beauty.
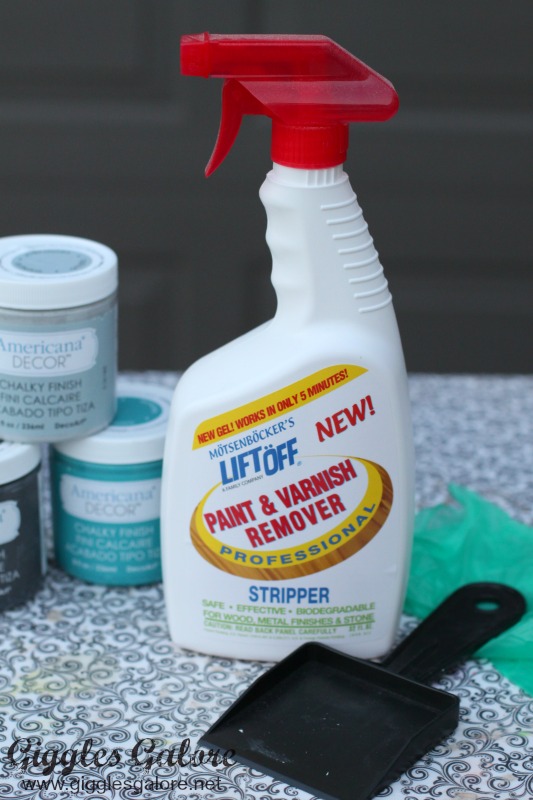
I’ve only stripped one other piece of furniture and it was years ago, but I certainly didn’t remember it being such a task. I started out with the eco-friendly, safe non-toxic paint stripper and realized that unless I wanted to be working on removing the paint from this desk for a gazillion hours I better switch to the heavy duty stuff! I ended up buy a metal paint scraper and the good old fashioned liquid paint stripper, which worked so much better than the spray on gel I started with.
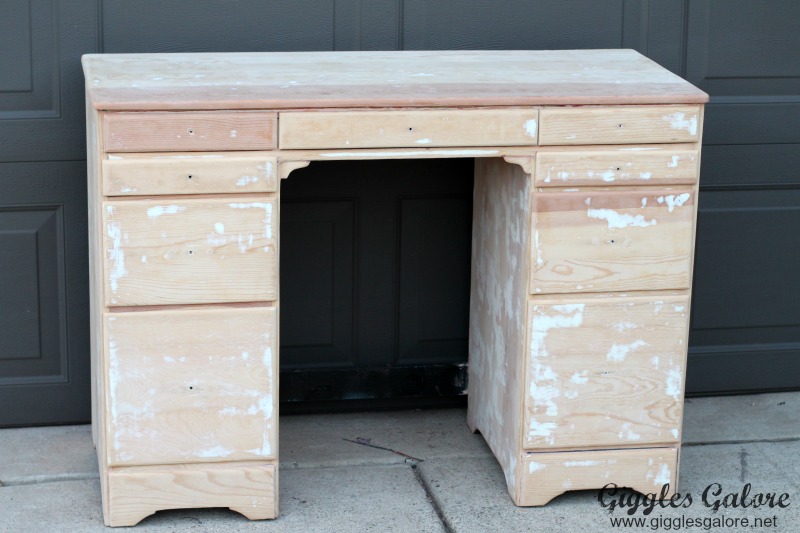
It took me at least 3 coats of paint stripper on the entire desk to remove all the layers of paint and a good sanding. Eight stubborn layers of paint later, and I finally had the desk stripped down to its natural state ready for a makeover.
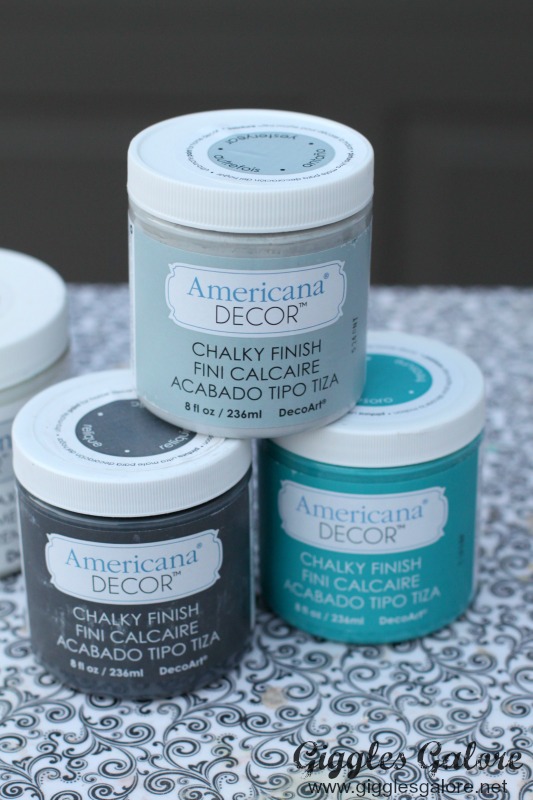
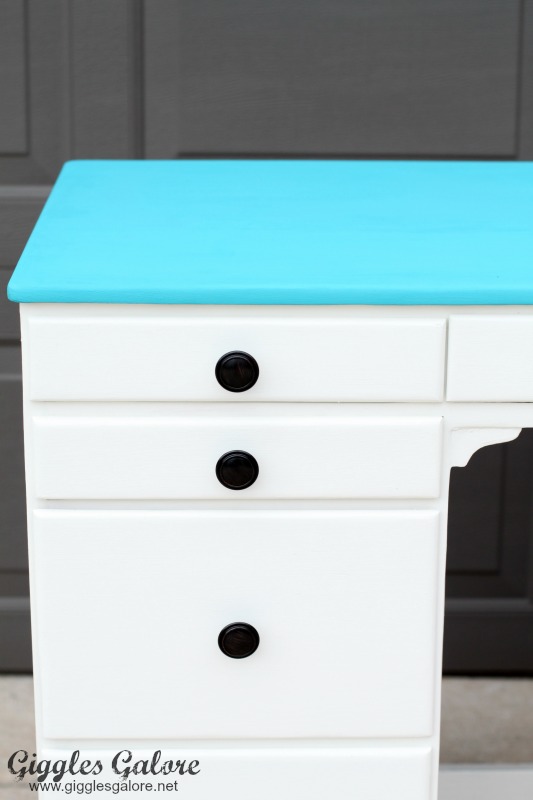
I had a hard time deciding on what color to paint this desk, but ultimately I went with my favorite Chalky Finish paint from DecoArt in Treasure for the top of the desk and stuck with the classic Everlasting Chalky Finish for the rest of the desk.
I let the paint dry overnight and then I painted on DuraClear Satin Varnish for a protective layer that will help it stay looking beautiful for years to come. I really like this product, it is a superior quality, non-yellowing finish which is important when your painting something a crisp white!
I had a few of these bamboo chairs just sitting in my garage that a friend gave to me; so I decided to paint one of them with DecoArt Chalky Finish Treasure to match the top of the desk. It’s the perfect compliment to this pretty little desk.
I am also still trying to decide if I should distress the desk and give it a more antique feel or just leave it as is, what do you think?
Now that the project is finally done I am excited about getting it in my daughter’s new room and finishing her big girl room makeover. We still have a few more projects that need to be finished, but this is a start. While this garage sale find took much longer than I anticipated and was much harder than I anticipated I think it was well worth the effort, I love the end results.
And just think, my daughter may write and illustrate a famous story that will one day be published sitting right here at this beautiful and sophisticated desk! Or at the very least she will get her homework finished and turned in on time.
Want more inspiration for your room makeover? Check out my youngest daughter’s Bright and Bold Bedroom Makeover and DIY Chalky Finish Nightstand Makeover.









Oooo! Gorgeous new look for the desk and chair. Bright and happy looking. Hands off to you for working so hard stripping the old look off. I’ve stripped paint off a table and it took a couple layers of paint stripper and some sanding before it was ready for stain. Well worth the work!
You chose my favorite blue color for this makeover. I keep scrolling back just to stare at your lovely desk makeover. Thanks for sharing at the #ThisIsHowWeRoll Link Party.
How many jars of chalk paint did you use for this project ? I’m contemplating taking on something similar. Thanks!
Hi! I used 1 jar of the turquoise-colored paint for the chair and the top of the desk. I used two jars of white. The great thing about the chalk paint is it really goes a long way so you don’t need as much as you think. Good luck, I hope your project turns out great!