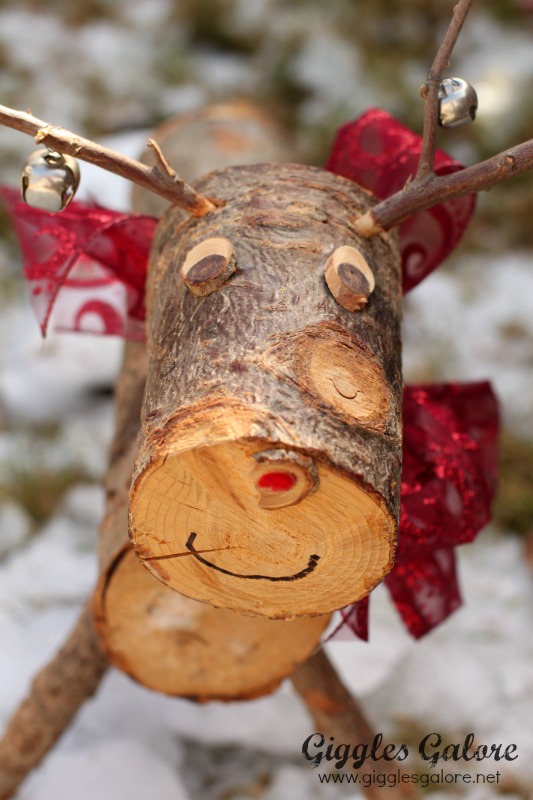
This wooden reindeer holds a special place in our families Christmas holiday. The original version of this wooden reindeer has been in our family for more than 35 years. He was originally made by my Dad as a Christmas gift for my great-grandmother. After she passed away my parents gave him to me as a gift for the first Christmas in our new home. He is a cherished treasure. Over the year’s I’ve gotten lots of comments and questions about where he came from and I love telling his story. I decided to make a few this year for some very special friends, a gift I hope they will treasure for many years to come.
Do you want to make your own wooden reindeer? I promise it’s not to complicated and the best part is it won’t cost you a thing.
Supplies
Wood from tree – You can use the trunk of your Christmas tree (which is what my dad used, ask them to cut the pieces for you) or you could use pieces from any tree
Tree Branch
Wood glue
Ribbon
Sharpie
Directions
1. Cut the first log 12 inches for the body of the reindeer . Sand each cut end for a smooth finish.
2. Cut the next log 4 1/2 inches for the head of the reindeer. Sand the cut ends for a smooth finish.
3. Trim your tree branch into four 8 inch pieces for the legs.
4. Drill a small hole in the bottom of the reindeer’s body for each leg. Insert the legs and make sure they fit, cut the ends if necessary.
5. Put a dab of wood glue in each hole, insert the legs and let the glue dry.
6. Drill two small holes in the head for the reindeer’s antlers. Add a dab of wood glue to the hole and stick in twigs for the antlers.
7. Draw a face on your reindeer with a Sharpie and if you want add a Christmas bow around his neck and jingle bells to his antlers.
Rudolph the Wooden Reindeer will be a treasured decoration for many years to come. Do you have a special family Christmas decoration that you display each year?


Leave a Reply