Hi, I’m Rachel! I blog at R & R Workshop about diy projects, crafts, printables and more. I’m happy to be here today and to share a tutorial for a DIY Spring Wall Hanging!

I found this cute tea towel at TJ Maxx and it didn’t take me long to figure out what I wanted to make. It is really long so I thought it would be perfect for a wall hanging! I will admit that the polka dots and scallop edging are what really drew me to it 😉 We don’t have very much spring decor, so this was the perfect little craft to add some fun spring colors into our home!
Here is what you will need:
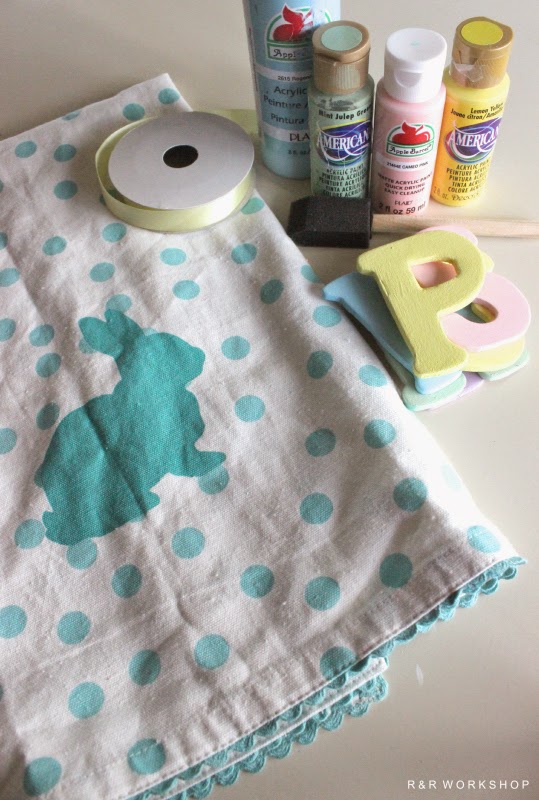
- Fabric or tea towel like I used
- wooden letters
- paint and paint brush
- ribbon
- wooden dowel
- glue gun
Instructions:
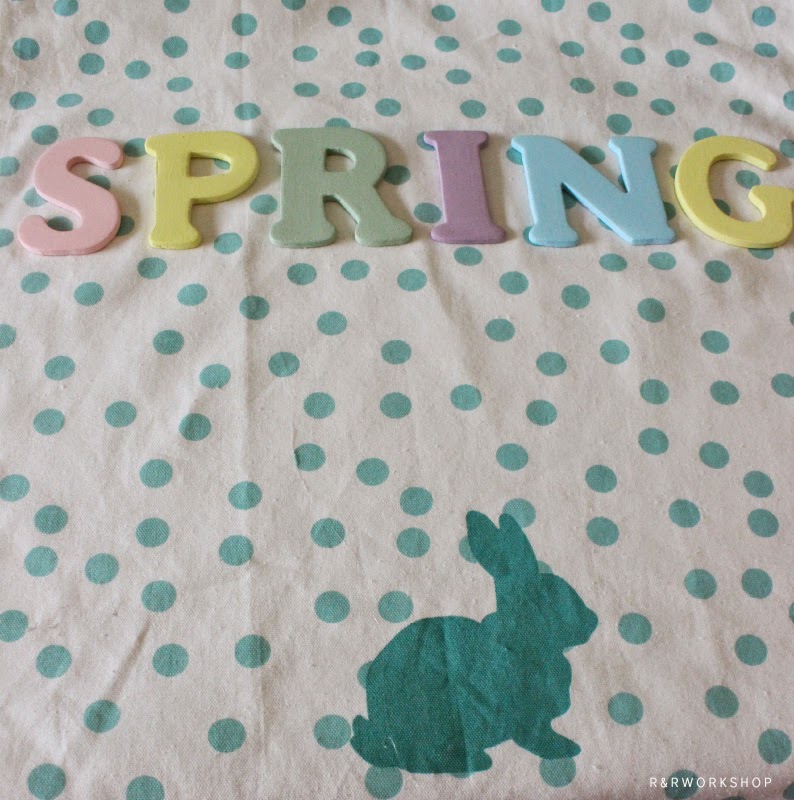
1. Paint your letters! I chose spring colors: yellow, pink, blue, green and purple. Allow to dry.
2. Iron fabric if desired. Because I went with a towel, all the edges were sewn already. If you are using a piece of fabric, determine the length you want and hem the edges.
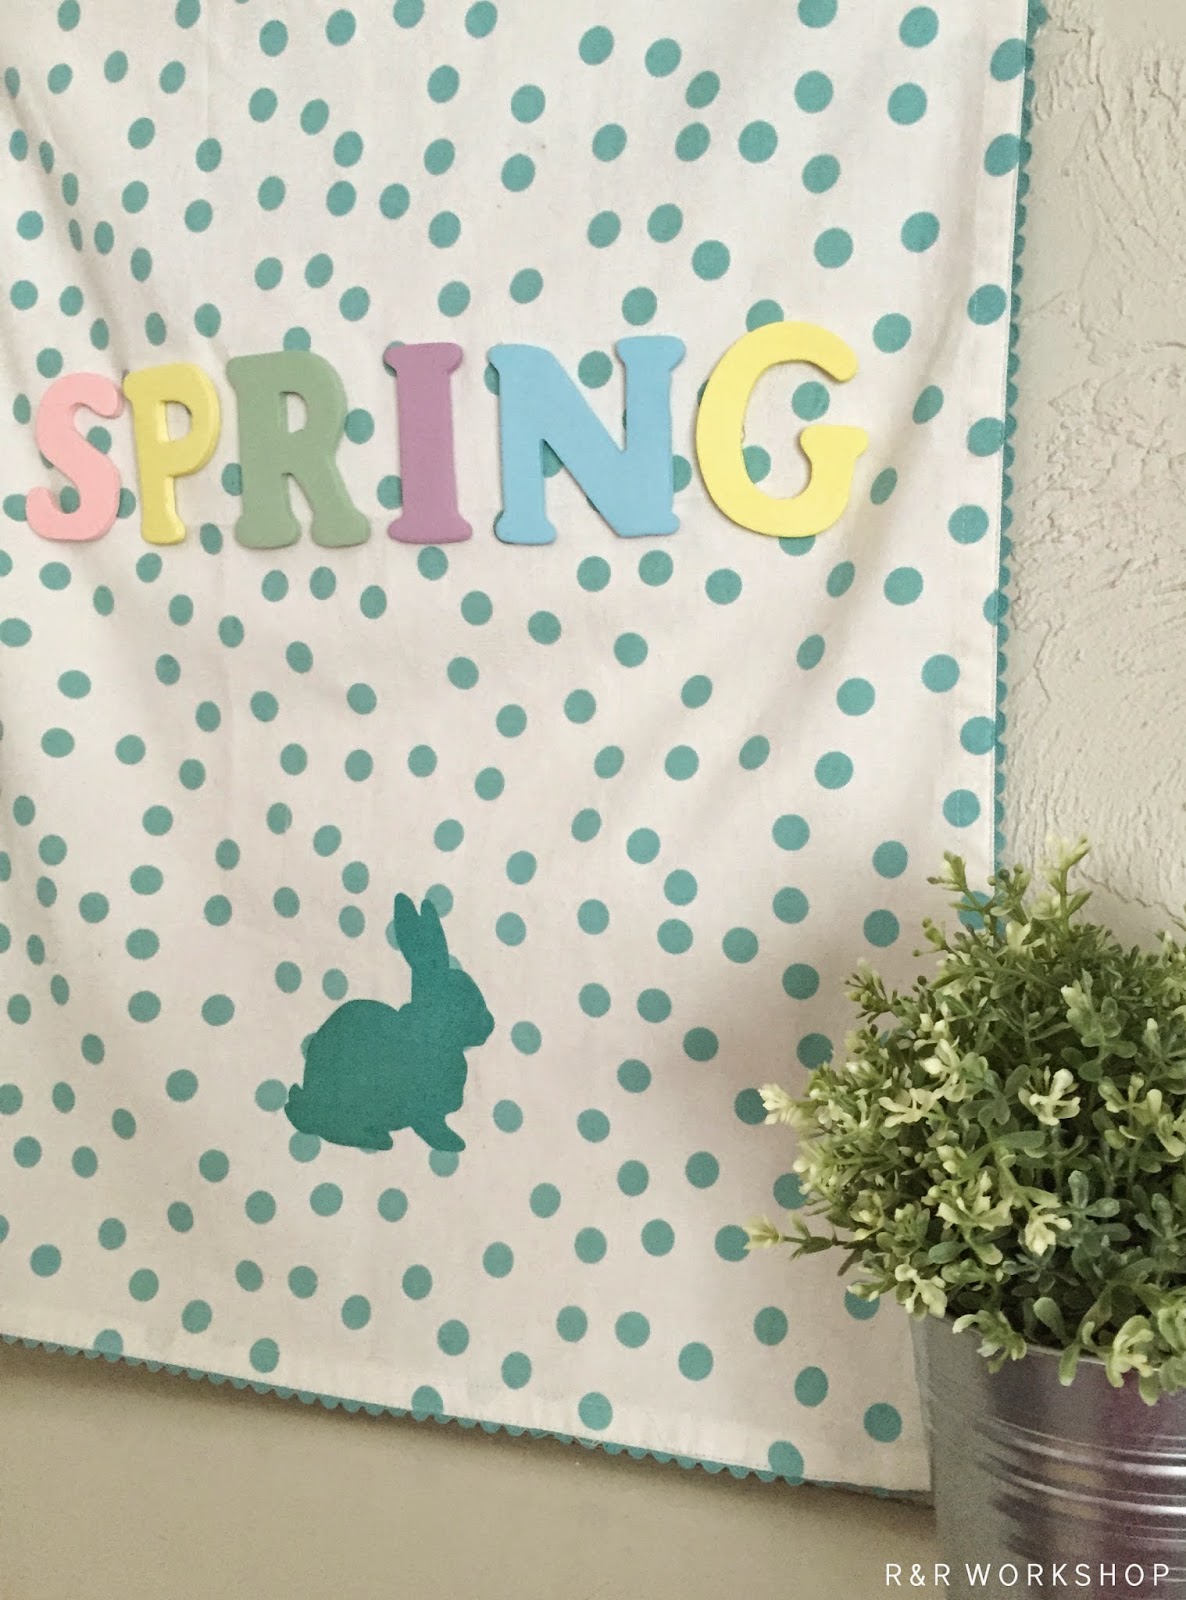
3. Hot glue letters on desired spot on your fabric.
4. Cut two pieces of ribbon to the length you want and hot glue one piece to each end of the dowel.

5. Hang your fabric over the dowel and tie a bow with the ribbon at the length you want.
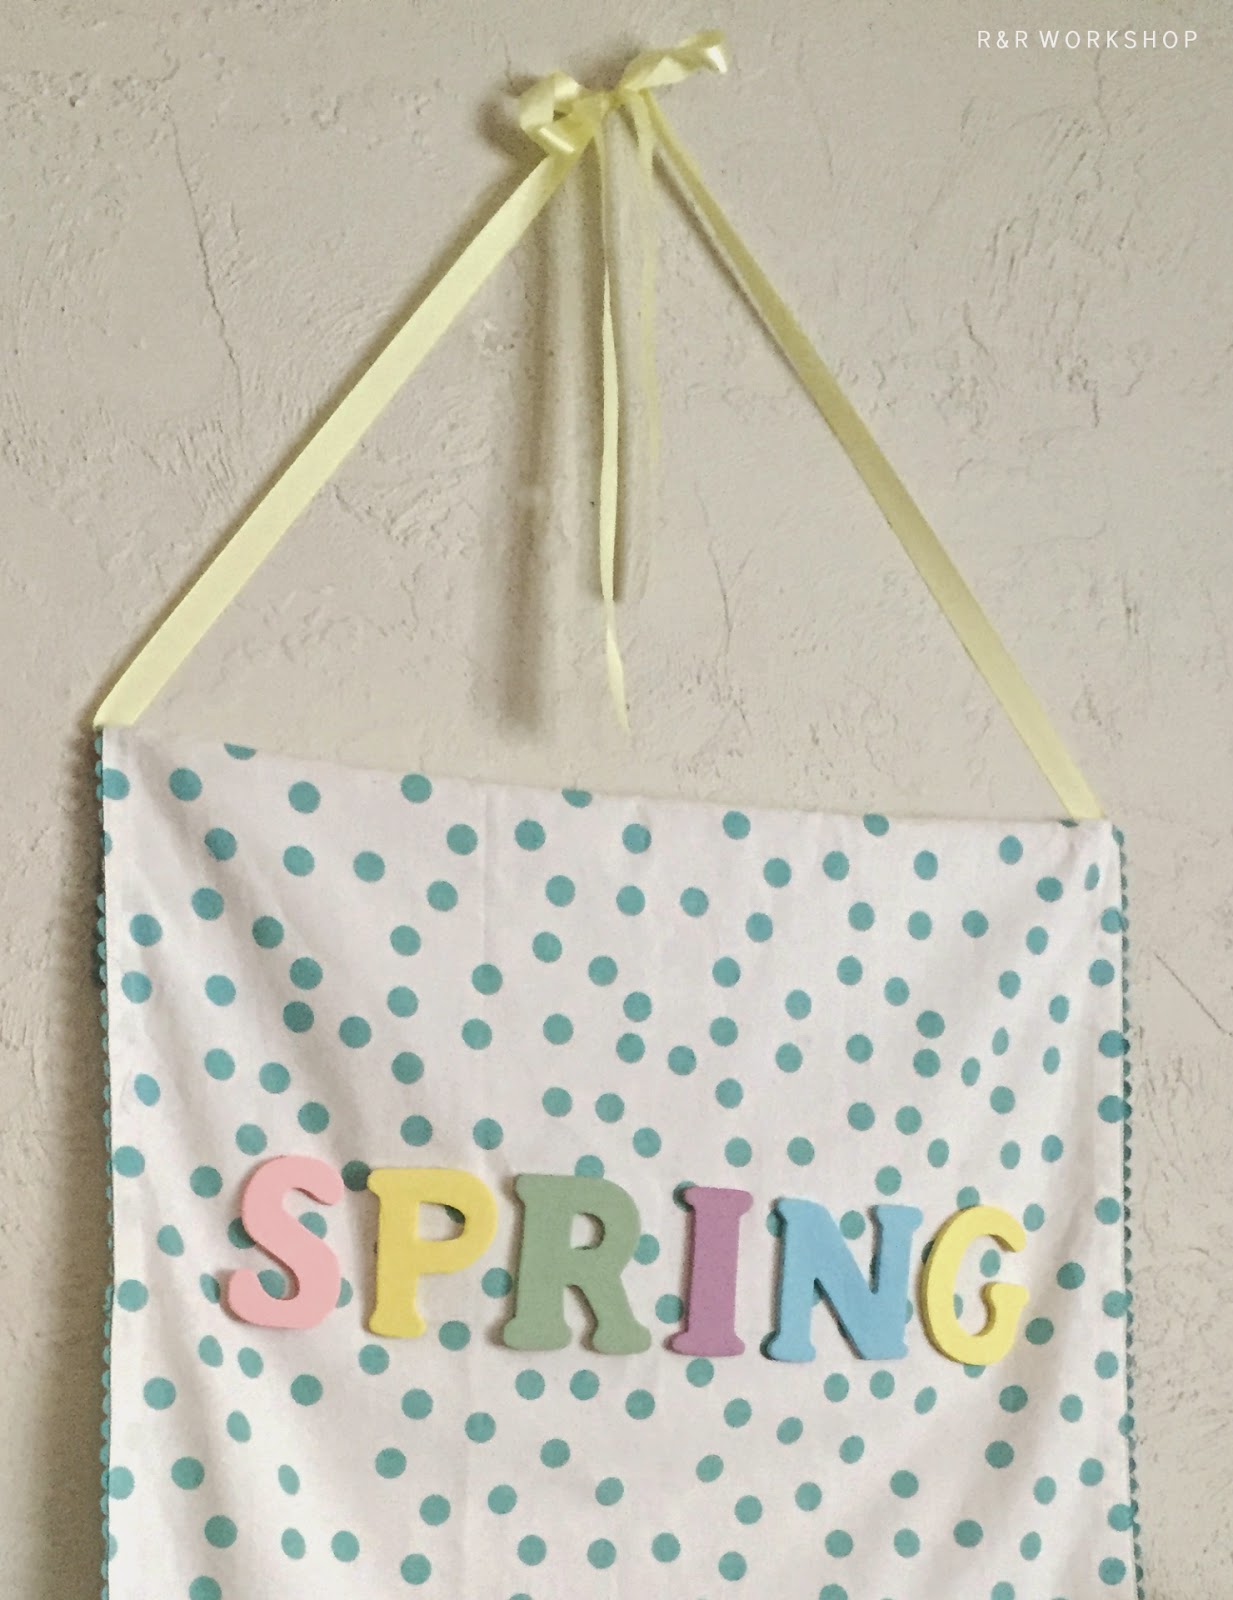
You’re done! I love the fun and whimsy it adds to our home. It would also be fun to hang on your front door.

Here are a few more DIY Projects:


Thank you Mariah, for having me! I’m excited to be a part of the Giggles Galore team! I hope you come over to R & R Workshop and say hello 🙂


Leave a Reply