This is a sponsored conversation written by me on behalf of Cricut. The opinions and text are all mine.
The Cricut Maker is one of my favorite craft tools. There are so many creative ways you can use the machine to make and personalize everything from parties to home decor.
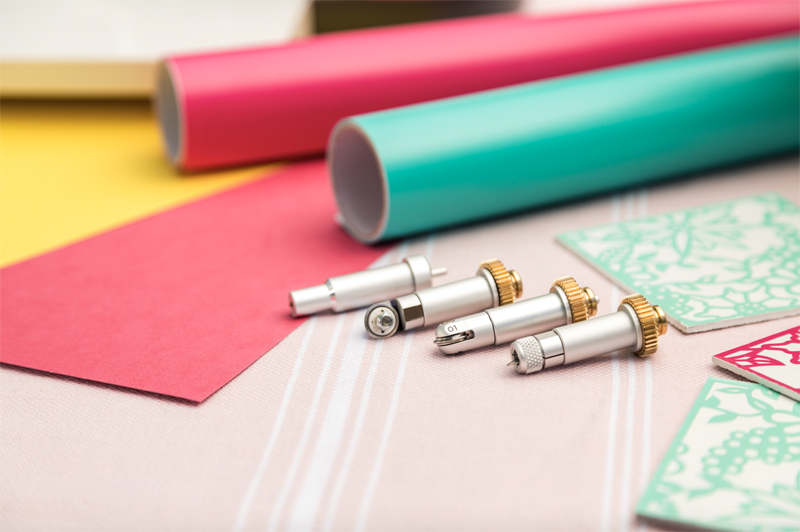
The Cricut Maker has an adaptive tool system, with an innovative design, that allows you to easily change out the tools making it even easier to craft and create projects as expansive as your imagination. I’ve already shown you how to use the Scoring Wheel, so today we are going to chat all about how to use the Cricut Knife Blade with the Cricut Maker.
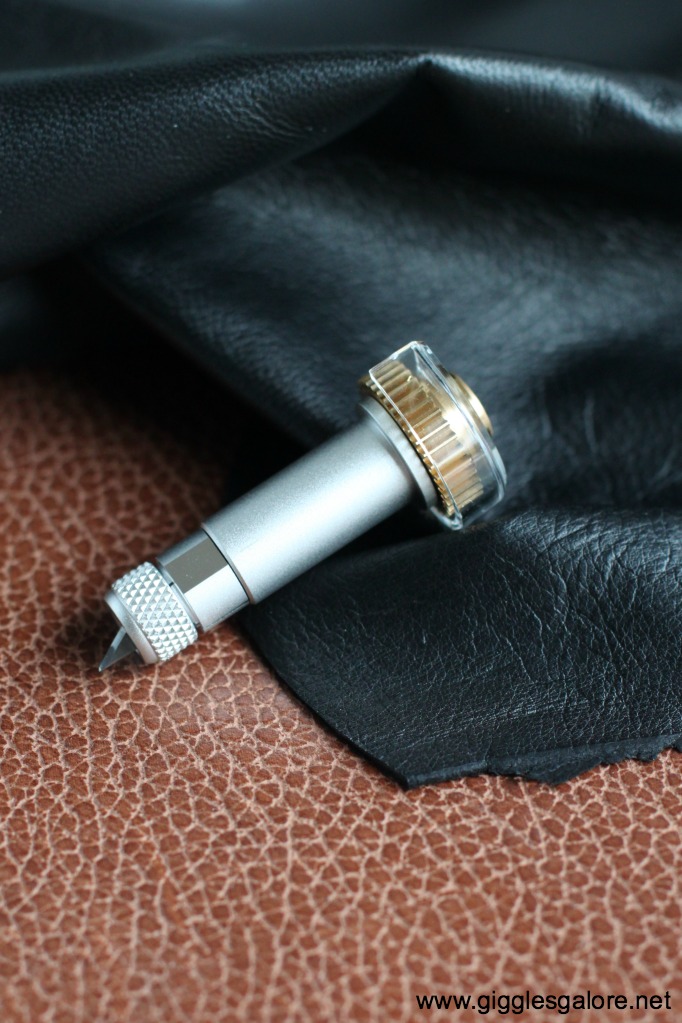
If you are already familiar with the Cricut Maker tool system one of the first things you will notice is that the Knife Blade includes the QuickSwap™ Drive Housing for interchangeable tool use, which makes it easy to swap out the wheels at any time. It is important to note that this tool is available on Cricut Maker™ machines only. If you don’t have a Cricut and you are still unsure which machine is right for you, make sure you check out this post where I compare the Cricut Maker and the Cricut Explore Air 2.
If you are new to using the Cricut Knife Blade there are a few key things you need to know, like “what can I cut” or “where can I buy it.” I’ve provided the answers to some of these basic questions in this blog post. Now let’s chat about what you need to know to use the Knife Blade to create projects from start to finish.
What Can the Cricut Knife Blade Cut?
- Cricut Chipboard
- Leather
- Bass Wood
- Balsa Wood
- Mat Board
- Kraft Foam
What to Know Before Cutting with the Knife Blade
- You will need to use the StrongGrip Mat, these are the purple mats.
- The max cut for Knife Blade projects is 11″ wide, so you will need to trim your material to the appropriate size before starting.
- Place the material on the mat then roll over the entire surface with a brayer. Using a brayer will help create a strong bond between the material and the mat’s adhesive surface.
- It is important to secure the material prior to cutting, use masking tape or Blue Painter’s Tape to tape all four sides of the material to the mat.
- Move all of the star wheels all the way to the right, it is important to make sure no part of your material will go under the rubber rollers
What to Know About Cutting with the Knife Blade
- Once you’ve selected a project and are ready to cut the material with the Knife Blade, Design Space will calculate the expected cut time. It will also show you the progress on which pass it is currently making and how many total passes are programmed.
- The knife blade works by slowly gaining more pressure with each pass of the blade. Because of this, it can do up to 20 passes for each cut. It’s important to note that Knife Blad projects should only be done on a desktop or laptop computer and you should turn off sleep mode so that it doesn’t disrupt the cut.
- When the pre-programmed cut passes are complete, WITHOUT REMOVING THE MAT, confirm that your material has been cut all the way through. You can use a weeding tool to gently life along the edge of your cuts to check the cut.
- If the cut is still significantly connected to the surrounding material, choose to cut more. Click the Go button to begin an additional pass. NOTE: If you unload the mat, the machine will cancel the option to add an additional pass
What to Know After Cutting with the Knife Blade
- Immediately remove the mat from your Cricut Maker.
- Carefully remove the tap you’ve used to secure your material to the mat.
- If there are any pieces that are not cut all the way through, turn the material over and use the TrueControl Knife to lightly cut through the sections that aren’t completely cut through.
- To help prolong the life of your StrongGrip mat remove large debris with tweezers and avoid scraping the mat. Scraping will push material debris deeper into the adhesive.
Now you are ready to make your first project with the Knife Blade, be sure to check out this post about all the cool materials you can cut with the Cricut Knife Blade.


Leave a Reply