This is a sponsored conversation written by me on behalf of Cricut. The opinions and text are all mine.
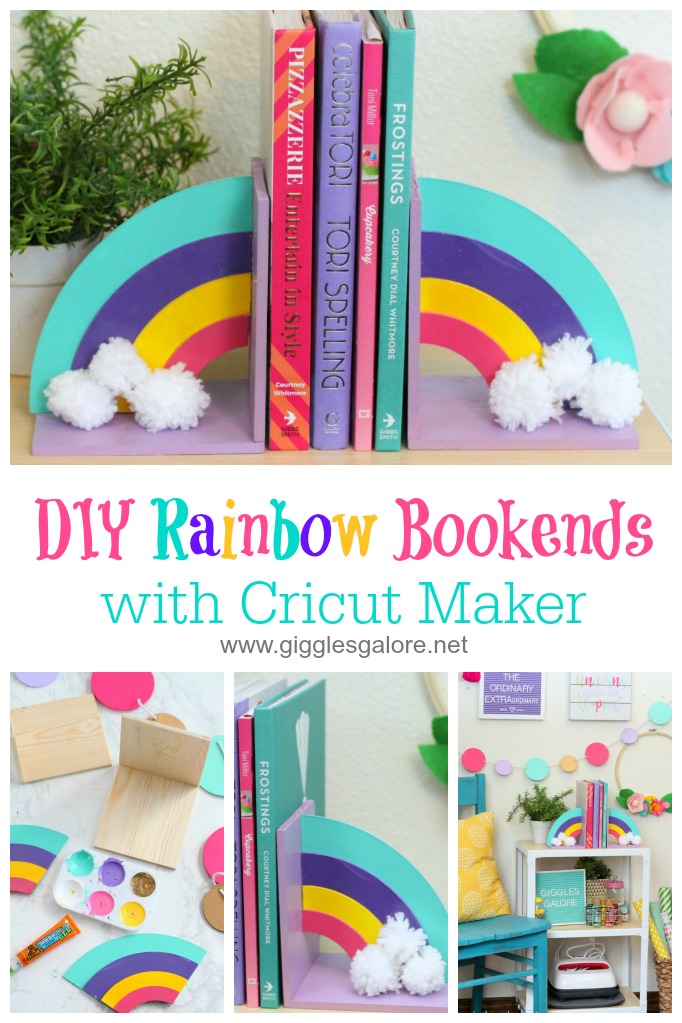
Are you looking to brighten your office space or kid’s playroom with some colorful decor? Spruce up your shelves and add a pop of color with these easy DIY Rainbow Bookends.
Last week I told you all about my favorite craft tool, the Cricut Maker, and we discussed how to use the Knife Blade to create one-of-a-kind personalized projects. Today I am going to show you how easy it is to create DIY Rainbow Bookends using the Cricut Maker.
I actually designed this project last year right after I got the Knife Blade. I was planning to make them for my kid’s playroom, but at the last minute decided to change the design and theme of their room so I never ended up making them. Fast forward to now, I am redoing my office space and decided that I needed some cute bookends for my favorite books. I remembered the rainbow bookends I designed and figured they would be perfect for my office shelf.
DIY Rainbow Bookend Supplies
Cricut Maker
Painter’s Tape
Utility Craft Wood (4.5″ x 9.5″ x 0.25″)
Finishing Nails or Heavy Duty Staples
Paint or Spray Paint
Super Glue
White Yarn
Hot Glue Gun
Instructions for DIY Rainbow Bookend
Start by opening up the Rainbow Bookend SVG in Design Space. At this point, you can choose to make the project as is, or customize it.
Select the Cricut Chipboard 2.0 material from the drop down menu and insert the Knife Blade in the QuickSwap™ Drive Housing.
Place the chipboard on the StronGrip Mat and use painters tape to secure all four sides of the chipboard to the mat. This will help ensure that your material does not slip or move during the cutting process. Load the mat into the machine and press the flashing “c” to begin cutting.
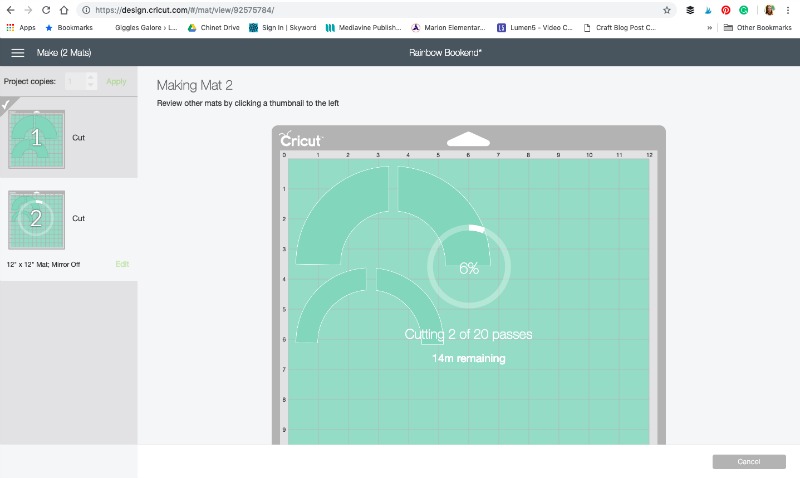
Design Space will show you how many passes the project will make and the estimated time it will take to cut. It is important to note that most Knife Blade projects will take some time to complete. For more information and important tips on how to use the Knife Blade with your Cricut Maker make sure you read this post.
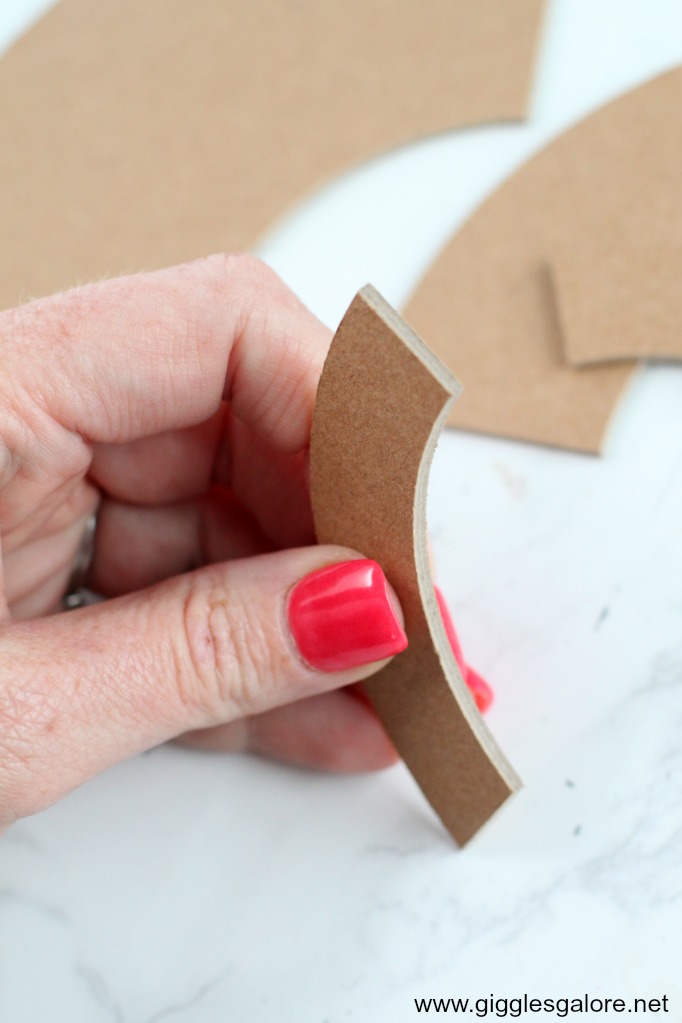
Once the project has finished cutting make sure the chipboard has cut all the way through before unloading your mat. If there are pieces that haven’t cut completely through use the “one more pass” feature to cut the project again.
Paint each piece of the rainbow the desired color with either acrylic paint or spray paint. I found that it was necessary to paint a white base coat with the acrylic paint since the chipboard does have a tendency to absorb the paint.
Next, use the superglue to attach each piece of the rainbow to each other. Place a heavy book on top of the glued together rainbow and let sit for 12- 24 hours.
Meanwhile, you can prepare the wood for the bookends. I purchase utility craft wood from the local craft store and cut it down to size using a table saw. The verticle part of the bookend measures XYZ and the horizontal part measures XYZ. I used finishing nails to nail the two pieces together and then painted them.
Now it’s time to add the rainbow arch to the bookend. Run a dab of superglue along the top and bottom edge of the rainbow arch and firmly hold it in place on the wooden bookend.
Finally, I created a few white yarn pom poms to create fluffy clouds at the end of my rainbow. I used a hot glue gun to secure them in place.
Place colorful books between your new DIY Rainbow Bookends and you’ll instantly have a brighter shelf worthy of magic and gold!
I love how easy it is to create fun and personalized decor for my office with the Cricut Maker. When I say that the Cricut Maker is my favorite craft tool I mean it, the possibilities are virtually limitless and it’s so much fun to see an idea come to life with a few simple supplies.
What will you make with your Cricut Maker and the Knife Blade?
Looking for more inspiration and projects you can make with the Cricut Maker Knife Blade, be sure to check out my DIY Cake Topper and DIY Leather Luggage Tags.









Leave a Reply