Spring has sprung, and this year the season starts with Easter. There are so many wonderful elements about Easter– flowers, sunny skies, eggs, chicks and of course, chocolate! If I had to pick my favorite thing, it would be the colors of the season. I love bright colors and after a long gray winter, there’s nothing more refreshing.
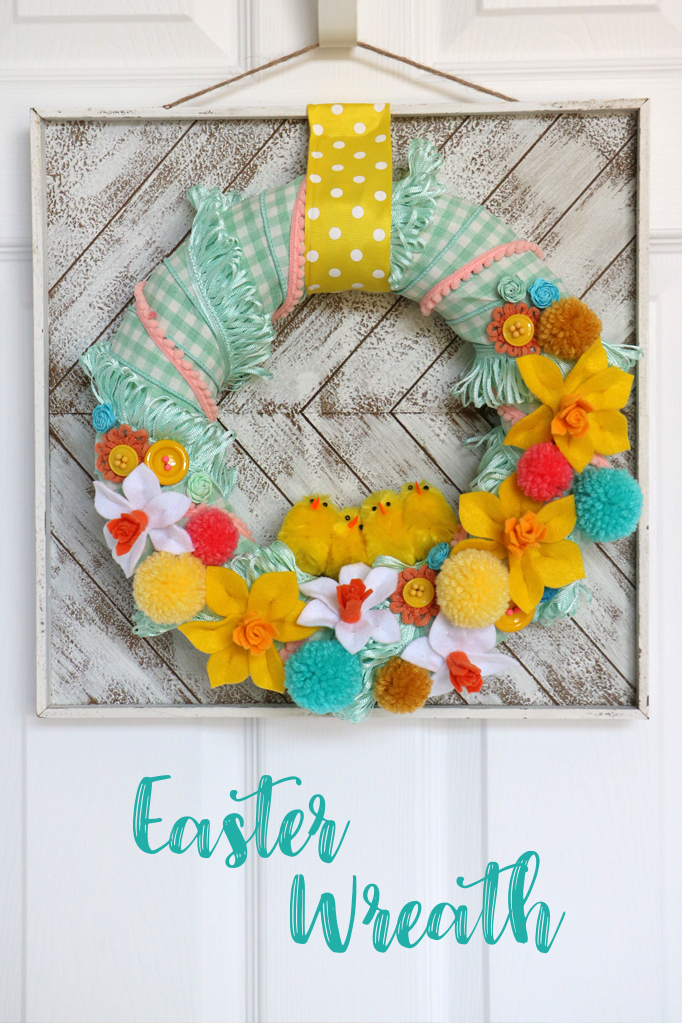
Hi Alison here, and today I’d like to share a colorful Easter wreath that is sure to brighten your spring.
What You Will Need:
- Straw wreath form
- Ribbons
- Buttons
- Various Fringes
- Trim Embellishments
- Pom-poms or yarn with pom-pom makers.
- Chicks
- Fabric Pins
For Felt Daffodils:
- Yellow, Gold, White, and Orange felt
- Template below
- Embroidery thread and needle
- Hot glue gun
Step 1:
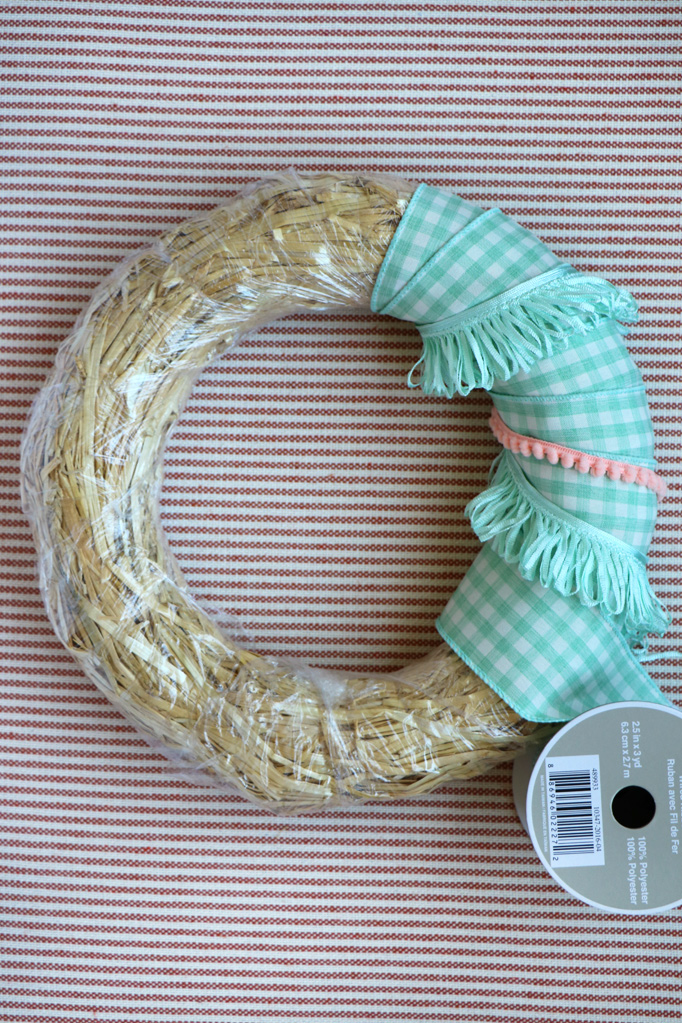
Wrap ribbon and fringe around wreath, pin to the back of the wreath every so often to keep secure.
Step 2:
Making the daffodils. With scissors, cut two daffodil shapes out using the template below. I used the Yellow felt for the larger flowers and White felt for the small flowers. To download the template, right-mouse click on the image, and select “Save Image As.” This should save to your Desktop and you can print from there.
Step 3:
For the center or trumpet of the flower, cut a 1×3 inch strip of felt and make a triangle fringe on one side. On that same triangle fringe side, cut the felt, halfway between each triangle. Do this for only half the strips length, to create a fuller trumpet for the center of the flower. I used Gold felt for the yellow daffodil and Orange felt for the white daffodil.
Step 4:
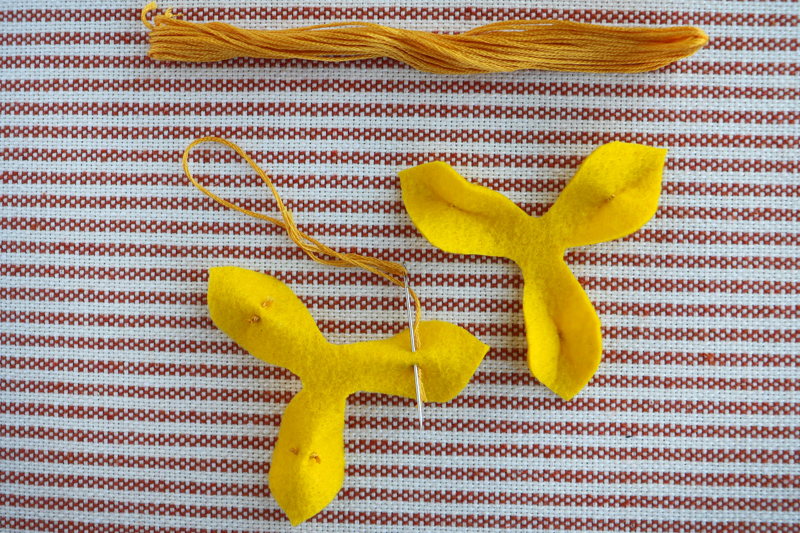
Using embroidery thread, make a stitch on the back of each petal.
Step 5:
To complete the center or trumpet of the flower, start with the end that doesn’t have the cuts between the triangles, and roll, securing with hot glue once or twice. Glue one daffodil shape on top of the other, but fanning it so that all six petals show. Finally, glue the trumpet into the middle of the daffodil shape.
Step 6:
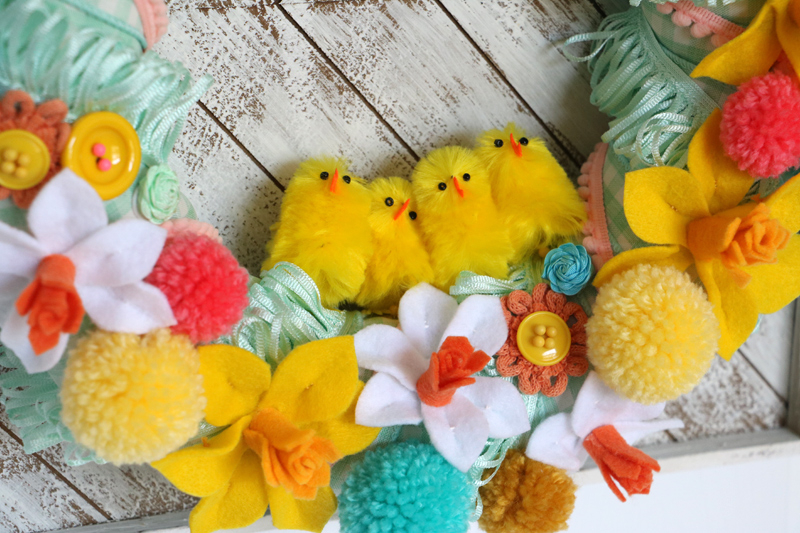
Arrange the daffodils and the rest of the elements onto the wreath. I used fabric pins to secure everything to the wreath. That way I could change things up or move elements around if I didn’t like it. The only thing hot glued, was the small teal color roses. The chicks may be tricky to keep in place. I had to pin between the feet, but again if you’d like to keep this a spring wreath, you can easily remove the chicks.
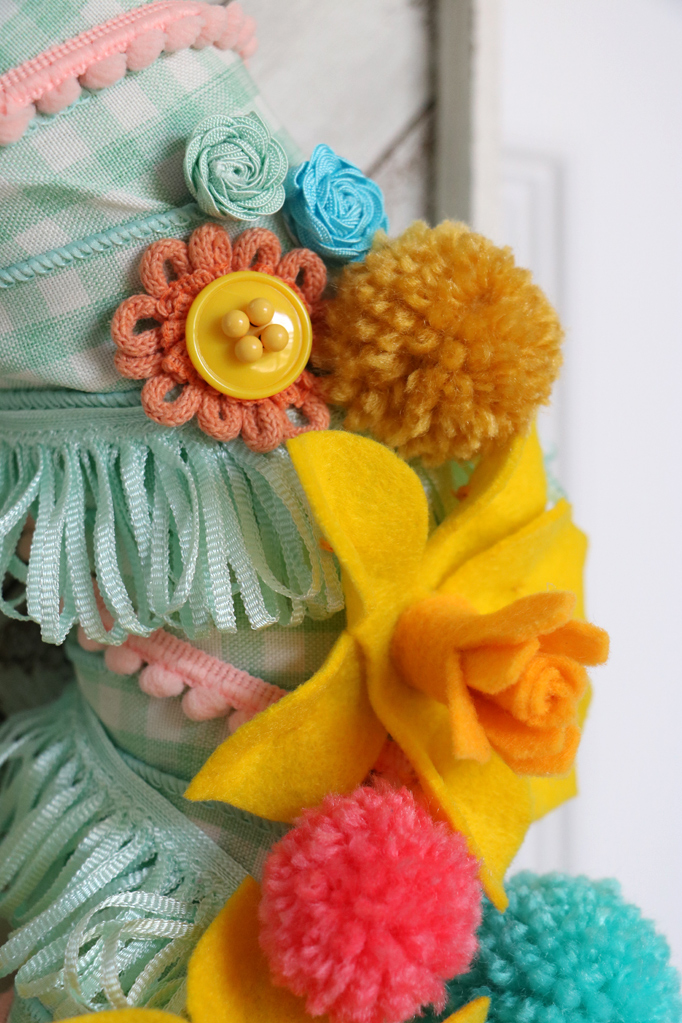
My favorite part was the cute orange trim flowers. I used a button for the center and four pins for each buttonhole.
 Hope you’ve enjoyed this colorful Easter wreath and that it adds some cheer to your season.









Super duper cute! Love felt flowers + pom poms; great combination. Visiting from Sundays at Home party.
This is one of the sweetest wreaths! Those baby chicks are just sooooooo adorable! Pinning for inspiration.
This inspires me a lot. Such a cute DIY. Let’s grab some threads and start working on it!
Hello Mariah…….. Thank you for sharing such an inspirational blog. Your techniques of using flowers are really cool.
Great information Mariah, Keep the good work going by sharing this kind of information.