I think one of my favorite parts about starting a new school year is the tradition of kicking the new school year off right with a Back to School party! I love a good excuse for a celebration of any kind, but I have a special soft spot for our back to school parties. I love getting our friends together and seeing everyone excited about the start of a new year. This year we are kicking things off with a Back to School Picnic party. And, as we all know every good party needs a great party favor! I’ve teamed up with Cricut to show you how to make some fun back to school picnic party favor bags.
I think that every party I’ve hosted for the past 10 years has in one way or another included a project I’ve created with my Cricut. It’s the perfect crafting tool to help you create and customize everything from party decor to favor bags. For this project I decided to use canvas bags, iron-on and the Cricut EasyPress to create favor bags for our back to school picnic.
Supplies Needed:
- Cricut Maker
- Cricut EasyPress
- Cricut EasyPress Mat
- Cricut Iron On
- Black
- Red
- Green
- Blue
- White
- Cricut weeding tool
- Canvas Favor Bags
- Back to School Picnic Favor Bag Design
1 . Open up Cricut Design space and the back to school picnic favor bag design file. Please note that the ant is slightly different because when I created the design I used an uploaded ant SVG I already owned and I can’t share the project unless it uses only Cricut artwork. If you want to use the same ant I used in my design you can purchase this SVG and swap out the ants.
2. Cut the images out on the appropriate colored vinyl. Don’t forget to mirror your image before you cut!
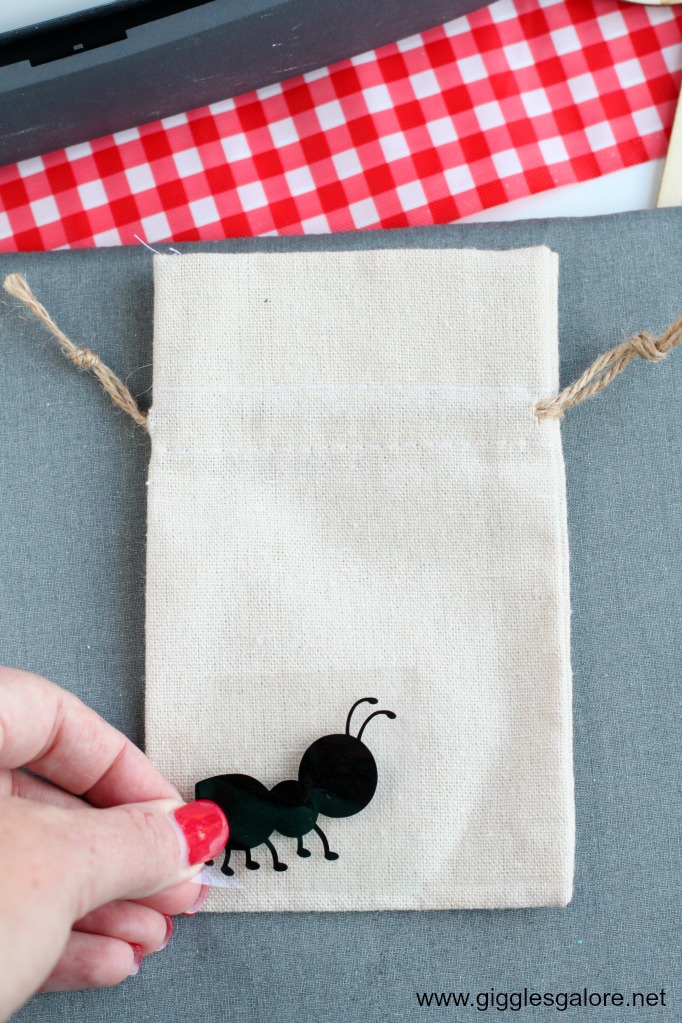
3. Use the Cricut weeding tool to weed the images. Place the vinyl on the canvas favor bag.
4. Use the EasyPress to apply the iron-on design to the favor bags. Make sure you use the recommended settings chart on cricut.com for the material you are working with. For my cotton canvas bags I set the temperature to 305 and heated the vinyl for 30 seconds.
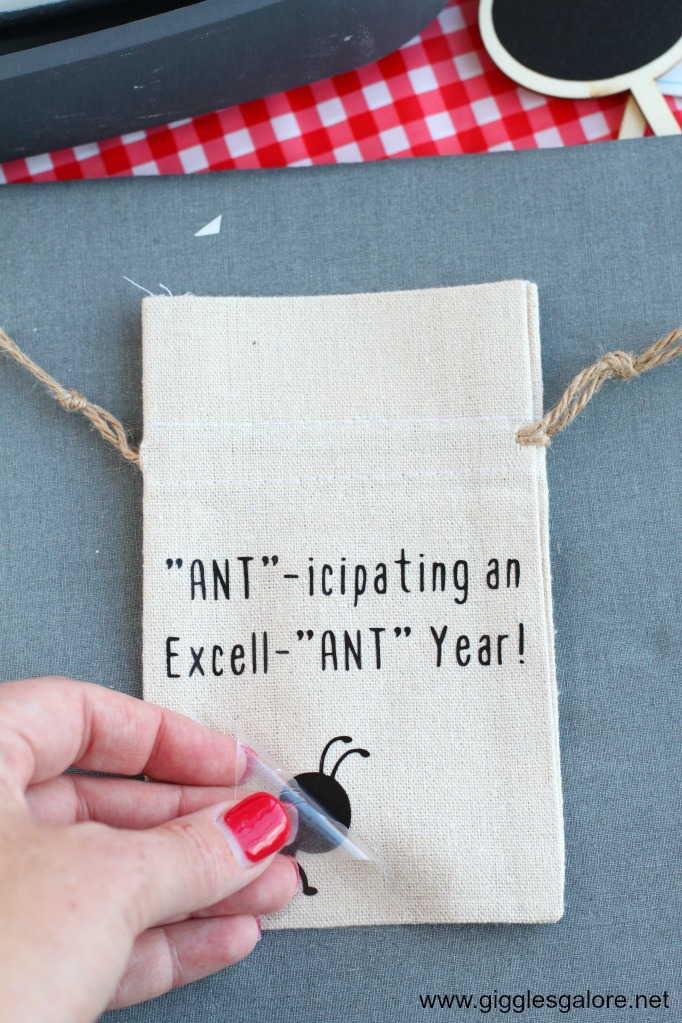
5. Peel back and remove the clear protective sheet.
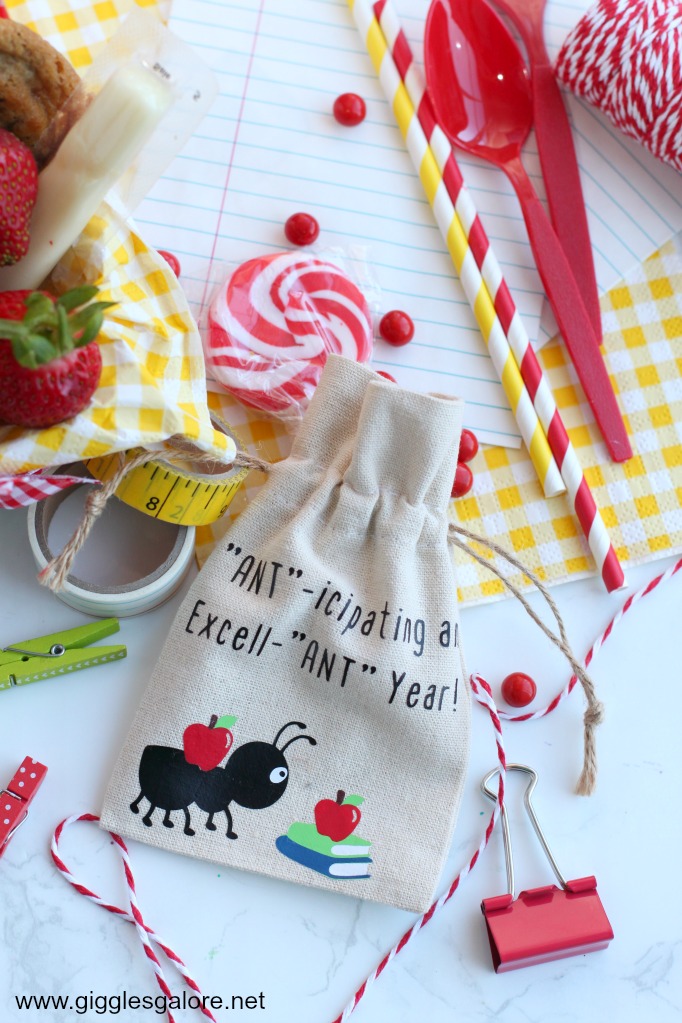
6. Layer the additional vinyl images on the bags until you have the finished design.
7. Fill the favor bags with back to school supplies and candy.
These cute little favor bags are the perfect way to say good-bye to summer and celebrate the start of a new school year. I truly am “Ant”-ticipating and Excell-“ANT” year, and can’t wait to see my kids flourish this year in school as they learn and grow.
Make sure you stay tuned for all the details for our annual back to school picnic party, this is one celebration I’m ANTsy to share!
This is a sponsored conversation written by me on behalf of Cricut. The opinions and text are all mine.









Leave a Reply