I’m excited to introduce you to an old friend of mine. Jen and I were in the same sorority in college and I’ve been following along and keeping up with her family through her darling blog. The other day I spotted this ADORABLE handmade invitation she created for her son’s upcoming birthday and I asked her if she would come over to Giggles Galore and share it with all of you. Take it away Jen….
Hey there! I’m Jennifer and I blog over at Our Love and Our Blessing. I’m a stay at home mom that’s married to Jeremy and who loves to share fun/cute/cheap DIY projects, our daily life, our baby boy, Boston, and my love (obsession) for creating memories.
Our beloved Boston is about to turn 2 which means we are in full swing of all things party preparation. Since I like to make things myself, the first thing I made for his birthday were his invitations.
Here’s how the creation went:
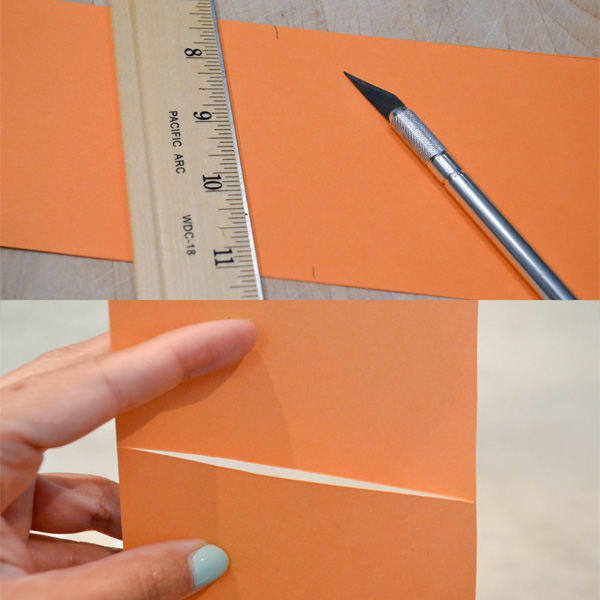
We started by first making our marks and drawing our lines for cutting. Each invitation was cut long ways and then folded in half to start the bottom part of the “pocket.” Since our goal was to make the invitation look like a boarding pass that sat inside of a pocket.
We started by first making our marks and drawing our lines for cutting. Each invitation was cut long ways and then folded in half to start the bottom part of the “pocket.” Since our goal was to make the invitation look like a boarding pass that sat inside of a pocket.

The Pockets
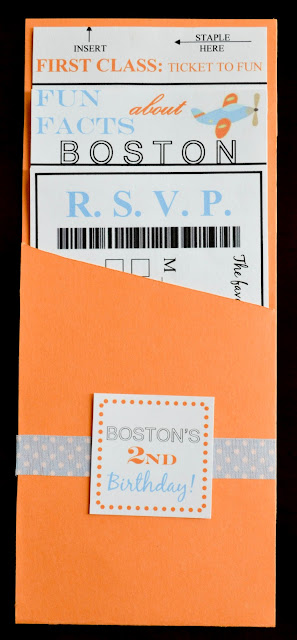
I wanted them to be “true” pockets/slits so I used my exacto knife to slice (at an angle) only the middle part of the paper from side to side. The marks you see below are on the inside of the invitation so you wouldn’t be able to see them once they are folded.
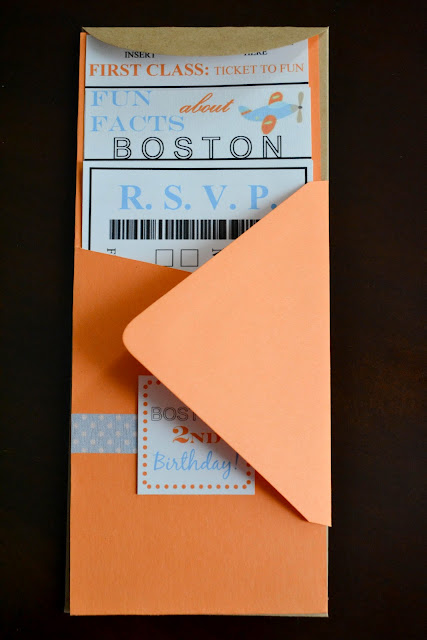
They are just big enough for the invitation, rsvp and fun facts to fit because the sides would be glued closed.
The Outside
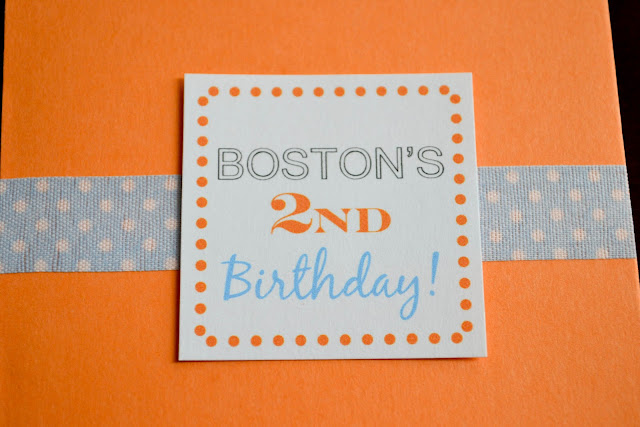
The blue polka dot strip is washi tape. The “Boston’s 2nd Birthday” label on the outside of the invitation I created, printed on card stock and taped it to the washi tape. So that when they opened the envelope and pulled out the invitation they would see exactly what it was for!
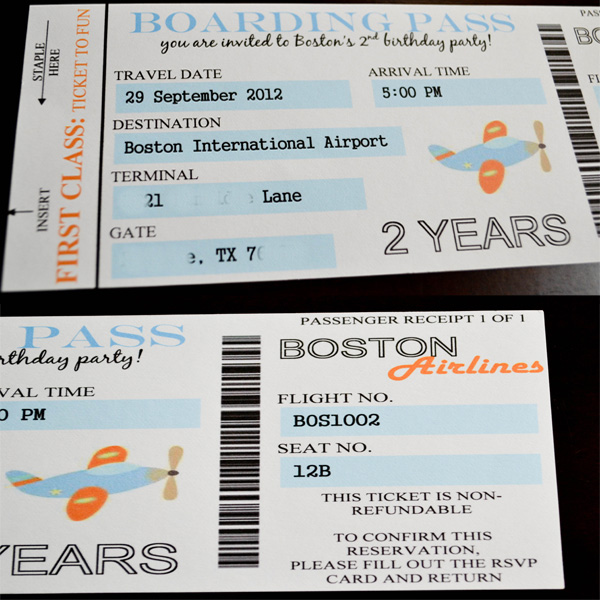
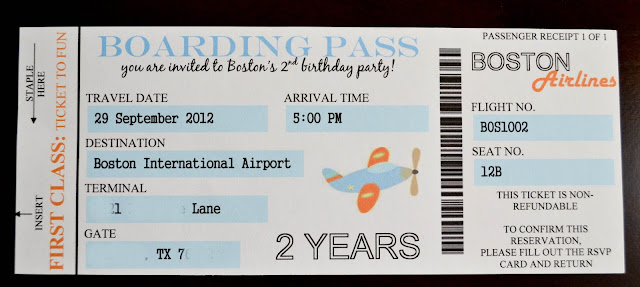
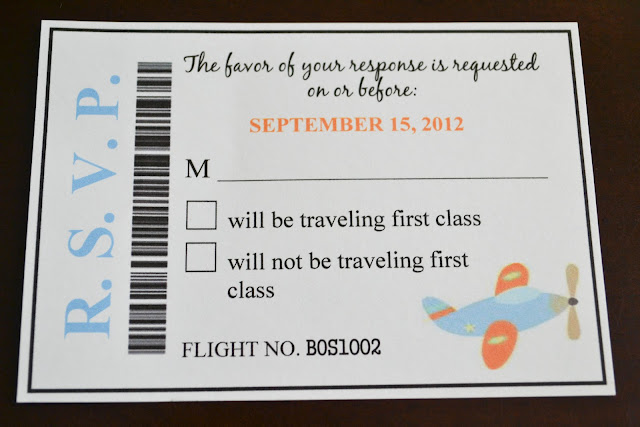
As for the Boarding Pass, RSVP and Fun Facts About Boston, I created all of them from scratch using MS Word. Literally I had a blank page in front of me when I first started. But it quickly all came together and it was pretty simple once I knew how I wanted them to look. I wanted them all to have some of the same characteristics so I was able to copy and paste a bit.
Invitation
RSVP’s
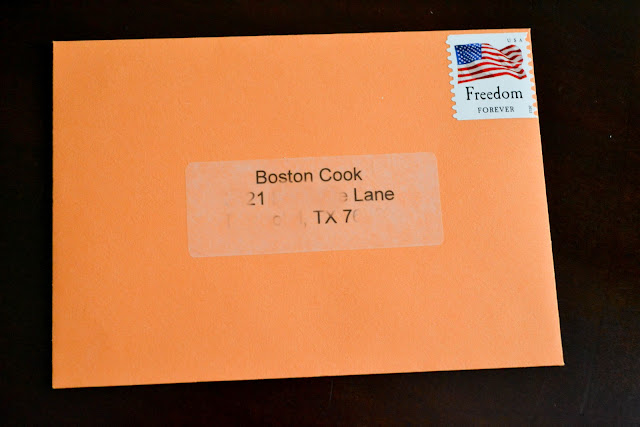
Addressed to the birthday boy, of course.
Here they are just before being put into the outer envelope. I “wrapped” the rsvp envelope around the actual invitation since my slit was too short for the envelope to fit behind the rsvp card.
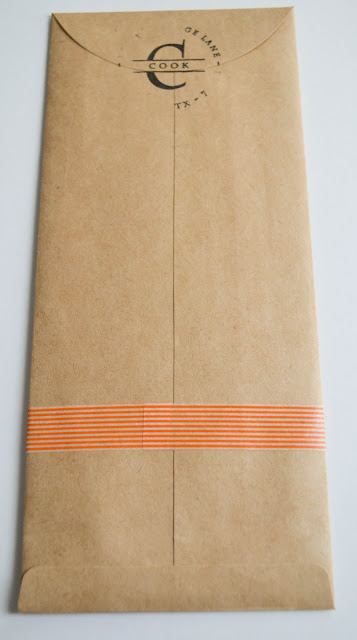
I got address labels and put the same airplane I used on the boarding pass on the label so they were jazzed up some. Then I wrapped orange striped washi tape around it.
On the back I just used our family stamp that has our address in case some of them got lost int he mail, they would come back to us. 🙂
These were so much easier than last year’s invites but just as cute in our eyes! 🙂 I hope I was able to give some of you some inspiration to create your own invitations!!!
Now……on to planning for this party we just talked about!
Thanks Jen! Don’t you just love all the personal details. My absolute favorite part is the Fun Facts insert, I’m definitely borrowing this idea for future birthdays! Make sure you stop by and visit Jen at Our Love and Our Blessing and you can also follow along with her on Twitter and Pinterest.






Leave a Reply